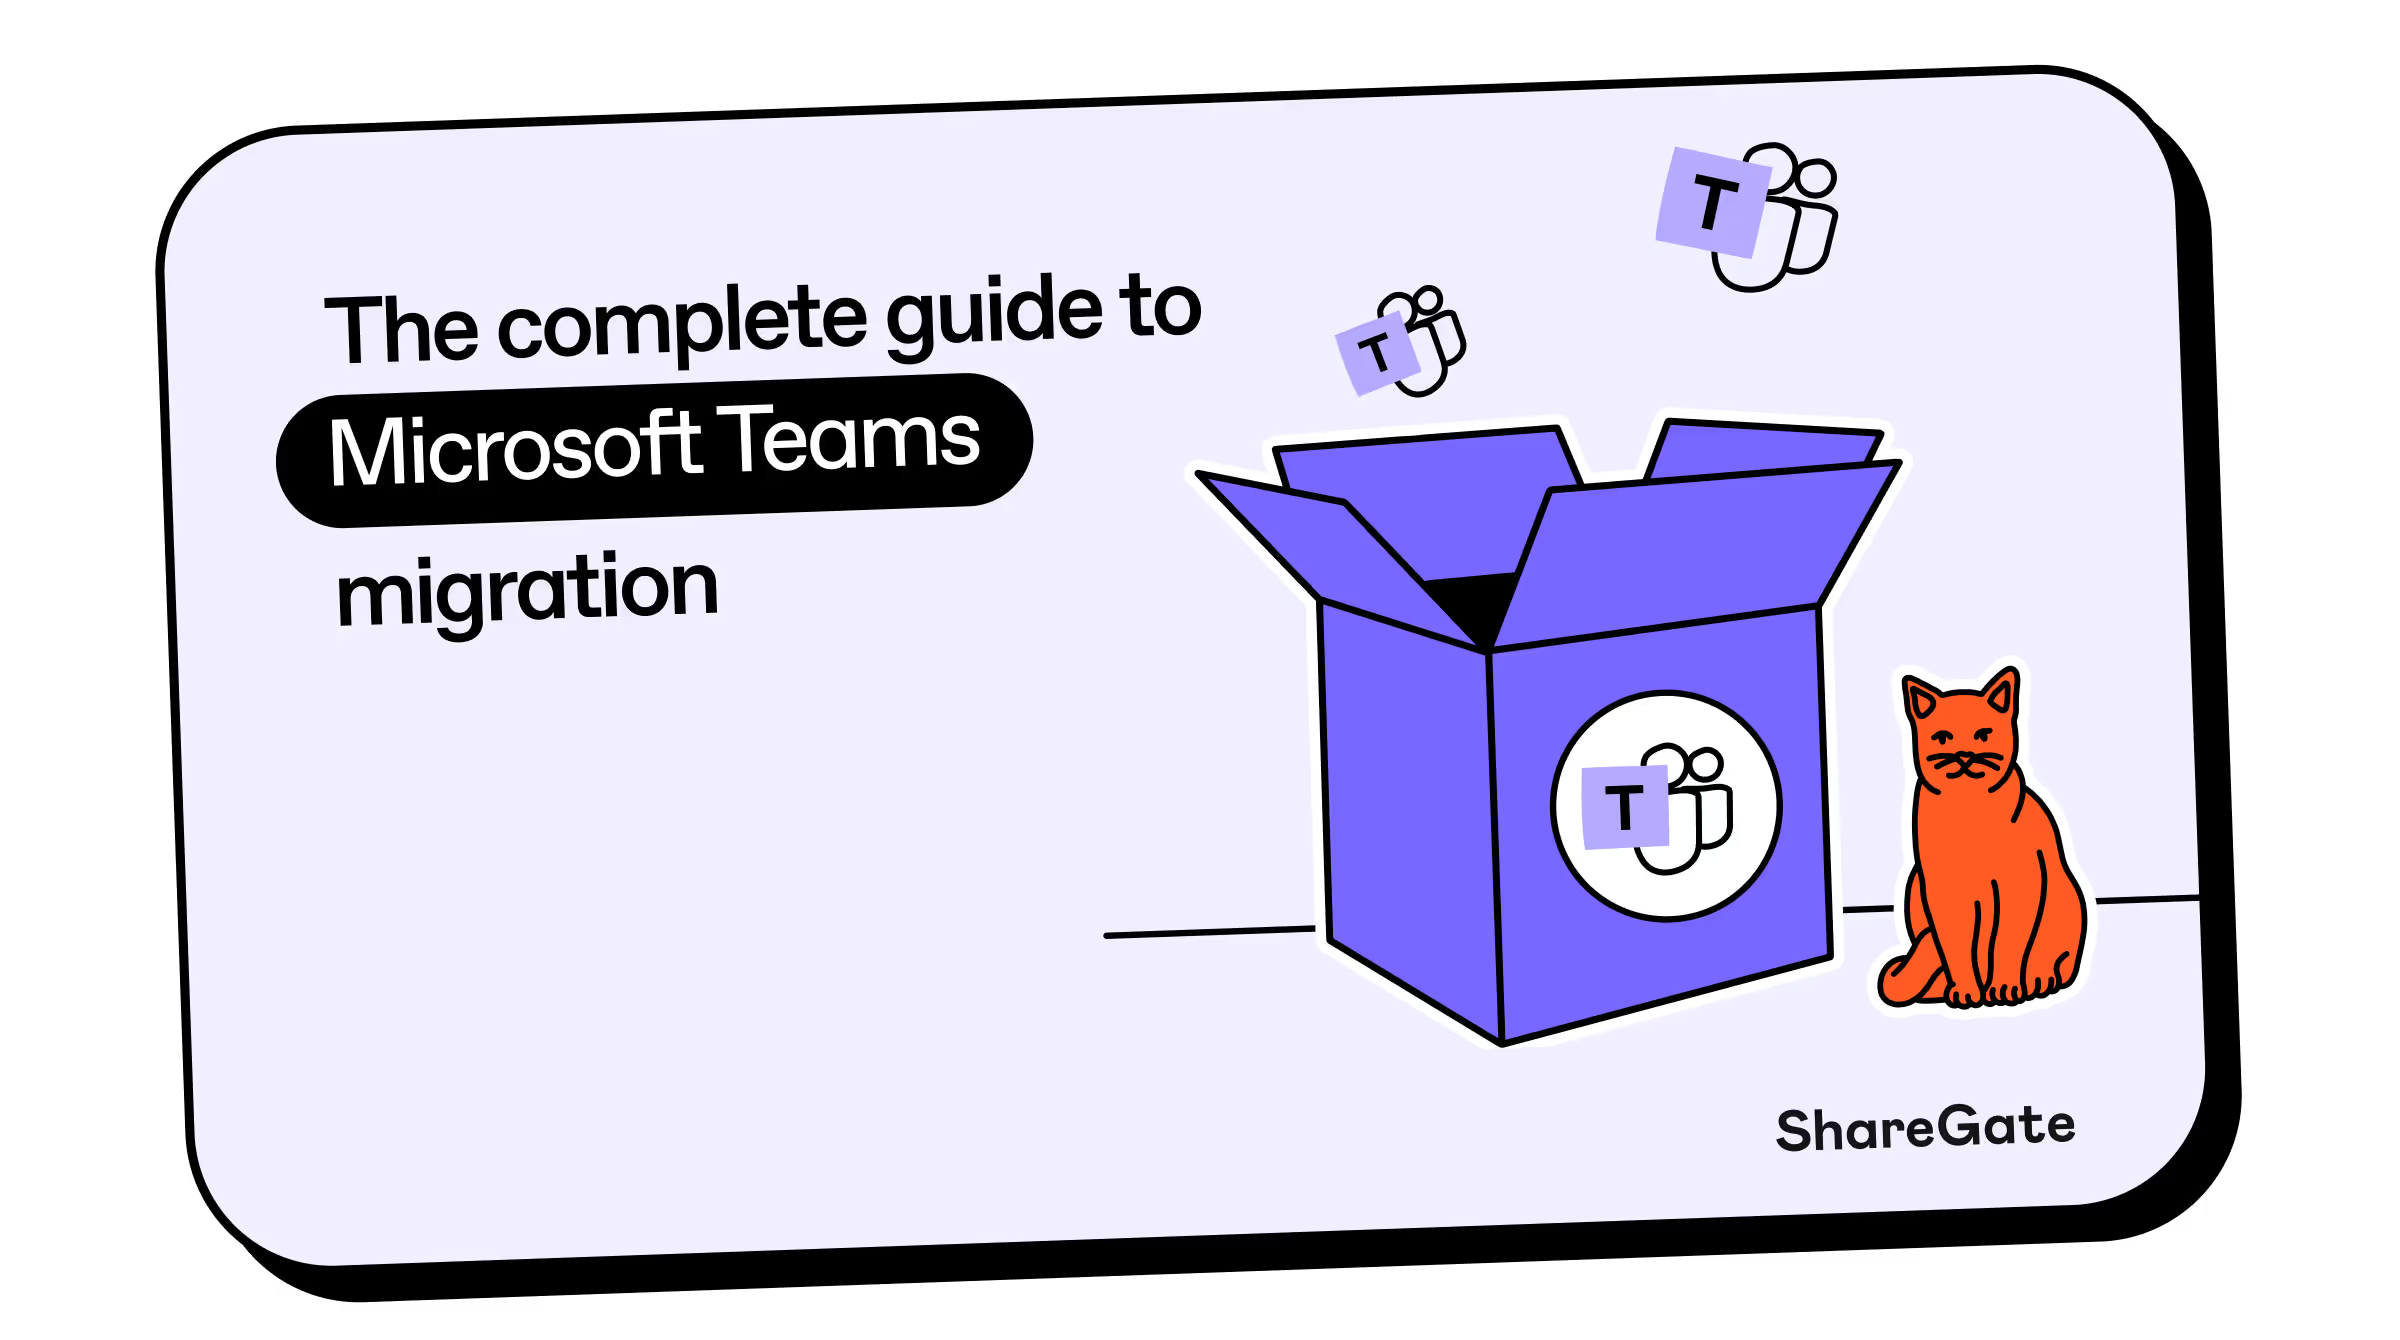
The essential Microsoft Teams migration checklist
Our all killer no filler checklist breaks down the complex migration process into actionable items to help you execute a seamless, hassle-free migration.
Planning your Teams migration
If there’s one thing we’ve learned in our 12 years of helping customers succeed in the Microsoft cloud, it’s that the only constant is change. In today’s fast-paced world, you have to be ready to pivot at the drop of a hat, and your Microsoft Teams environment needs to be able to keep up.
Microsoft Teams has distinguished itself from your run-of-the-mill collaboration tool and become synonymous with the Microsoft 365 user experience, and a central part of the ecosystem.
The widespread adoption of Microsoft Teams has not only made it easier to communicate and share information, it’s actively shaped the way we work together. The ability for users to share and collaborate on documents in real-time enables you to harness all of the talent and brainpower across your organization.
Whether you’re migrating all your teams to a new tenant in the event of a merger or acquisition, or want to move data, teams, and channels around within your tenant after a re-org, our goal is to guide you through a seamless migration process.
We’ve created this teams migration checklist based on our years of experience helping organizations complete migrations of all shapes and sizes, to help you save time, eliminate data loss and get the most out of Teams as a collaboration tool.
Choose your migration strategy
Before you begin your Teams migration project, you have to decide whether it makes more sense for your organization to migrate in one shot, or incrementally.
A single-event migration allows you to transfer your entire environment quickly, albeit with higher risk. This type of migration is typically limited to environments of less than 15,000 users or 7 TB of content.
A phased migration is a gradual migration of your teams, users, and content that is lower risk but takes more time to complete. This type of migration is more conducive to keeping a positive user experience, with the option to move only what’s changed since your last migration. Use this Teams Migration checklist and level up your migration project instantly.
1. Take inventory of your Microsoft Teams data
%20(1).png)
2. Clean up your environment
%20(1).png)
3. Packing up
%20(1).png)
4. Settling in
.png)
5. Post-migration
.png)
ShareGate’s Microsoft Teams migration tool
A manual Teams migration is not for the faint of heart. It may seem simple from the outside, but once you get into it you may realize you’re in over your head–like how you totally thought you could undertake that simple plumbing project with the help of your trusty YouTube tutorial, only to have to call in a professional at the last minute.
Fortunately, there’s another way.
With the use of a third-party tool, you can complete your tenant to tenant migration in just a few clicks. Migrate teams to another tenant—or copy teams within the same tenant—without the need to script.
ShareGate also automatically maps users at the destination. That way, you’re sure the right people have access to the right teams with the right set of permissions.