.svg)

.avif)
Making the case for M365 governance pitch deck
Use this template to show the importance of a good governance strategy!
Download now%20(1).avif)
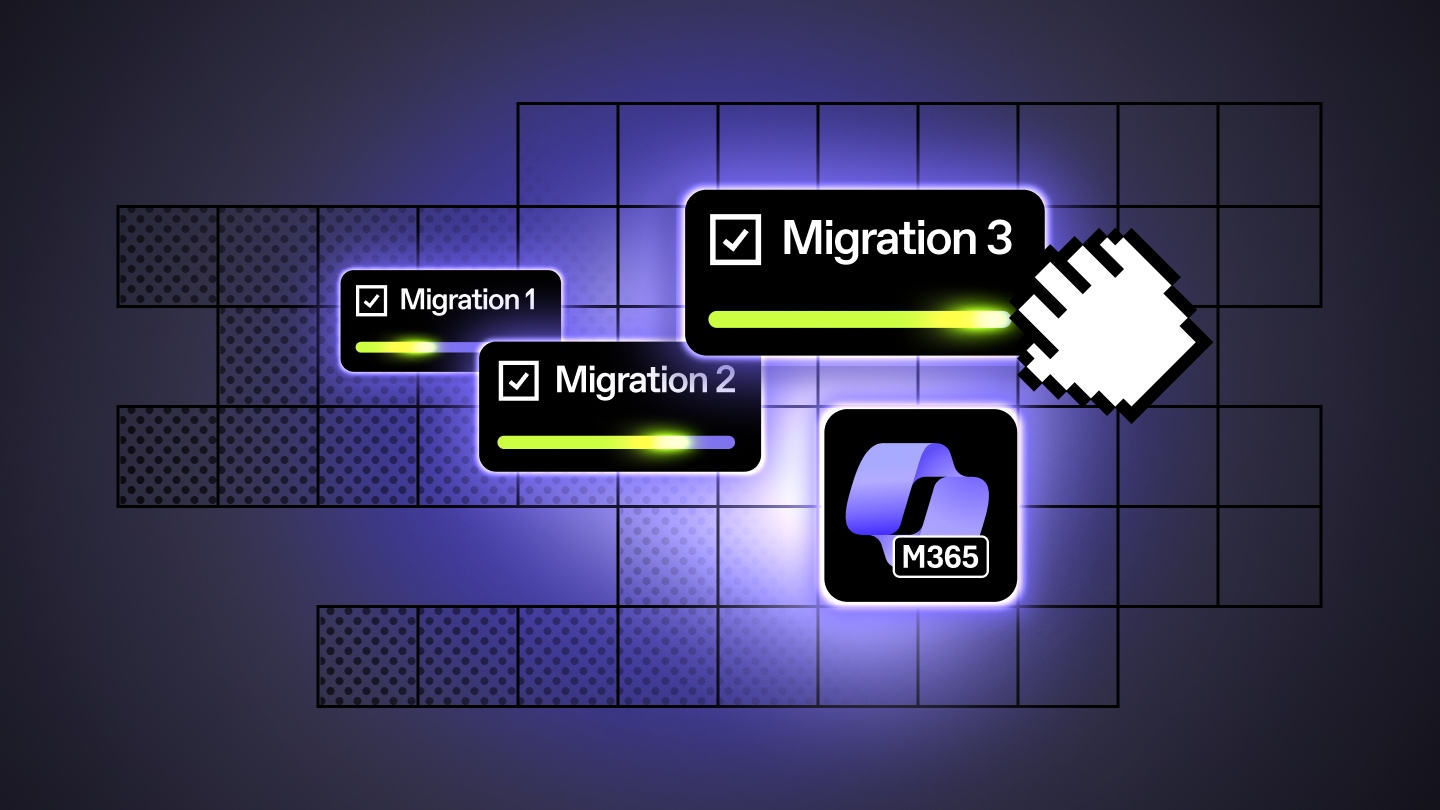
Master Hacks: Migrate like a pro
Check out our video series to help you turn migration projects into masterpieces!
Table of contents
How can you make sure you’re using and structuring SharePoint sites and document libraries the right way? Microsoft MVP Benjamin Niaulin covers best practices to keep in mind when rolling out SharePoint in your organization.
When you work with SharePoint, it’s not a one-size-fits-all situation. Before you get started, you’ll want to take into consideration the needs of your organization, as well as the way people work together daily. This will inform your SharePoint strategy, and how you structure your Information Architecture to best serve your business users.
In SharePoint management, Information Architecture refers to how documents are organized in document libraries, SharePoint sites, and site collections across your intranet. A good IA can be the difference between a usable system that is widely adopted by users, and one that struggles to get off the ground.
In this post, we’ll look at what it takes to build and use SharePoint correctly.
Use metadata in your SharePoint document libraries to tag and find your documents faster
Think of metadata as a key part of your SharePoint content strategy, helping to streamline document management in your SharePoint document libraries and sites. This eliminates the need for endless nested folders. Metadata is how you tag the documents so you can find them quickly.
Folders vs. metadata:
- Folder structure: Your documents can only be physically stored in one place at a time
- Metadata: You can add multiple different tags to each document—making it easier to find content with different search parameters
Whenever possible, centralize and reuse
Metadata is stored using columns. The thing about columns, though, is there are different types of columns to choose from. And it does matter what kind of column you choose to create.
You have the choice of creating either a:
- Column: Created within a document library or list, can’t be reused somewhere else.
- Site column: Configurations are centralized and reusable across a site collection.
Because site columns are centralized, all the lists and libraries across the site can reuse that column and its configurations. It also allows you to create a lookup column for a parent site.
Read more: Microsoft Lists capabilities, integrations, and best practices
I recommend using site columns whenever possible so that you can reuse them.
Because site columns are centralized, all of the lists and libraries across the site—as well as any subsites—can reuse that column and its configurations.
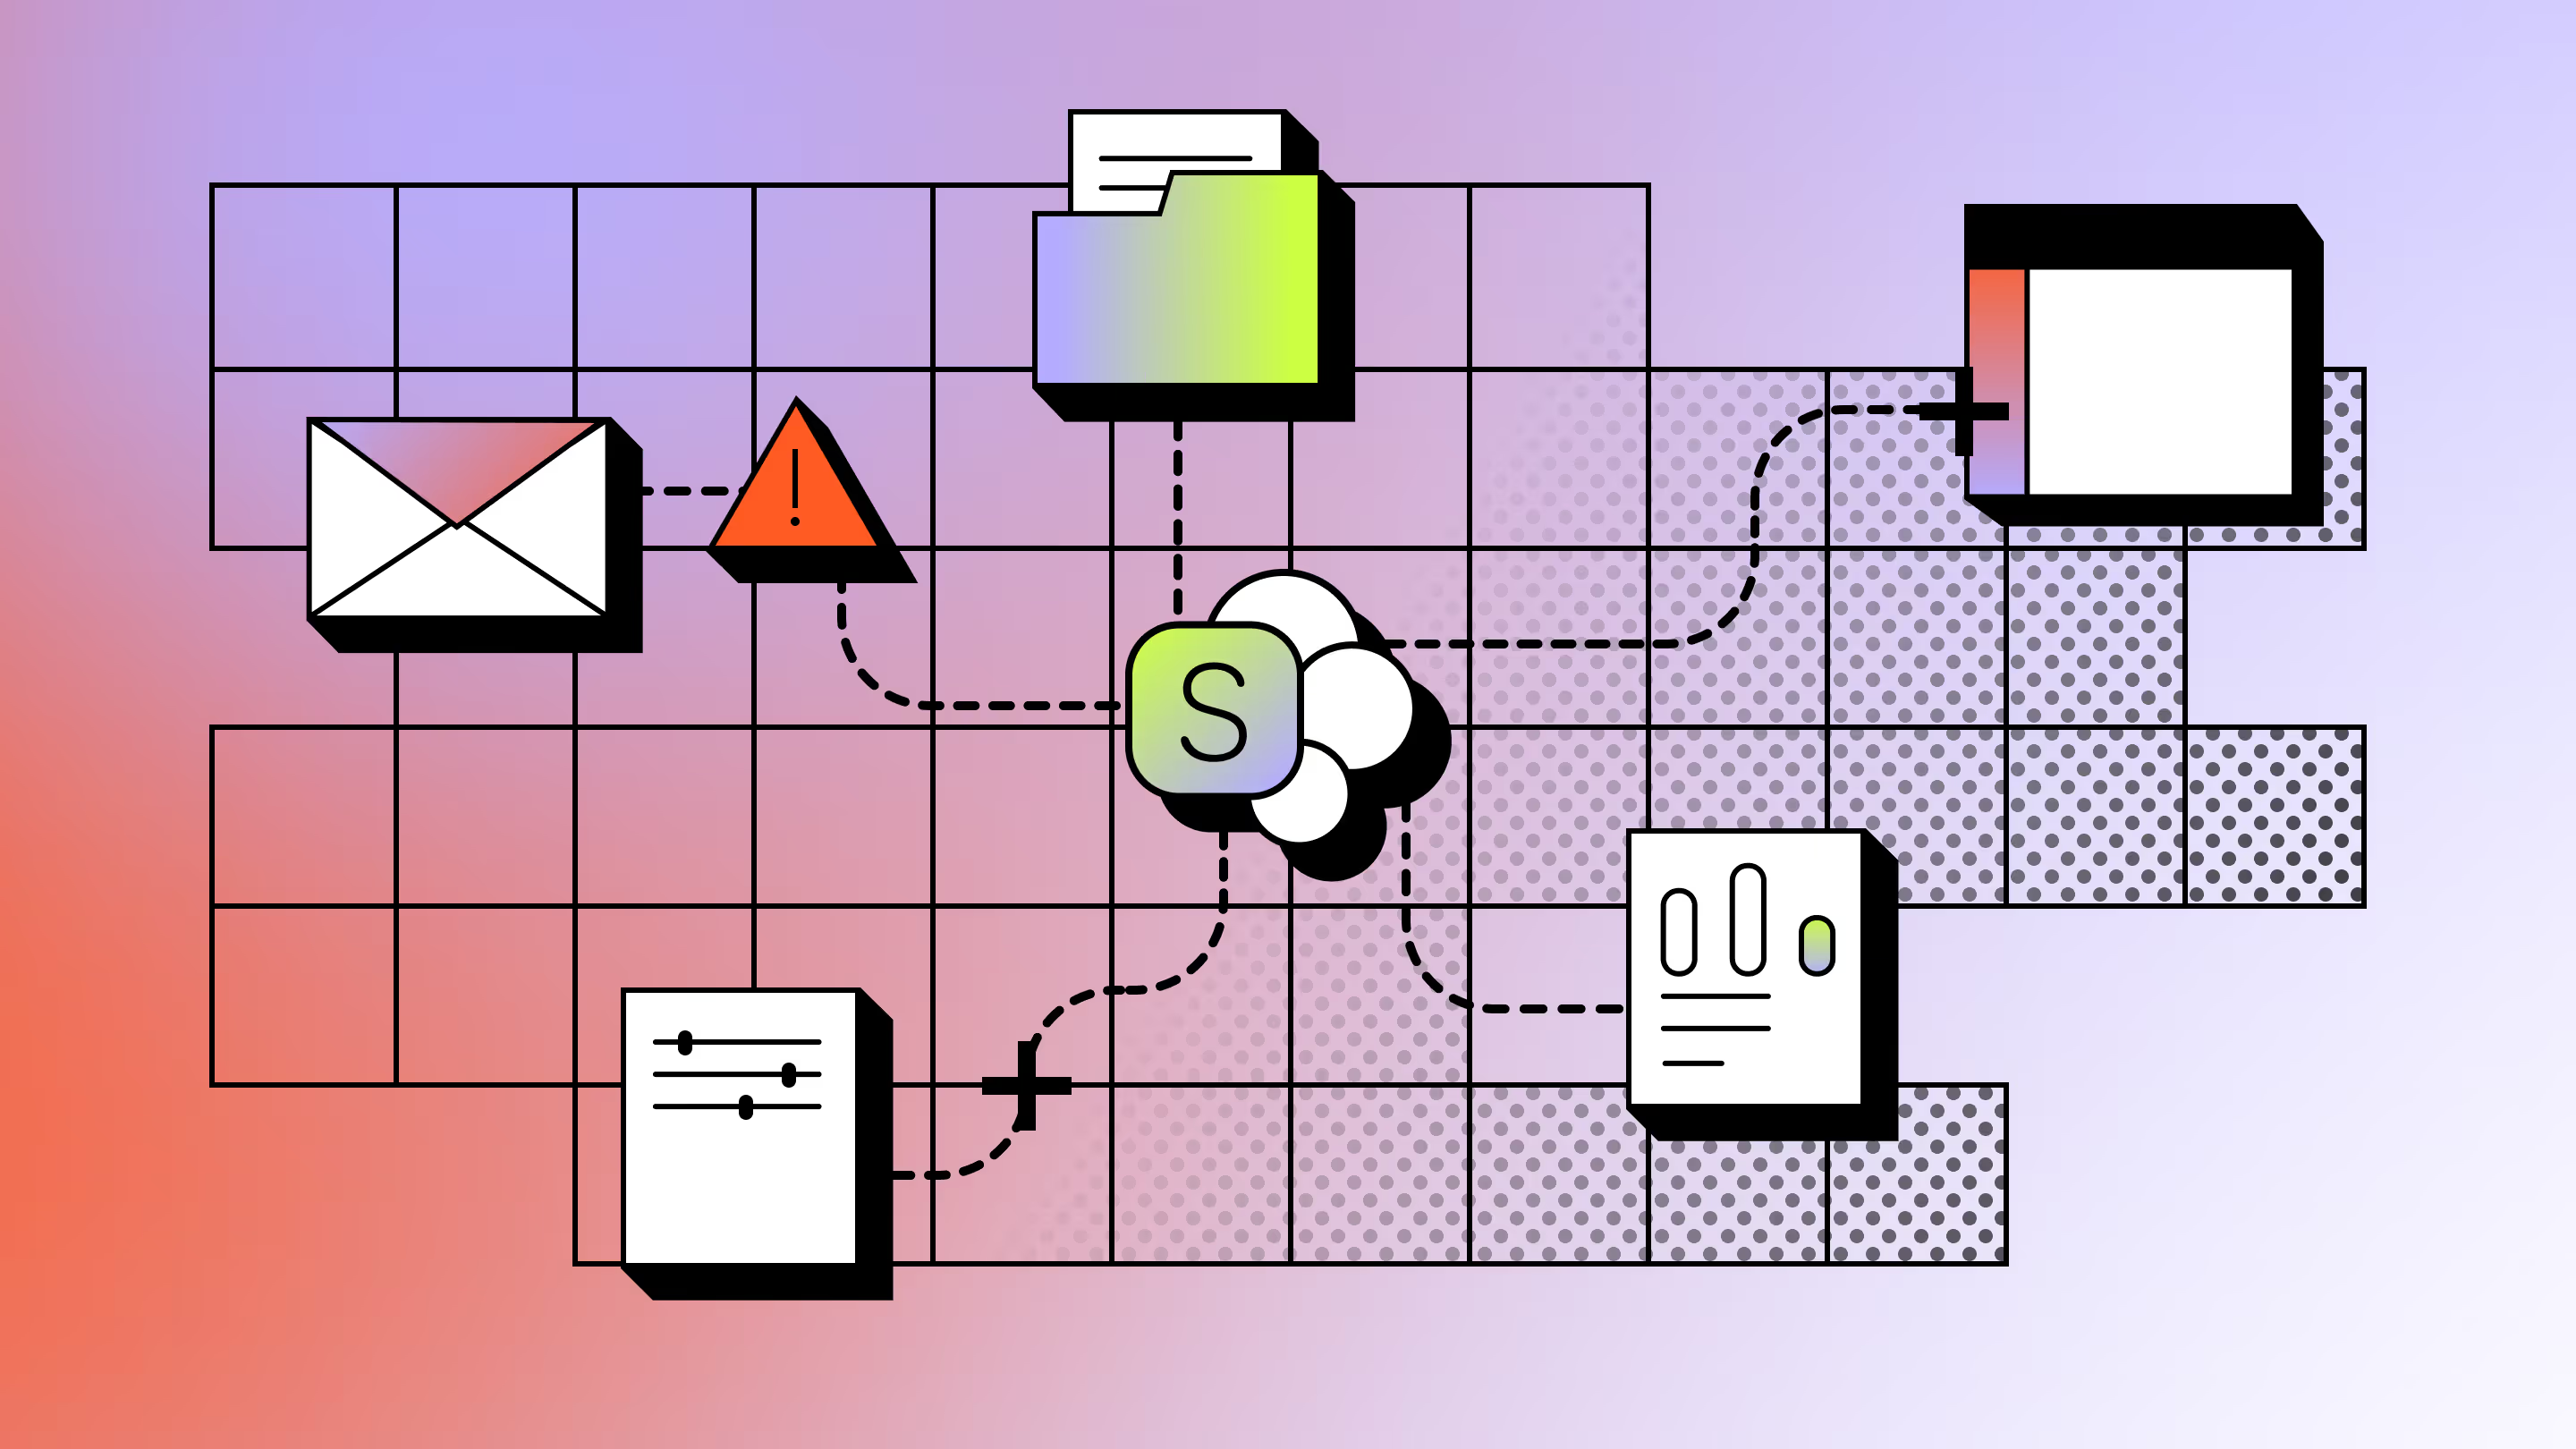
According to our State of Microsoft 365 report, IT pros say governance and access control remain some of their biggest post-migration challenges. Get the data on how peers are structuring SharePoint and Microsoft 365 to balance usability, scale, and security.
Content types
If you have a bunch of site columns that you find yourself frequently using together, you can create what’s called a content type.
Content types are reusable sets of columns used together that define a type of content in your organization.
Whenever you add a content type to a document library, it automatically includes all the columns identified within that group.
The value of the content type is that it allows you to have more than one type of content within the same document library, while still benefitting from column filtering.
You also want to stay away from endless columns. Users don’t want to start filling out complex forms to add an uploaded document—instead, they’ll just send it by email or put it back under file share.
Design a site architecture that accounts for the 5,000 list view threshold
Another common mistake I see is people complaining that there’s a 5,000 items limit on SharePoint.
This is not true. The limit of documents in a document library, if I remember correctly, is something like 50 million documents. It’s not a limit. It’s a view threshold because it hurts performance.
You need to plan your site architecture so that you don’t hit the list view threshold for a document library. If you have no choice, add some sort of indexing and filter columns that’s you’re using.
You need to plan your site architecture, so you don’t hit the list view threshold for a document library. If you have no choice, add some sort of indexing and filter columns that you’re using.
So as soon as you get more than 5,000 items, SharePoint stops showing them to you.
Enable metadata navigation to see again and reorganize / index sort and filter columns
If your document library exceeds the 5,000 threshold, enable metadata navigation or create custom views to improve performance in your library settings. That way, you can filter your document library, deleting or moving things into folders.
If you’ve already passed the 5,000 threshold and you need to see your items again, enable metadata navigation. That way, you can filter your document library, deleting or moving things into folders.
To be honest—I don’t use it that often anymore. But if you’re still using the lookup column, it’s a very, very bad idea to do a lookup column for a list containing hundreds and hundreds and hundreds of rows.
The performance hit every time you load the lookup is immense. So please—be careful with your lookup column.
Don’t use SharePoint to replace your relational database
SharePoint is not the place to replace your relational database.
Those complex databases—where this is related to that, which is related to that, which is related to that, so that I can get all my information for a customer—SharePoint is not built for that and will not support that.
You can try to do it, you will fail at doing it, and you’ll just end up wasting time, money, and—probably like me a few years ago—quite a bit of hair.
You can try to do it, but you will fail at doing it, and you’ll just end up wasting time, money, and—probably like me a few years ago—quite a bit of hair.
What you need to look at is how to connect external data to your SharePoint. Or look at the apps model that lets you surface this kind of complex application inside of SharePoint, through I-frames, or however you want to look at it.
Assign permissions to groups—never to users directly
First things first: Never give permission directly to an individual user. Never, ever do this. Always give permissions to a group to ensure your site collection remains secure and easy to manage.
Security and permissions: SP Groups vs AD Groups
When you manage security in your SharePoint site, you have two kinds of groups:
- SharePoint groups: These are groups that are created for your site collection where you can assign permissions.
- Active Directory groups: These are groups created by your Active Directory admins that usually already exist.
Whenever you change the membership of a SharePoint group, the next time the search passes with an incremental crawl, it will launch a full crawl to recalculate the entire access control list.
Whenever you change the membership of a SharePoint group, the next time the search passes with an incremental crawl, it will launch a full crawl to recalculate the entire access control list.
Here’s what you need to do:
- Set permission levels in your library settings to manage access control at the group level, avoiding breaking inheritance.
- Inside of your SharePoint groups, add Active Directory groups.
- Then, add your users to an Active Directory group.
Only give permissions to SharePoint groups. And the members of the SharePoint groups should be Active Directory groups, not individual users. This is best practice.
Also, avoid breaking permission inheritance at the item or document level.
By default, all sites, lists, and libraries in a site collection inherit permissions settings from the site directly above them in the site hierarchy. So sites inherit permissions from the root site, subsites inherit permissions of the parent site, and folders, lists, and documents inherit permissions from the site that contains them.
You can read more about customizing permissions for a SharePoint list or library in the official Microsoft support documentation.
The best thing to do—as long as you can, for as far as you can—is to leave permission inheritance intact. If you have to break it, try to do so at the site level, if possible.
The best thing to do—as long as you can, for as far as you can—is to leave permission inheritance intact. If you have to break it, try to do so at the site level, if possible.
First of all, try not to do it. But if you’re going to break permission inheritance, try to do it at the document library or folder level.
Part of learning to adopt new technologies is willing to make mistakes. I wrote this entire article based on lessons learned through many, many past mistakes. But remember, I made them, so you don’t have to.
Now that you have the know-how, get out there and build the SharePoint of your dreams!