Google Workspace to Microsoft 365: A step-by-step migration guide with ShareGate
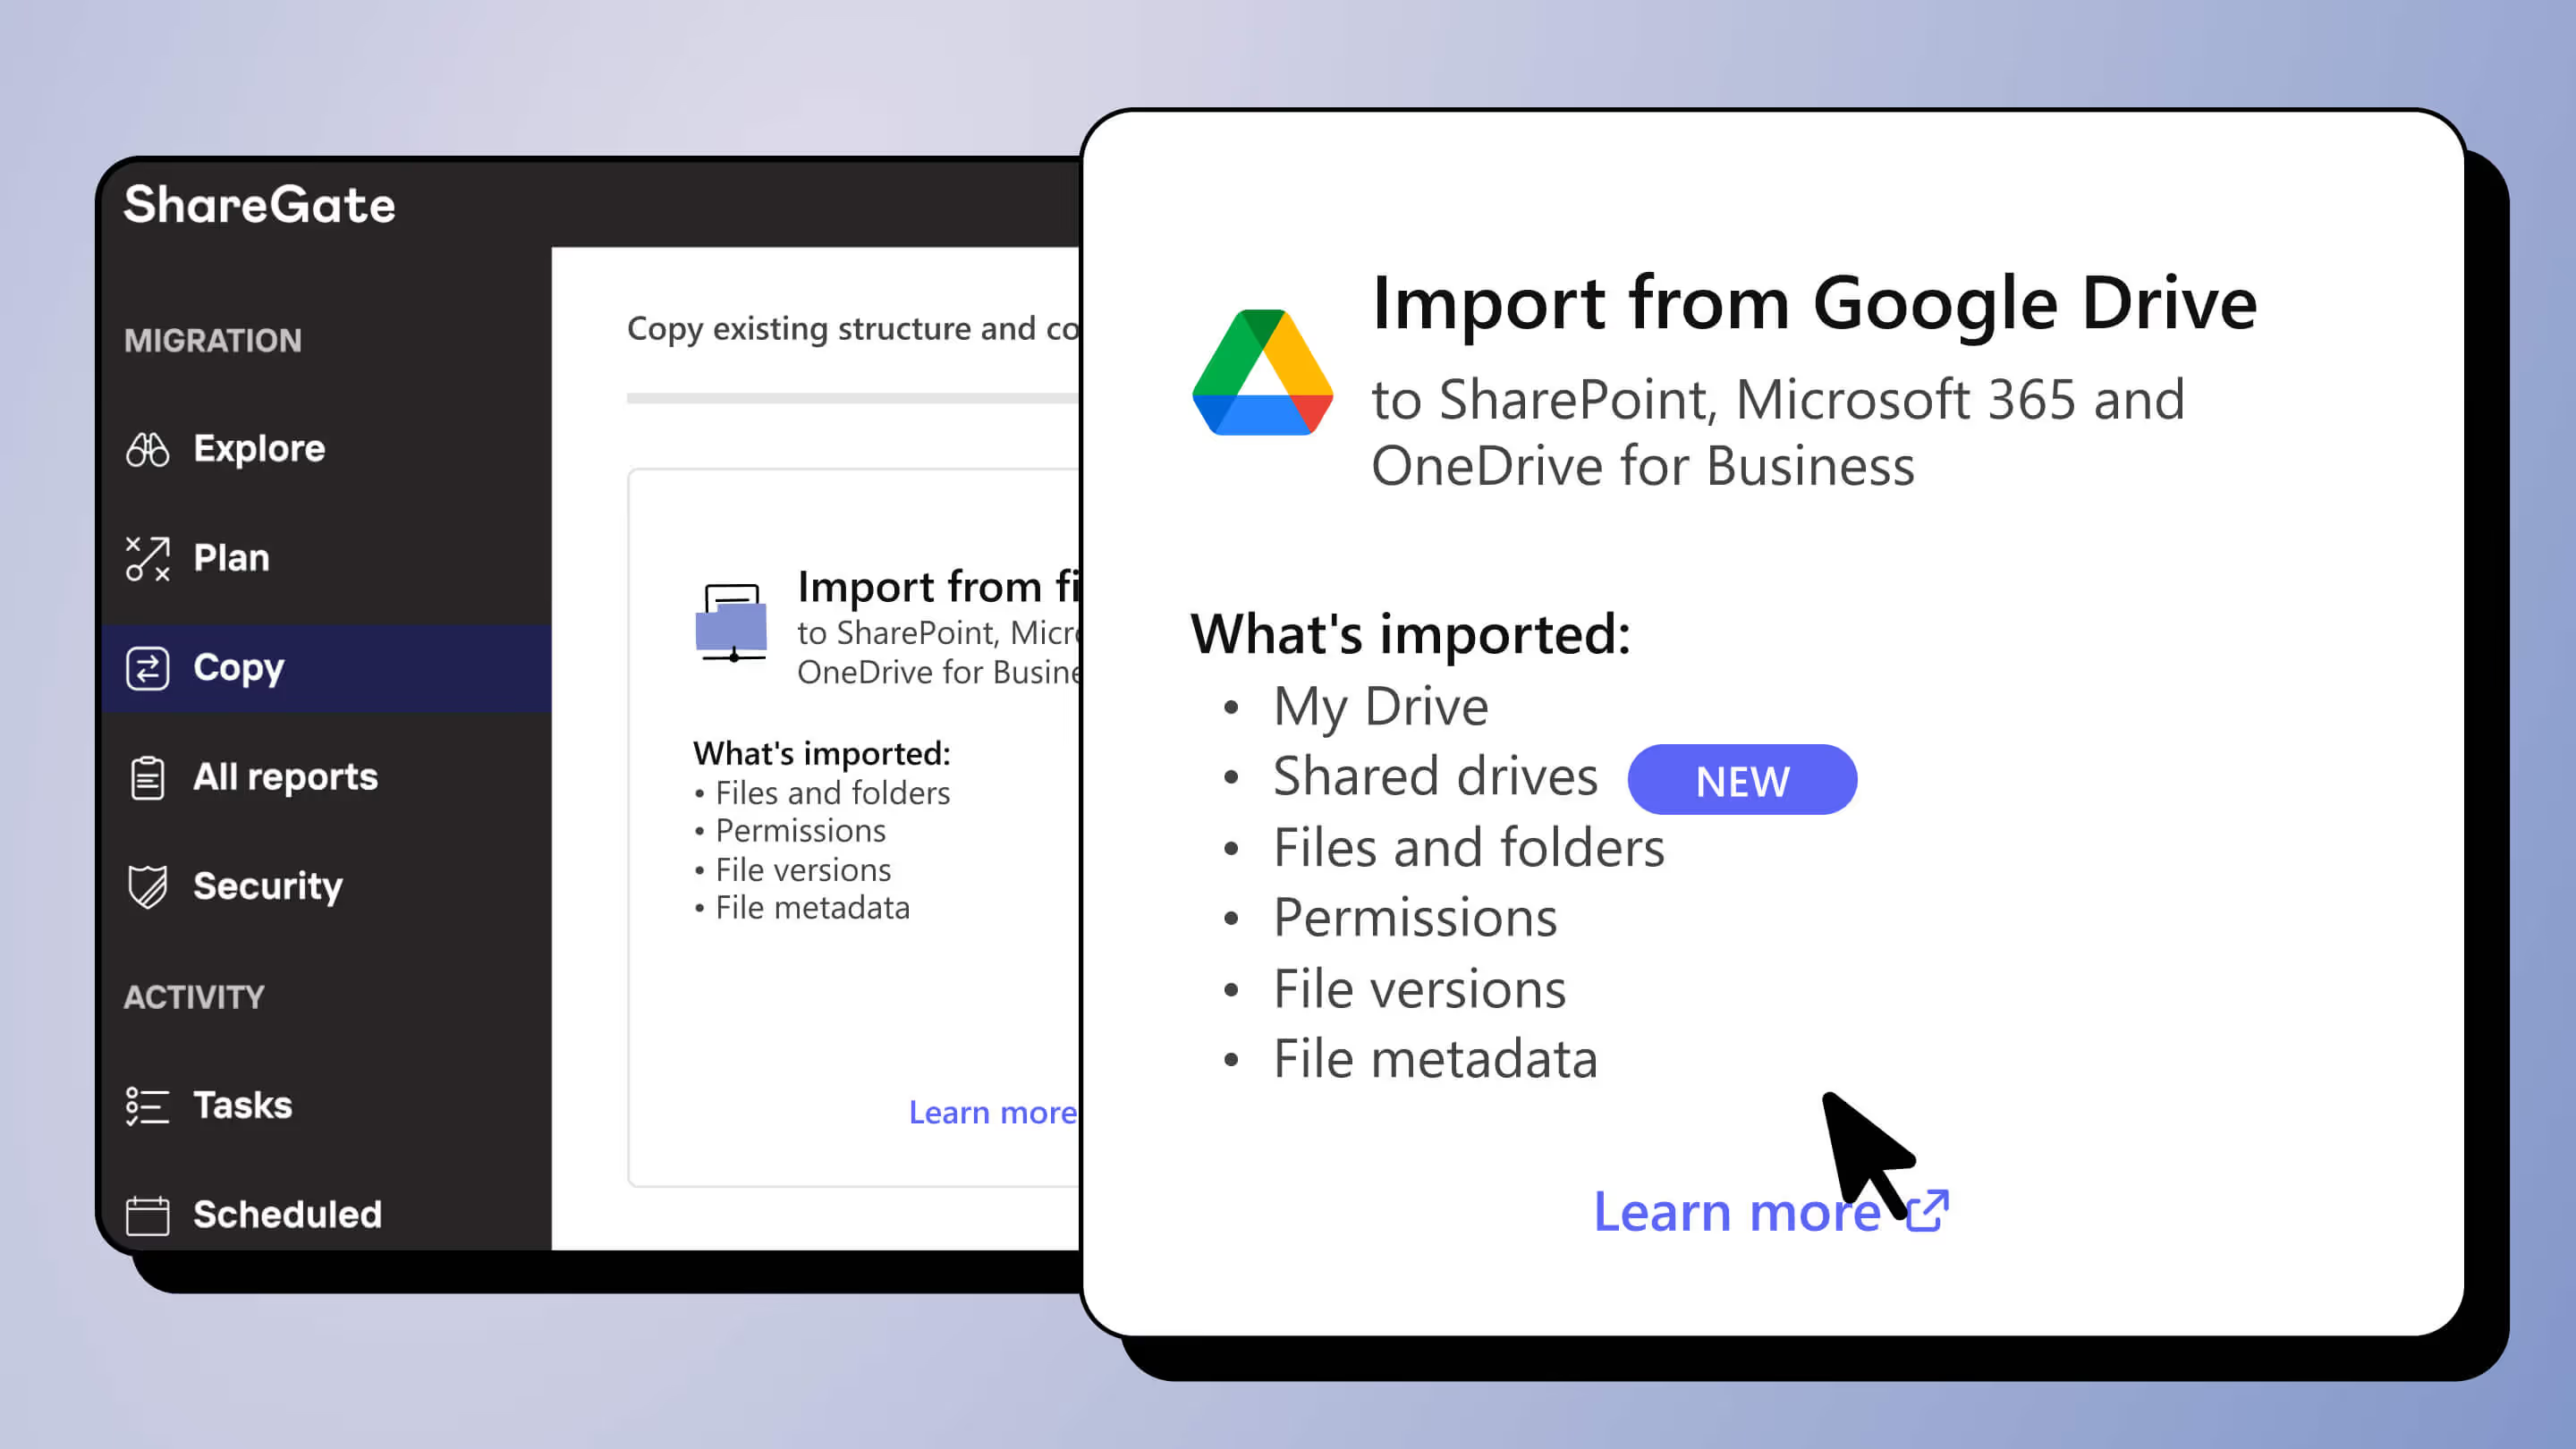
Table of contents
Learn how to use ShareGate for a seamless migration from Google Workspace to Microsoft 365—from setup to post-migration.
Migrating from Google Workspace to Microsoft 365 is no small feat, especially when you’re balancing the needs of your team, data security, and deadlines. But that’s where ShareGate comes in.
As a trusted, go-to migration tool for IT pros, ShareGate simplifies the entire migration journey—from a smooth transition plan to seamlessly handling post-migration tasks that keep your new Microsoft 365 environment running efficiently.
Whether you’re dealing with terabytes of data, complex permissions, or a group of end users (and possibly IT admins) completely unfamiliar with Microsoft 365, ShareGate has the tools you need to get it done right the first time.
Let’s walk through how to migrate from Google Workspace to Microsoft Office 365, and how to take care of your data and end users after the migration.
Check out the other blogs in our Google migration series. In the first, we explore why organizations are making the leap from Google to Microsoft, and in the second, we compare the top Google Workspace to Microsoft 365 migration tools to help you pick the best fit for your needs.
Moving from one platform to another can be overwhelming—just like moving from one house to another—but we’ll show you how straightforward it can be using ShareGate for your Google Workspace migration.
Step 1: Conduct a pre-migration analysis of your Google Workspace
If you were planning to move houses, you’d want to get a sense of what you have so you can figure out what you want to take with you and what you might donate or throw away.
We start planning a migration in the same way. You need to know what’s in your source tenant so you can plan out how long your migration might take and to do some cleaning and organizing before your move.
While the Marie Kondo approach of seeing if your belongings spark joy might help you purge and tidy your house before a move, it won’t cut it when migrating your organization’s data. Unless your colleagues' files are what sparks joy for you—no judgement!

Since ShareGate’s source analysis report is currently tailored for Microsoft 365, you’ll need to use the Google Admin Console to get the data you need to figure out what to keep and what to leave behind.
Here are a few of the reports we recommend reviewing before you start your migration:
- Audit Logs can help you identify active and inactive users, recent file activity, and data that may need to be archived or cleaned up before migration. From the Google Admin Console navigate to Reports > Audit > Drive Log.
- Storage usage will help locate large files and will help you gauge how much storage you’ll need in OneDrive or SharePoint. You can access the Storage Reports in the Admin Console.
- Google Takeout can give visibility into the structure of files, folder hierarchies, and data ownership, helping to plan the structure of OneDrive and SharePoint destinations.
- Exporting lists of users, groups, and permissions from the Directory > Users and Directory > Groups sections of the Admin Console can reveal user roles, group memberships, and sharing permissions. This information helps in mapping permissions and collaboration settings in Microsoft 365.
If you’re merging a Google Workspace tenant into a Microsoft 365 tenant, it would also help to do an analysis and tidy up of the destination tenant. This can help you understand where you’ll fit your new users, groups, files, and data.
If you don’t have the time or resources to pull these reports pre-migration, don’t worry—ShareGate's reporting, user and permissions mapping, and general management capabilities will make it easy for you to get your tenant organized quickly and effectively after you’ve made the move to Microsoft 365.
This might even offer you an opportunity to reorganize some outdated architecture. In this case, you can certainly use ShareGate’s analysis report to get all the information you need on the destination tenant.
Step 2: Start migrating content with ShareGate
Okay, your old house and new house are both tidy, and your things are organized and packed neatly into boxes, now you can call the movers and start loading up the truck!

When you start your Google Workspace to Microsoft 365 migration, log into your ShareGate account and go to Copy. Then select Import external content and choose Import from Google Drive.

Then connect with your Google Workspace email. Make sure to Connect as admin, otherwise you’ll only see your own My Drives rather than all the shared drives in your Google suite.
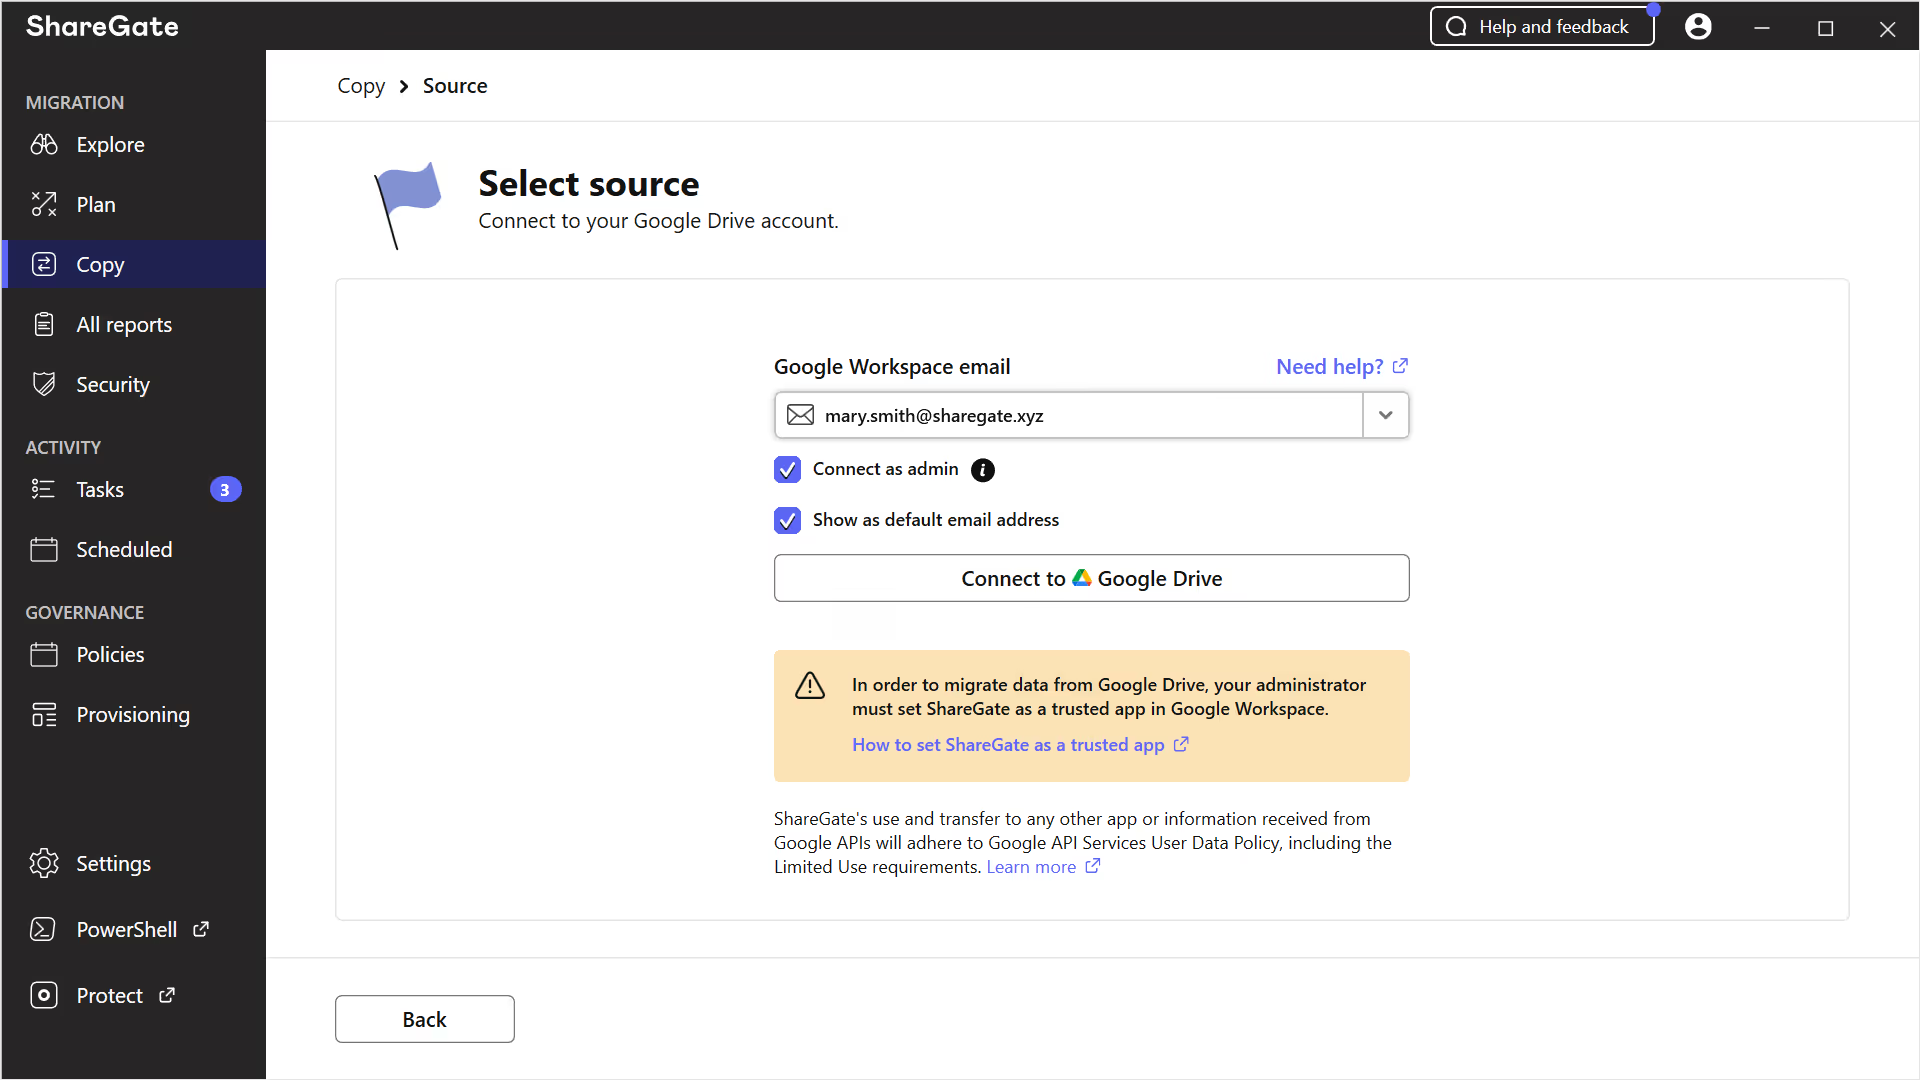
Give ShareGate access to your environment, then select your target site.
While it may feel like you’re moving your whole platform to another platform, remember that you’re actually only moving content. In the same way that someone moving houses doesn’t pick up their house and move it to a different location (unless you live in the small Canadian province of Prince Edward Island where this is weirdly common); rather, you move all of the stuff, people, and pets that were in one house to a different house.
Select a specific site and document library to host the content that you’re moving. Then select which Google Drive you want to migrate content from, and you do have the flexibility to drill down and select only certain files.
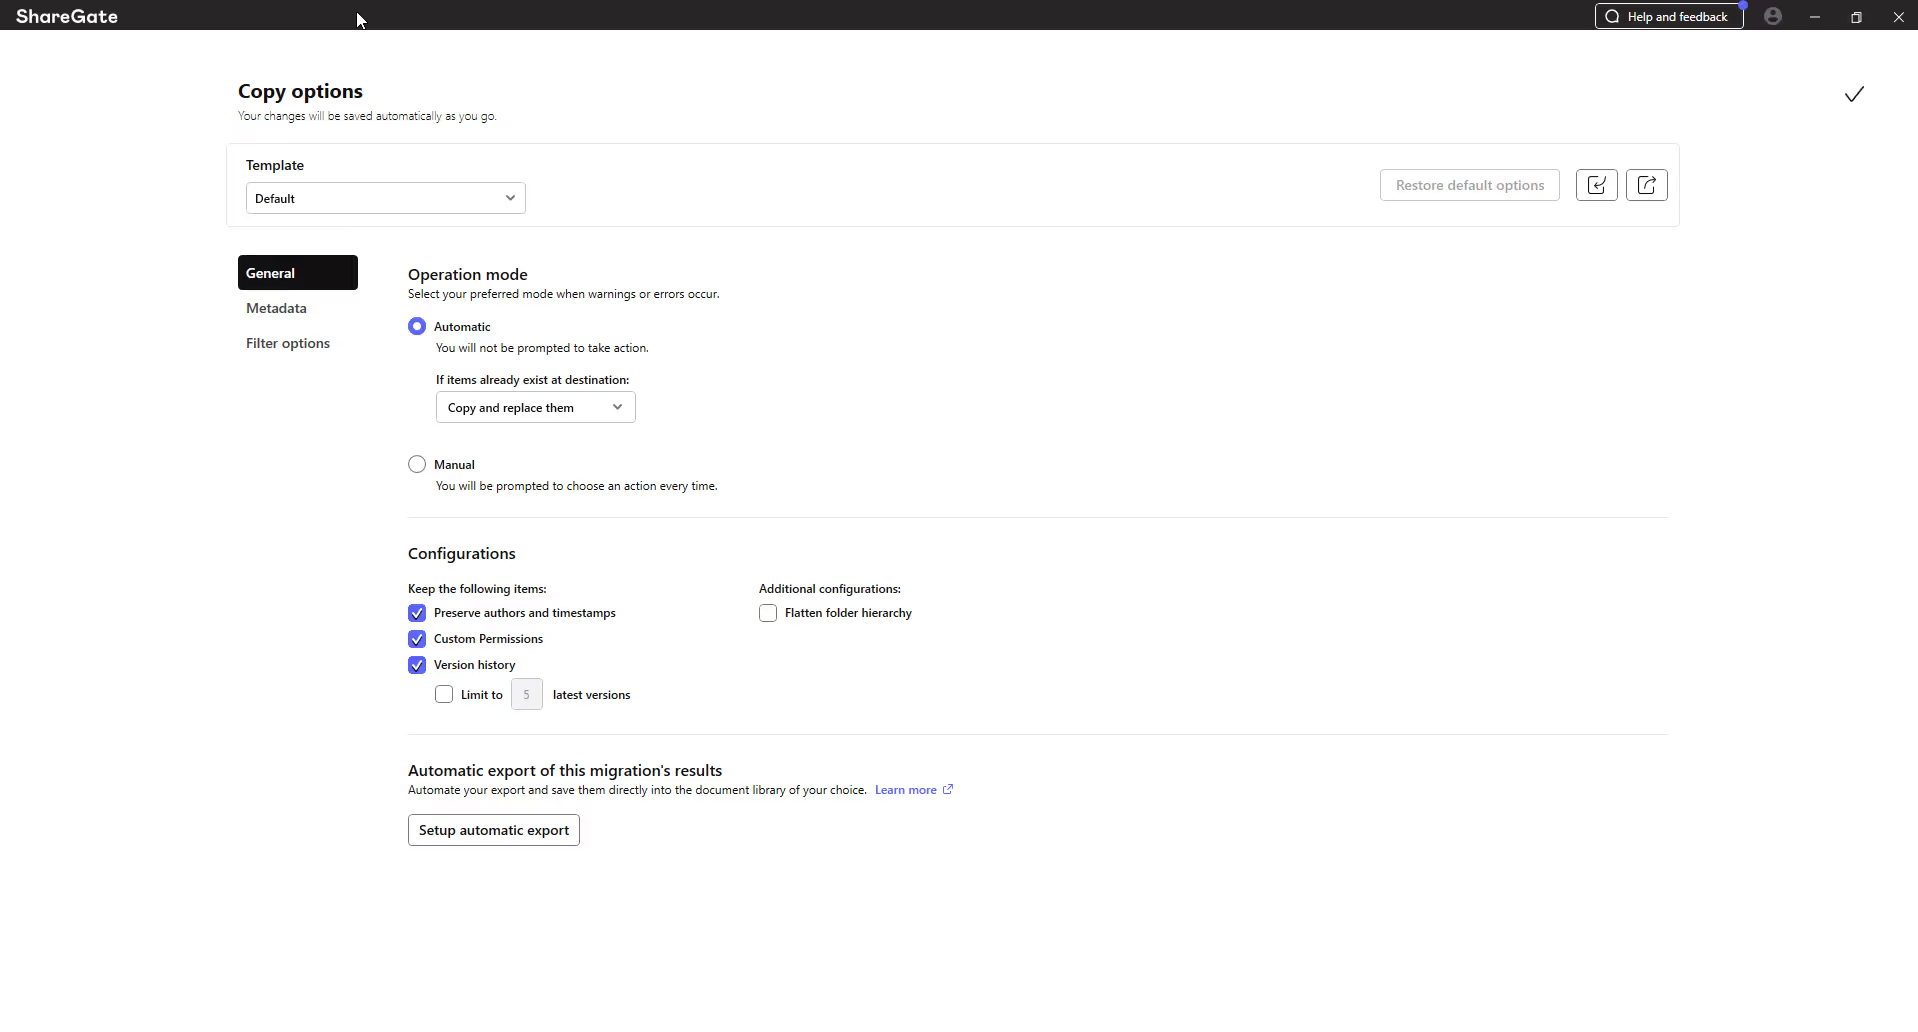
At this point, you’ll have essentially the same experience as if you were migrating from one Microsoft 365 tenant to another. So, if you’ve performed migrations with us in the past, you’ll have the same filters, features, and configurations that you’re used to!
Step 3: Monitor progress and address any errors
By keeping a close eye on progress and using the tools at your disposal, you’ll keep your migration on track and ensure a successful transition to Microsoft 365.
To monitor migration progress in ShareGate, you can access the migration report by selecting Tasks from the sidebar and clicking the title of the migration you want to view.
The migration report will give you a detailed view of the migration, including whether the item migrated successfully, started copying, encountered an error, or was skipped. The report also provides issues about errors and warnings.
When errors occur (and they might—migrations are complex!), ShareGate provides clear, actionable error messages. These messages tell you exactly what went wrong and how to fix it.
Some common errors might include missing permissions, file path issues, or unsupported file types. ShareGate’s documentation and support tools provide easy fixes for most of these.
When you know what you need to fix, you can do an incremental migration, which saves you time by only re-processing what didn’t work the first time rather than starting over. You just need to go to the Copy screen, identify the folder that needs to be updated, then select your preferred migration option.
Step 4: Verify data accuracy post-migration
Congratulations—you’ve finished your move!But don’t pop the champagne just yet. Before you give away the keys to your old house and give the movers their final payment, you have to make sure everything was actually moved and nothing got broken along the way.

Post-migration tasks are crucial to ensure that everything is functioning as it should and that your new environment is set up for long-term success.
The first thing you’ll want to do is verify the accuracy and completeness of your migration. While the migration reports generated during the process can give you a solid overview, it’s important to dig deeper. Review the results carefully to confirm that all files, emails, and permissions have been transferred correctly.
To ensure nothing was missed, we recommend diving into our Permissions Matrix Report. This powerful tool provides a detailed view of your environment’s permissions, showing exactly who has access to what after the migration.

Easily and quickly spot broken hierarchies, keep sensitive data secure, and ensure that team members can access the resources they need. This report is also a handy resource for documenting and communicating permissions structures with stakeholders.
You could also try performing manual spot-checks across a variety of users and locations. For example, test whether shared files are accessible in OneDrive or confirm that Microsoft Teams channels are properly configured with the correct memberships. This hands-on approach can help you catch any anomalies or errors that may not appear in automated reports.
Step 5: Ensure end-user adoption
While you should create an adoption strategy during the planning phase, now that you’ve validated that your data and permissions are in order, it’s time to shift your focus to your end users and put that strategy into motion.
Migrating from Google Workspace to Microsoft 365 isn’t just a technical change—it’s a big shift in how your organization collaborates and communicates. To make the transition as smooth as possible, provide your end users with the tools and knowledge they need to succeed.
Step 6: Optimize your Microsoft 365 environment for the future
Okay, everything you wanted to move from your old house is now in your new house, and you feel like you’ve set up your new house effectively!
But, here come your kids leaving a trail of toys, books, and clothes in every room of the house. And there goes your dog knocking over that precariously placed vase in the hall.
Things might good when you first step in the door, but how do you futureproof your tenant to keep it organized and secure in the long term? As per usual, ShareGate can help with that, too!
Your migration may be complete, but governance is ongoing and essential to maintain an organized and secure environment. ShareGate offers a suite of governance tools that make it easy to manage permissions, implement lifecycle policies to secure sharing practices.
With ShareGate, you can set up guardrails for curbing inactive and orphaned teams and keep tabs on externally shared links and guest access to ensure your tenant is optimized. Our management features and archiving options will help keep your environment clean and manageable as your data continues to grow.
With your data verified, your users equipped, and your environment optimized, you’ll be well on your way to getting the most out of Microsoft 365. Taking the time to complete these post-migration tasks not only guarantees a successful migration but also sets your organization up for long-term productivity and success.
If you want to see what all of these steps look like in real time, book a ShareGate demo!


.svg)
%20(1).avif)



.avif)
.avif)

