.svg)

.avif)
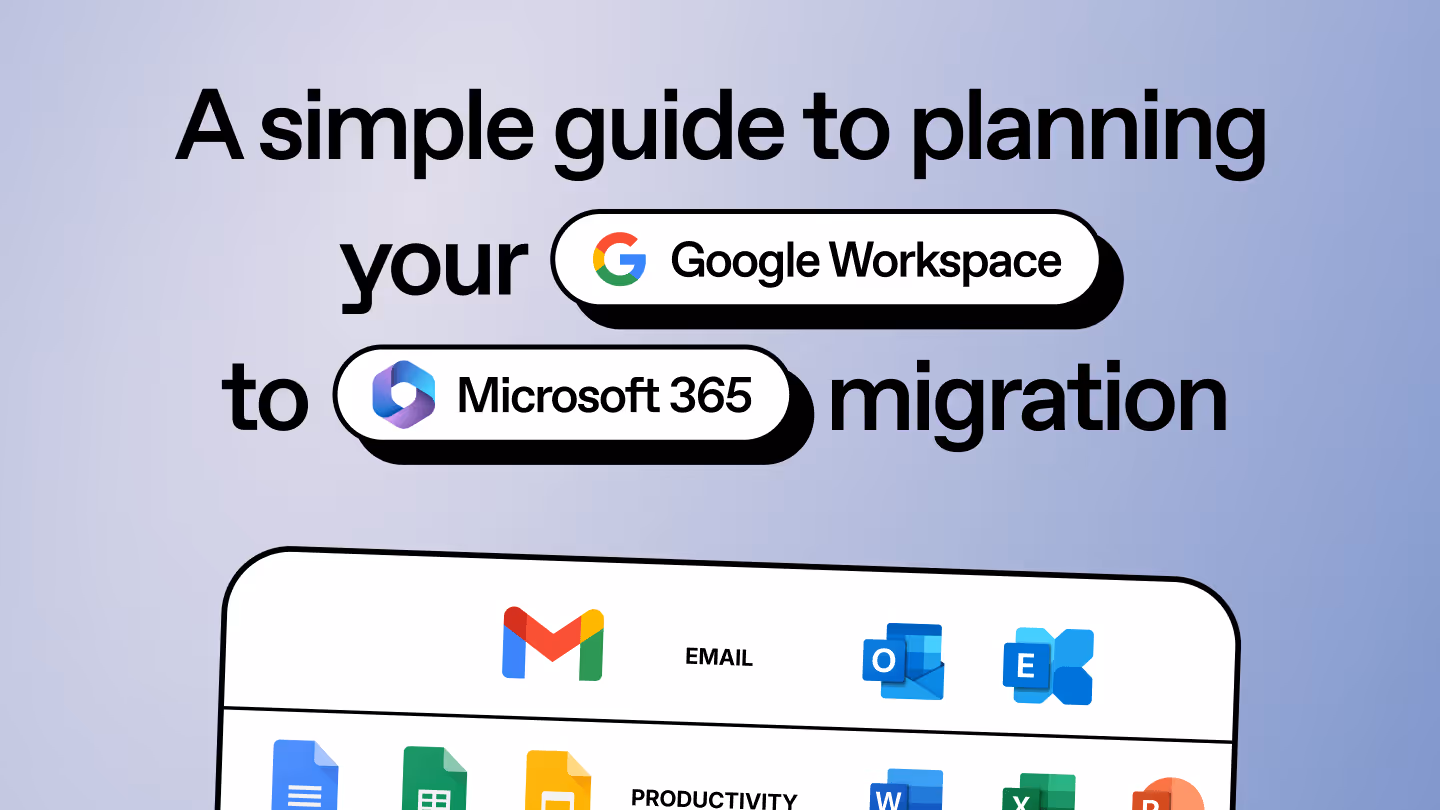
The simplest way to migrate to Microsoft 365
Move your content efficiently with minimal downtime & maximum data fidelity!
Book demo%20(1).avif)
Master Hacks: Migrate like a pro
Check out our video series to help you turn migration projects into masterpieces!
Table of contents
Learn how Microsoft’s Migration API works—and how pairing it with ShareGate’s intuitive interface, out-of-the-box capabilities, and powerful concurrent migration capabilities helps you migrate faster, smarter, and stress-free.
Moving to Microsoft 365 is more efficient than ever, even for organizations with massive volumes of content. Sure, migrating was always technically possible with the help of tools like ShareGate Migrate (and let’s be honest, we’ve been making IT heroes look good for years).
But historically, Microsoft’s throttling limits were a real headache—because they used the same APIs for migrations as for everyday services, which meant slowing down everyone’s tenant. Microsoft’s throttling is a security mechanism Microsoft leverages to prevent your system from overloading. It’s meant to protect your systems but it slows your migration.
The Microsoft 365 Migration API uses Azure Blob Storage to supercharge the process, bypassing the old bottlenecks. Migration speeds are fast, like swapping your tricycle for a turbocharged racecar. Paired with ShareGate’s easy interface, out-of-the-box capabilities, and powerful concurrent migration features, you can migrate faster, smarter, and stress-free.
How the Microsoft 365 Migration API works
If you’re just looking for a quick, high-level understanding of how Microsoft’s Migration API works—good news, it’s pretty straightforward.
Essentially, you export your content into a migration package, store it in an Azure storage account, and then Microsoft processes it through the migration API. When the timer job runs in Azure, they’ll take that package and put the content in your SharePoint or OneDrive for Business based on your package settings.
Please understand that I have oversimplified it to give you a high-level overview of the Migration API. It’s a little more complicated than it seems, but the results are incredible… we’re talking multiple GBs per hour.
Geekier version:
Before you begin, you’ll need an Azure subscription and an Azure storage account. That’s because the Microsoft Migration API leverages Azure Blob Storage containers to handle bulk content transfers. The storage costs are minimal, but you’ll need that account in place.
Tip: Create a new storage account just for your migration. That way, you get a separate Azure Storage Access Key and limit any potential problems. Bonus—when you set up your Storage Account, you can choose its physical location. Handy for large-scale migrations across regions!
Once this is ready, you may begin.
Step-by-step migration flow using Microsoft’s Migration API
- Create an Azure container in your Azure storage account—this is where your source content will go.
- Upload your content to the storage container for the content
- Take a snapshot of the Azure Blob Storage to ensure content integrity before initiating the migration job.
- Create a new storage container in the same Azure storage account for the migration package manifest files
- Generate all required manifest files—such as XML files and JSON configurations—following Microsoft’s expected schema.
- Upload the manifest files to your Azure storage container created for these files
- Take a Snapshot of each file uploaded in the manifest container on Azure.
- Use the CSOM method CreateMigrationJob to notify Microsoft where to retrieve the migration package
- You can get real-time updates by specifying an Azure Queue that will receive event messages.
- Check your log files (deposited in the manifest container) once the migration job is complete.
The most difficult part is to actually create the manifest files that tell the migration job how to import your content. Things like the ID, the metadata (though not all is supported), and any other information.
Heads up: The Migration API only handles the content—not the structure. That means you still need to create your site structure ahead of time.
Tools like ShareGate Migrate do all of this for you—without the blobs, manifests, or complex scripting. We leverage Microsoft’s APIs behind the scenes but give you a simple, intuitive interface to:
✅ Move content
✅ Migrate structure
✅ Map metadata
✅ Preserve permissions
✅ Clean up as you go
All in one go. No code. No stress.
Familiarities with the content migration deployment APIs from previous SharePoint
If you’ve been working with SharePoint since 2007—first of all, wow. You’ve earned your stripes. Back then, migrations involved a lot of manual work with PowerShell and legacy tools like Export-SPWeb and Import-SPWeb. But today, Microsoft 365 has come a long way, and so have the tools and strategies we use to migrate to it.
You’ll find the information on creating these uncompressed migration packages on MSDN and frankly, it works exactly the same way as it used to. The difference is that now, you send this package to Azure in the method described above and Microsoft will take care of importing it to your Office 365 SharePoint or OneDrive for Business using the information in your manifest file.
Let me give you an example:
If you plan to migrate file shares or an on-premises SharePoint server to Microsoft SharePoint Online, here’s what the process involves. I’m going to assume you already have an Azure Subscription and that within it, a new Storage Account. I’ll also assume that you have it ready with the two required containers, one for the content and one for the manifest files.
- Use PowerShell commands or an appropriate migration tool like SharePoint Migration Tool (SPMT) to upload your content into Azure storage. You’ll have to use the custom code with their SDK or PowerShell. Another way is to find 3rd party tools that will do it for you. Then take a snapshot, otherwise it won’t work.
- Create the migration package with all necessary XML files, including manifest files and mappings to ensure proper identifiers and metadata assignment. Detailed in the MSDN link above: ExportSettings.xml, LookupListMap.xml, Manifest.xml, Requirements.xml, RootObjectMap.xml, SystemData.xml and UserGroup.xmlThe most important file is the manifest that references each object you want to import and tells the story on how to migrate it to the destination. Once again, you’ll need to snapshot these in Azure.
- Call the referenced CSOM method CreateMigrationJob with the parameters telling it where to get the Content Container and the Manifests.
- Once the job ID is assigned, wait for the migration job to be processed, transferring content to Microsoft SharePoint Online or Microsoft Teams as required.
Modern approaches to Microsoft 365 content migration
The good news? You no longer have to wrangle XML manifest files or manage Azure containers manually to get your content into the cloud.
Instead, Microsoft now offers modern, simplified migration solutions:
- SharePoint Migration Tool (SPMT) – A free, Microsoft-supported tool ideal for migrating file shares and older SharePoint content to Microsoft 365.
- Migration Manager (via Microsoft 365 admin center) – Good for scaling file share migrations across distributed teams and locations.
- Third-party tools like ShareGate Migrate–Our personal favorite (okay, we might be biased). ShareGate Migrate gives you an intuitive interface, high-speed transfers, and powerful capabilities to handle even the most complex SharePoint and Teams migrations—without scripts or complicated setup.
What you should know about migrating to Microsoft 365 with the Migration API
Besides it being a long and tedious effort to create these packages—especially the manifest files—there are a few things you should know for your migration package. One we mentioned already: there’s no easy way to import your content into Azure Storage Containers without coding or using a third-party tool.
- The size of the package. While Microsoft has improved throttling and performance over time, it’s still a best practice to keep migration packages manageable—aiming for under 25GB per package can help ensure smoother processing through Microsoft’s migration API.
- The file size of content being migrated. Early versions of the API had a 2GB file size limit per file. Thankfully, that’s no longer the case. Larger files are now supported.
- Only use un-compressed packages. If you’re coming from older migration methods, you might be tempted to use a .cmp file—but these aren’t supported by the Migration API. Stick with standard folder/file structures or use a trusted tool to streamline this.
- Support for content versioning and unique identifiers in lists or libraries. This is huge! The Migration API supports version history and allows you to keep the ID value of your list items and documents respectively. That means less post-migration cleanup and fewer headaches.
- Delete your storage container after migration. You’re paying to store your data in Azure, so once your migration is complete, don’t forget to delete what you no longer need.It’s only 2 to 5 cents per GB, but still.
The results? Insane speeds when migrating to Microsoft 365
How do we know so much about this Migration API? Because ShareGate’s been in the mix with Microsoft from the start. We worked together to make our famous “Insane Mode” for blazing-fast speeds when migrating to Microsoft 365.
ShareGate’s migration engine has come a long way since then. We offer concurrent migration capabilities and multi-activation licenses—so you can migrate multiple workloads simultaneously without worrying about throttling or budget blowouts.
A migration tool like ShareGate Migrate simplifies the entire process. It lets you bypass manual configurations and migrate your SharePoint and OneDrive content quickly and easily. The migration pipeline focuses on content and security objects, and ShareGate helps you assign metadata on the fly—even using Excel—so you don’t need to explain manifest.xml to anyone.