.svg)

.avif)
The simplest way to migrate to Microsoft 365
Move your content efficiently with minimal downtime & maximum data fidelity!
Book demo%20(1).avif)
Master Hacks: Migrate like a pro
Check out our video series to help you turn migration projects into masterpieces!
Table of contents
Don’t let Microsoft’s impending deadline put your organization at risk. This 5-step guide shows you exactly how to identify, prioritize, and quickly migrate your unlicensed OneDrive data using ShareGate—saving you from data loss, compliance issues, and costly retrieval fees when the clock counts down.
That means IT teams like yours need to act fast to prevent critical business data from disappearing. The good news? ShareGate makes OneDrive migrations a breeze. With an intuitive interface, powerful reporting, and blazing-fast speeds, you can move your data quickly and efficiently—ensuring nothing important gets left behind, no matter how tight the timeline.
In this guide, you’ll discover how to quickly identify and migrate your at-risk OneDrive data using ShareGate, ensuring your valuable content stays accessible while maintaining proper security and compliance standards.
Step 1: Identify which OneDrive accounts need to be moved
As the seconds tick away, you need to quickly determine which unlicensed OneDrive accounts require action. Not all unlicensed OneDrive accounts are the same—and neither are the decisions you’ll need to make about what to do with their data. Some contain personal work files that should stay under individual ownership—such as the replacement or manager of the employee who left—while others hold business-critical documents that multiple users rely on.
That’s why the first step in this process is getting a clear picture of your unlicensed OneDrive accounts. You’ll need to determine which accounts currently exist, what kind of data they contain, and who still needs access. ShareGate’s built-in reporting tools streamline this process, allowing you to quickly scan your Microsoft 365 environment and identify what needs to be moved where.
You can also use Microsoft’s report to find unlicensed OneDrives specifically:
https://[tenant]-admin.sharepoint.com/_layouts/15/online/AdminHome.aspx#/oneDriveAccounts
Conducting a pre-migration assessment helps you prioritize critical data, reduce unnecessary transfers, and avoid last-minute roadblocks—saving you precious time and preventing potential headaches later on.
For a deeper understanding of how Microsoft handles these accounts, review their official unlicensed OneDrive documentation.
Don’t forget this failsafe: While identifying accounts to migrate, you should also take a moment to review your OneDrive retention policies to ensure they’re properly configured. Even with a thorough migration plan, these policies provide an essential safety net against data loss and support your industry–specific compliance requirements.
Step 2: Decide where to move critical data
Once you’ve identified which unlicensed OneDrive accounts need to be moved, the next step is deciding where that data should go. The right choice for your specific migration scenario will depend on data ownership, collaboration needs, security considerations, and compliance requirements, but you essentially have two options:
- Move data to a licensed OneDrive account
- Move data to SharePoint
Pro tip: Understanding how OneDrive for Business functions as a collaboration tool will help you make better migration decisions.
Option 1: Migrate data to a licensed OneDrive account
If files belong to a specific user and don’t require ongoing collaboration, migrating them to a licensed OneDrive account is the simplest and most effective solution. The option is ideal in cases like:
- Employee offboarding: A user is leaving the company, but their replacement needs access to their work files. Instead of losing documents when the account becomes unlicensed, you can transfer the data to a manager’s or successor’s OneDrive.
- License reallocation: You’re removing Microsoft 365 licenses to cut costs, but some users still need access to their OneDrive files. Moving their data to an active account ensures nothing is lost in the process.
With this approach, you can preserve user ownership of files, keeping them accessible within OneDrive and minimizing workflow disruptions.
Option 2: Migrate data to SharePoint
For documents that multiple people rely on—such as team files, project documents, or records that need to be retained for compliance—SharePoint is the better destination. This option is particularly useful for:
- Mergers, acquisitions, or restructuring: Teams are being reorganized, and data needs to be moved to a shared environment where the right people can access it.
- Compliance and governance requirements: Regulations require that business documents be properly stored and auditable, even after an employee leaves.
- IT housekeeping: Your organization is proactively cleaning up unlicensed OneDrive accounts, and you need a structured, scalable way to store important files.
- Employee collaboration: By using a shared site, multiple employees can easily work together in a centralized location.
Migrating files to SharePoint ensures that teams can still access critical documents even after an employee’s OneDrive is deactivated, fostering stronger collaboration.
Whether you’re handling employee offboarding, restructuring teams, meeting compliance requirements, or cleaning up IT environments, ShareGate simplifies bulk migrations to SharePoint or OneDrive by preserving permissions, metadata, and document history—ensuring that no valuable information gets lost in the move.
Read more: Get all the details about Microsoft’s OneDrive policy change and your options.
Step 3: Communicate clearly with end users
A successful migration involves more than just transferring files—it requires clear and proactive communication with end users. Effective communication helps reduce confusion, prevents disruptions, and ensures employees understand exactly where their data is being moved.
To ensure a smooth transition:
- Notify employees in advance about which OneDrive accounts will be affected.
- Clarify where the files will be moved and any changes they should expect.
- Provide guidance on accessing migrated files once the process is complete.
With proactive communication, you’ll minimize downtime and ensure employees are prepared for the transition, making the migration process seamless for everyone involved.
Want more guidance? Check out our on-demand webinar, Race against the OneDrive clock: How to stay ahead of Microsoft’s deadline, in which Microsoft MVP Marc D. Anderson breaks it all down—what this change means, what’s at stake, and the steps you can take now to stay ahead before it impacts your organization.
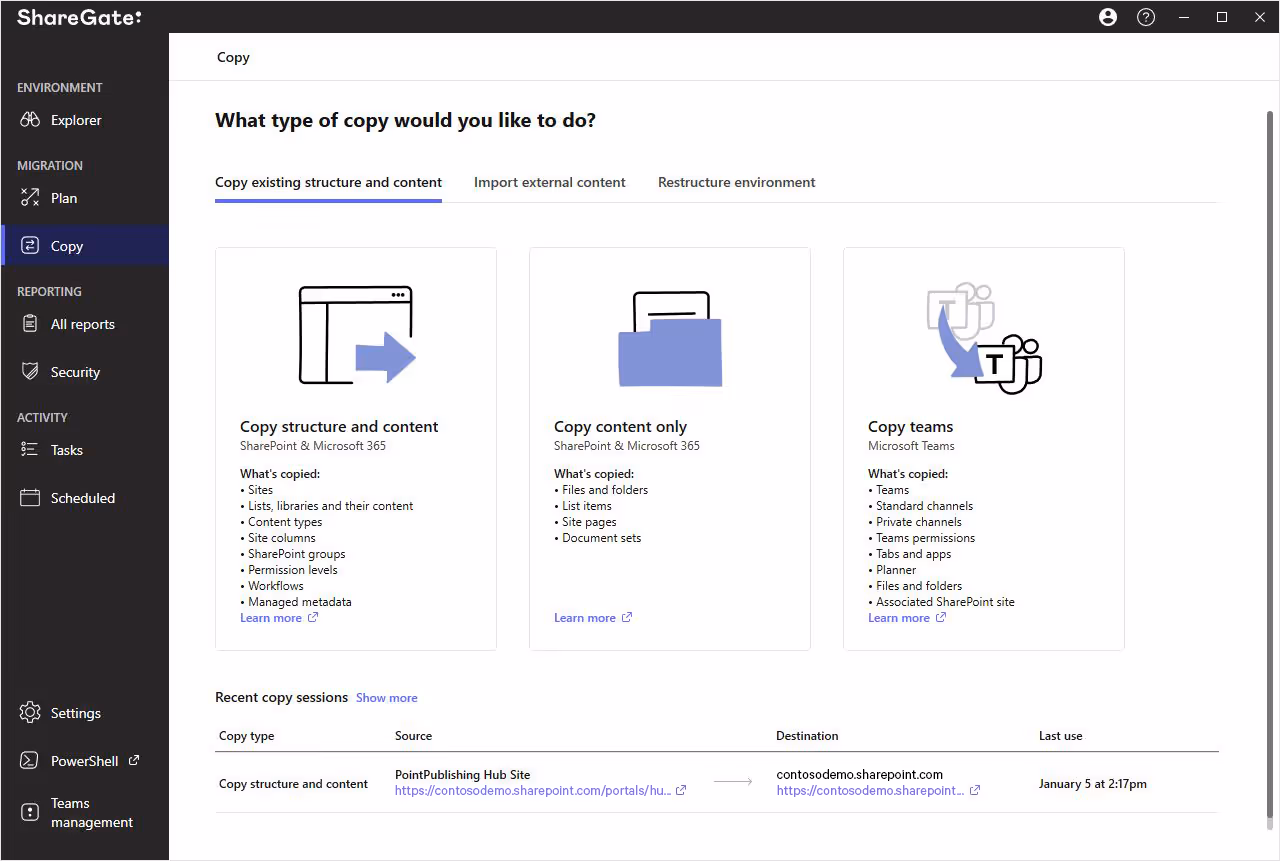
Step 4: Migrate in a few clicks with ShareGate
Now that you’ve assessed your accounts, chosen the appropriate migration destinations, and informed end users, it’s time to execute the migration. ShareGate Migrate Pro streamlines this process, enabling IT admins to efficiently transfer data with minimal disruption.
Follow these easy steps to migrate your unlicensed OneDrive accounts with ShareGate:
1. Open ShareGate and connect to your source and destination environments
First, make sure that ShareGate is properly set up with access to both the source and destination environments. This step is essential and will allow for a seamless data migration.
- Launch ShareGate and connect to your Microsoft 365 tenant.
- Add your source environment (unlicensed OneDrive accounts).
- Add your destination environment (licensed OneDrive accounts or SharePoint sites).
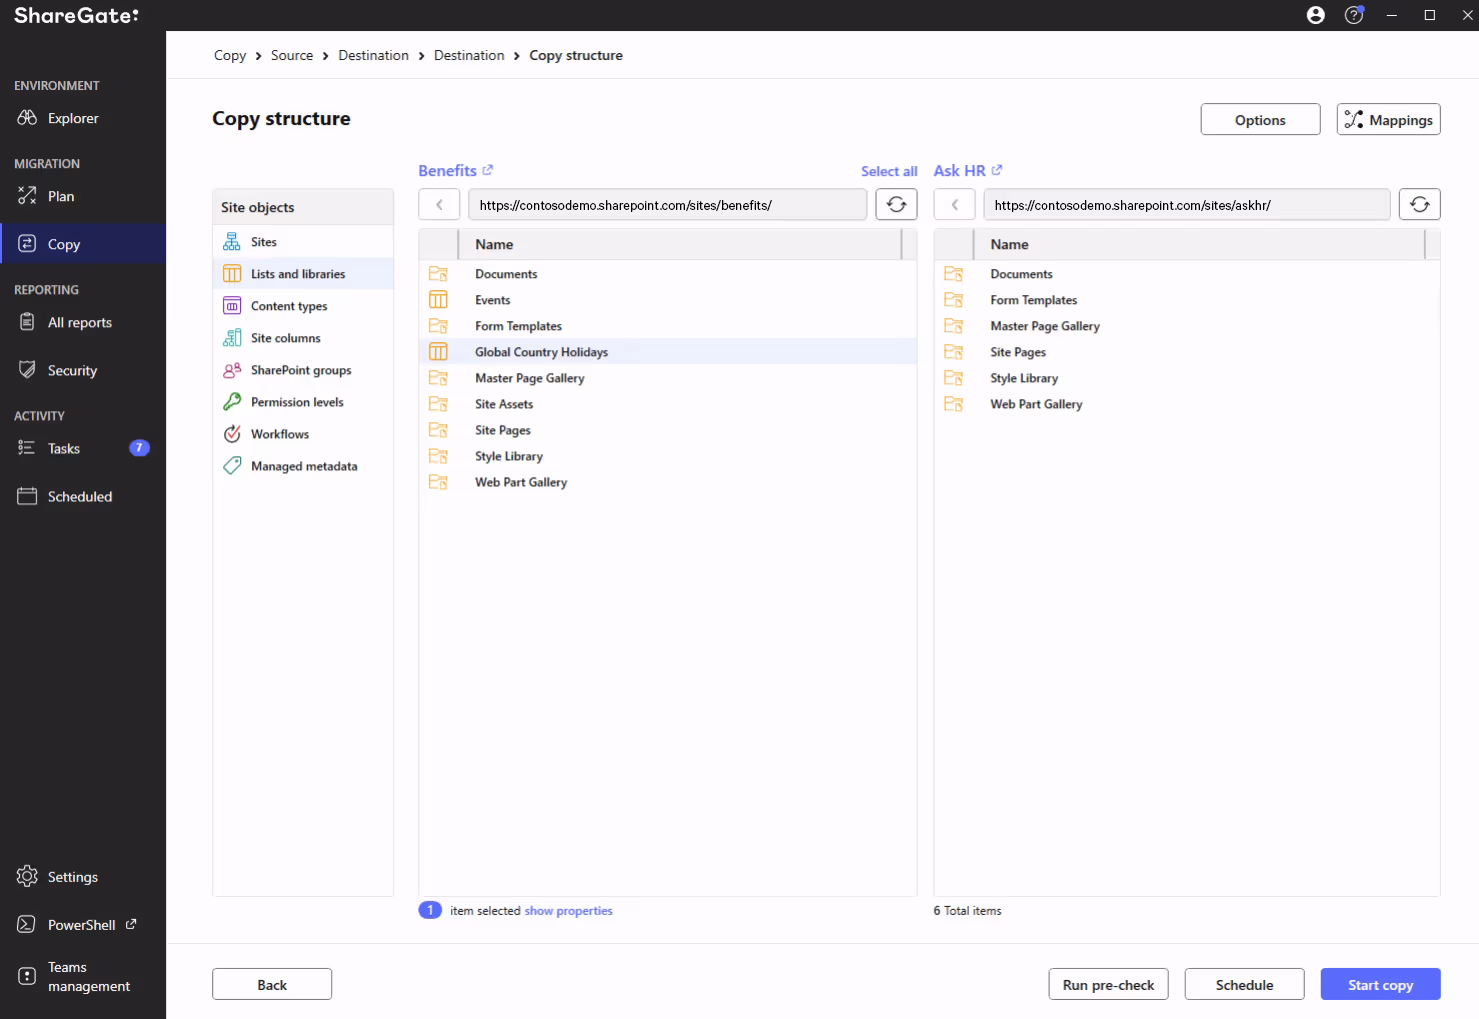
2. Select the OneDrive accounts or files to migrate
Once connected, it’s time to choose which accounts, specific files or folders you want to migrate. ShareGate’s bulk selection capabilities simplify moving multiple accounts simultaneously.
- Filter by priority (e.g., critical data first) for a strategic approach.
- Select scope: Decide whether to migrate entire accounts or just specific files/folders.
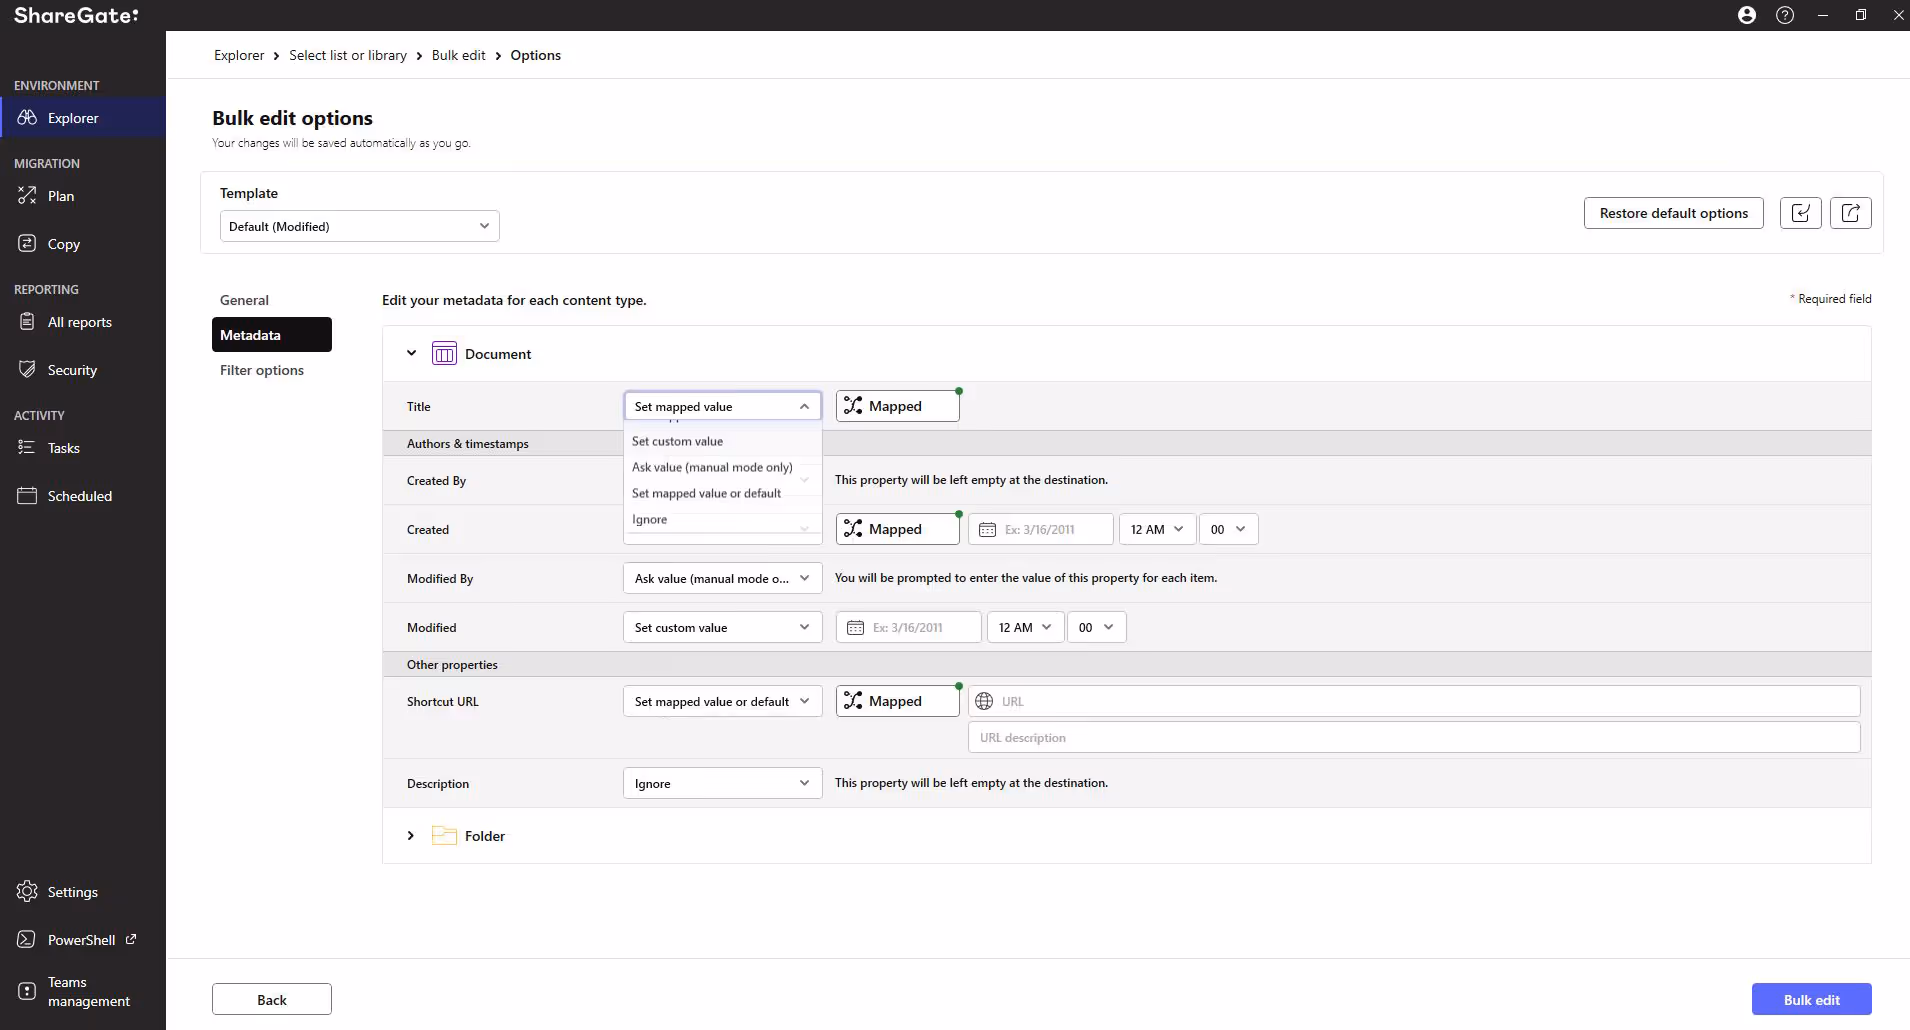
- Maintain user access: Use ShareGate’s automated permissions mapping to preserve user permissions post-migration and leverage its content mapping feature to organize files effectively within SharePoint.
3. Execute the migration
After finalizing your selections, it’s time to initiate the migration process:
- Click Copy Now to start the migration immediately.
- Alternatively, use Plan Mode to preview and refine your migration settings before execution.
For more details and step-by-step instructions, check out our support documentation for executing a OneDrive for business content migration.
Step 5: Monitor and validate
Completing a migration is just the first step—ensuring its success requires careful monitoring and validation. IT teams should confirm data integrity, verify permissions, and promptly address any discrepancies to prevent post-migration issues.
ShareGate automatically generates a comprehensive migration report as your migration progresses, and you can access it anytime by selecting Tasks from the sidebar and clicking on its corresponding title.
Once your migration is completed, it can help you assess the success of your migration job and troubleshoot issues that occurred during the operation.
Your migration report gives you a detailed view of which items migrated successfully and which had warnings or errors during the copy. When errors or warnings come up, you can double-click on each item to view its details and find more information and links to support articles. For more significant migrations, we recommend exporting the report and using Excel to analyze the results.
ShareGate’s post-migration reporting capabilities offer clear visibility, ensuring nothing is overlooked during migration and helping you confidently confirm that no data was left behind.
With ShareGate you can also validate that all permissions were migrated accurately or change permissions in bulk.
The clock is ticking—act now before it’s too late
With the October 29deadline looming and the final countdown underway, IT teams need to act fast. Losing OneDrive data due to inaction isn’t just an inconvenience—it’s a security, compliance, and cost risk that grows more serious with each passing day.
Why choose ShareGate?
- Blazing-fast migrations with an easy-to-use interface.
- No data or end user limits so you can scale migrations as needed.
- All your workloads are covered—SharePoint, Teams, Exchange Online, and more.
- Copilot readiness assessments so you can roll out AI with confidence.
- Comprehensive reporting to track progress and ensure accuracy.
- Administrative tools for bulk edits, permissions management, and more.
- End-user training to ensure employees actually know how to use M365.
Don’t wait until the last minute. Book a demo with ShareGate today and take control of your OneDrive migrations before time runs out!


.avif)