What happens when a SharePoint user leaves your organization?

Table of contents
The dynamics of work have shifted considerably in recent times. Today, with more people working remotely, collaborating on projects across teams, and even switching jobs more often, things have become much more complicated.
In the past, employee departures might have simply involved clearing out a desk drawer and transferring basic responsibilities.
But with the ever-increasing reliance on digitized workspaces, such as Microsoft OneDrive, SharePoint, Slack, Zoom, Google Meet, Microsoft Teams, etc., a departing employee's digital footprint needs attention. Not handling this situation correctly could lead to challenges, such as data breaches, compliance violations, and operational disruptions.
When employees leave, effective user management in SharePoint helps secure sensitive information, prevent data breaches and compliance violations, and ensure smooth operations during transitions.
Let's dive in and keep your data protected!
The risks of sensitive content
When SharePoint users leave an environment, their generated content must be handled correctly to ensure it doesn’t breach any data management regulations. According to a report by Torri, 76% of the surveyed IT leaders see poor employee offboarding as a significant security threat stemming from the departing employee’s access privileges.
Even unintentional data loss through negligence can have serious consequences. Perhaps an employee forgets to remove themselves from a project or share group after they leave. Or maybe they weren't aware of the proper protocol for handling sensitive information.
Nonetheless, you can quickly reduce these risks by identifying sensitive information, using robust data security measures, and user access controls. These proactive steps will protect your data and reduce the potential for financial and regulatory repercussions.
Identifying sensitive information
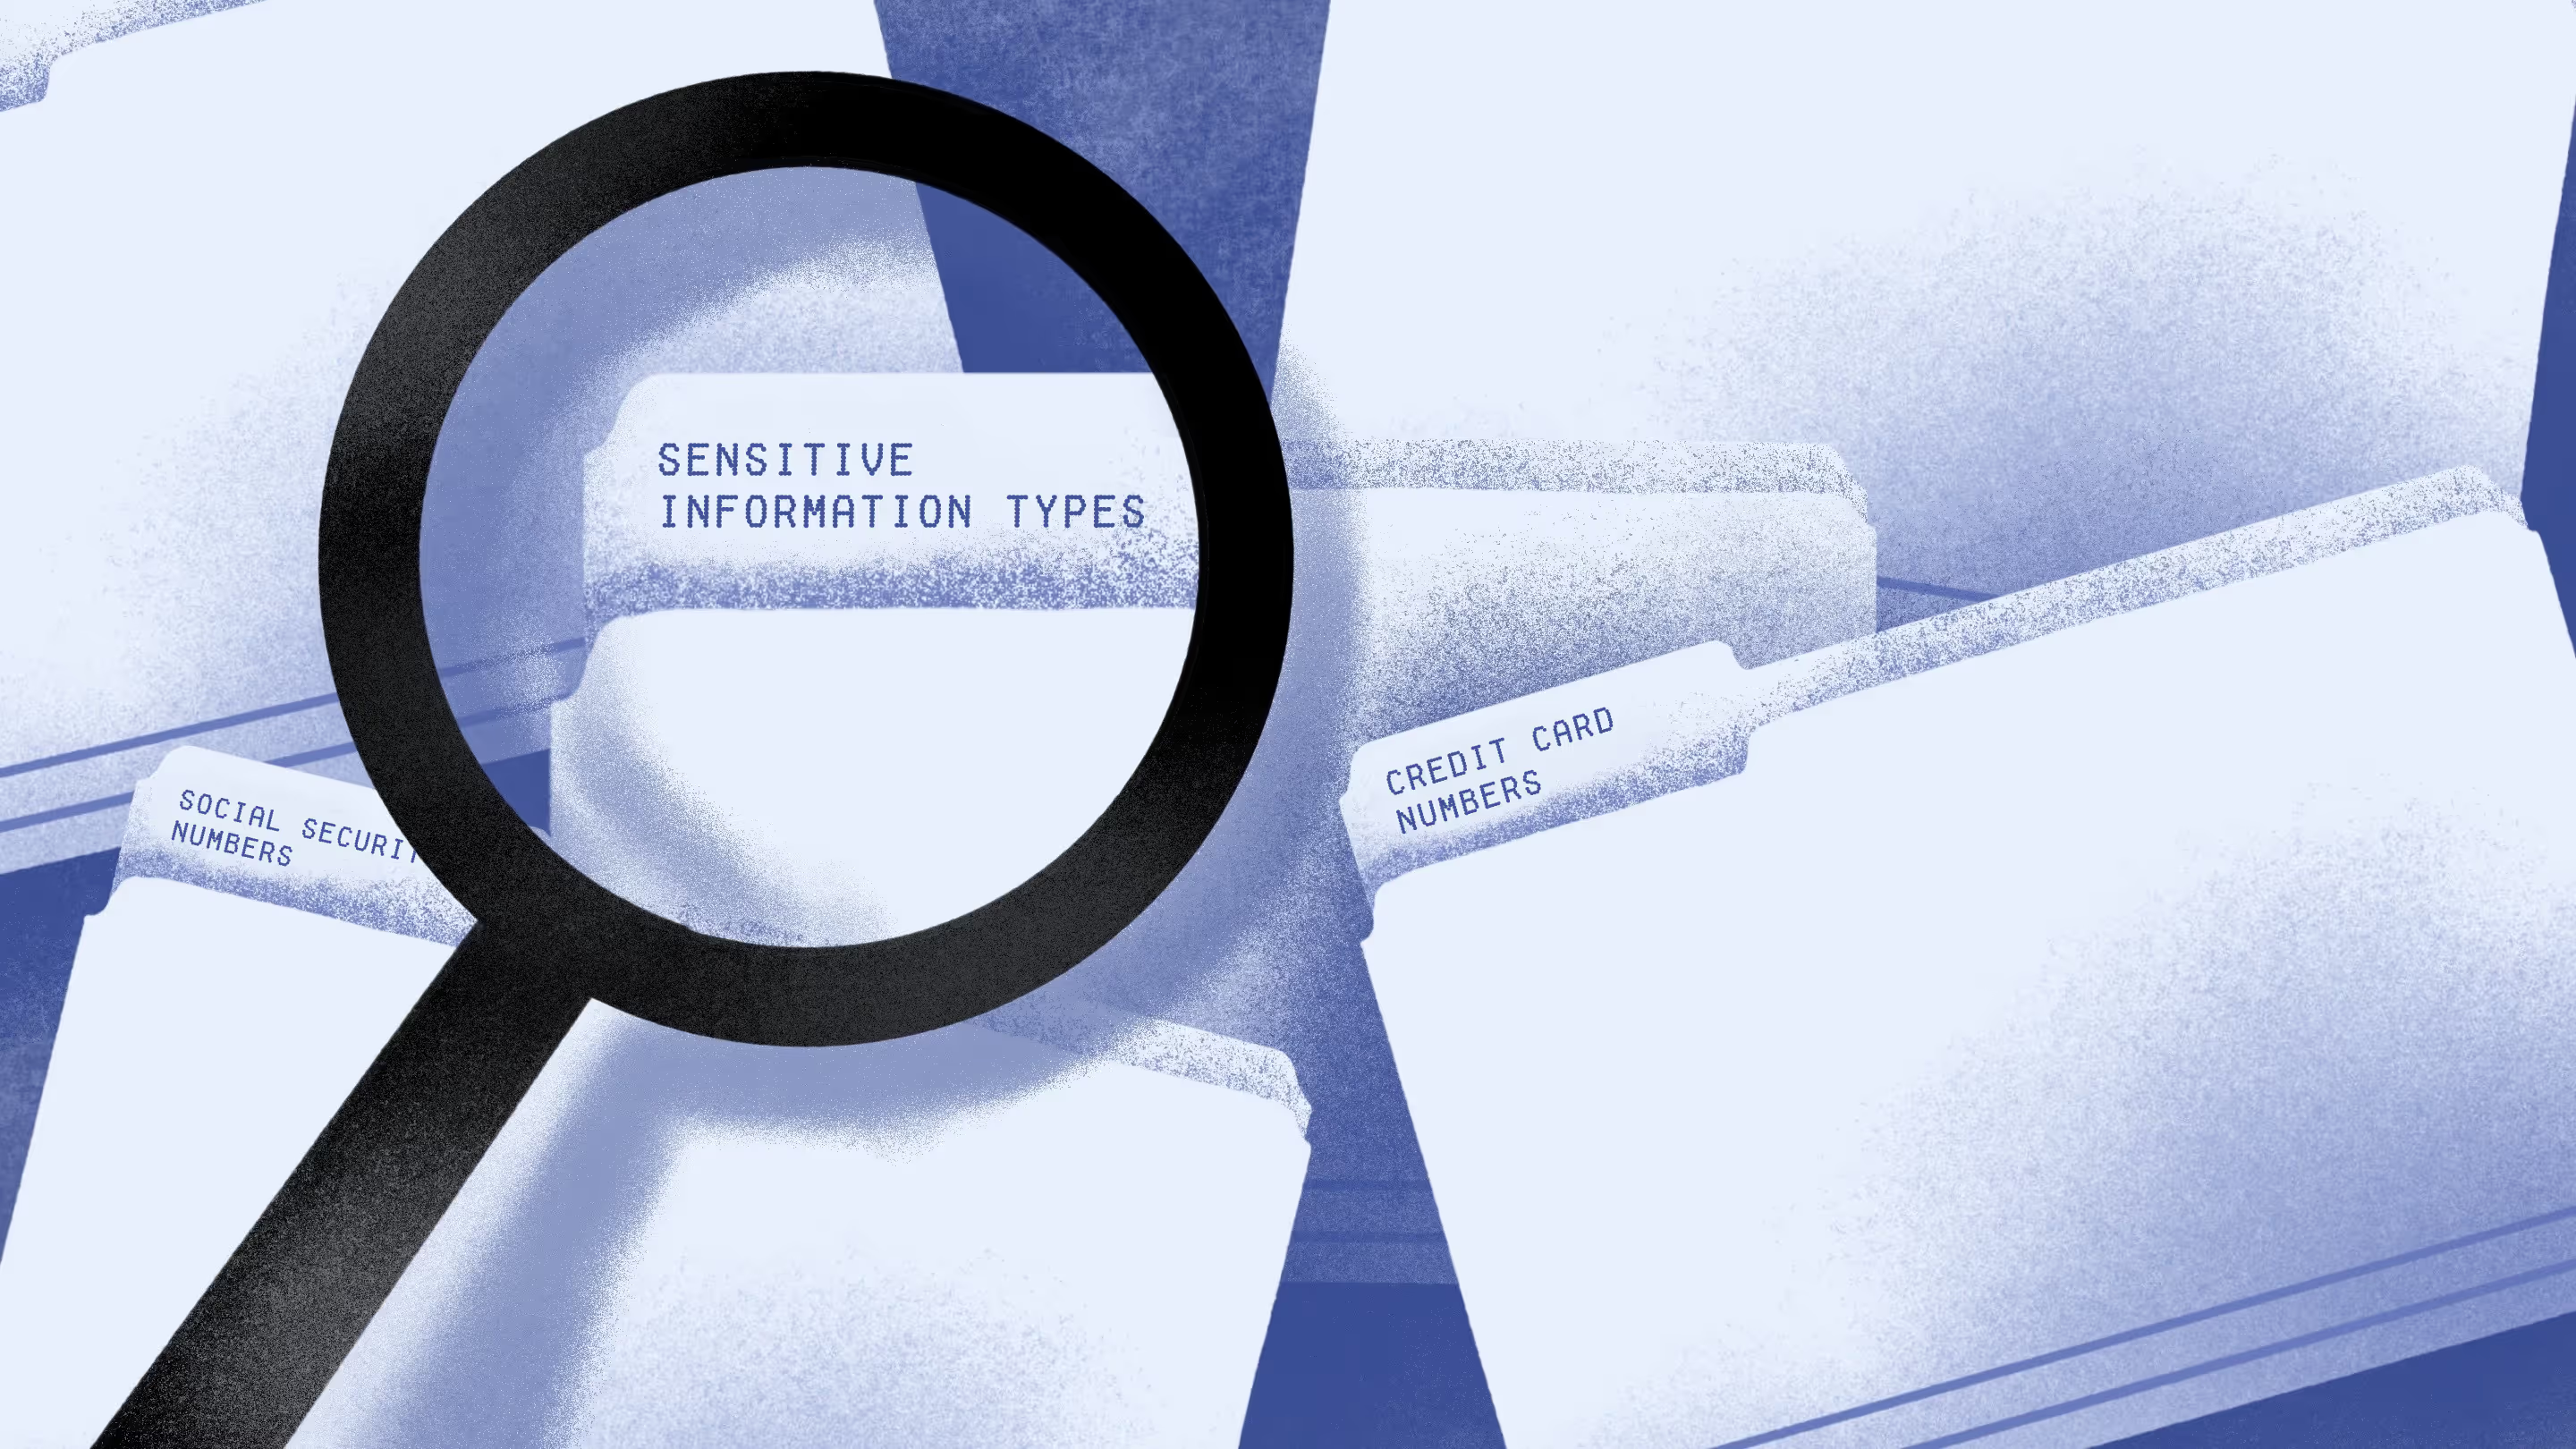
SharePoint stores sensitive and confidential information, some of which need strong protection. Identifying and protecting your most critical documents and data is crucial. So, what exactly qualifies as "sensitive information" in SharePoint?
So, what exactly qualifies as "sensitive information" in SharePoint?
In SharePoint, sensitive information typically includes:
- Social security numbers (SSNs)
- Credit card numbers
- Bank account numbers
- Personal identification numbers (PINs)
- Passport numbers
- Health information (such as medical records)
- Email addresses
- Phone numbers
- Other personally identifiable information (PII)
- Intellectual property or proprietary business information
These classifications help manage and protect Personally Identifiable Information (PII) data by using sensitivity labels, retention labels, and data loss prevention policies.
Understanding data classification and DLP policies
Knowing how to organize data and what shouldn't be shared in SharePoint helps prevent accidental data leaks, including when an employee leaves your organization. This ensures departed employees can only use the information they need, keeping your information secure.
Before discussing the specifics of data security and privacy in SharePoint, let's examine two key concepts: data classification and Data Loss Prevention (DLP) policies.
Data classification is like sorting documents to categorize information based on its sensitivity. This could be anything from public records to highly confidential files and data.
DLP policies use these classifications to act automatically. They can identify and prevent sharing sensitive information such as credit card numbers or proprietary company data.
Here's a simplified overview of how DLP policies work:
- Spotting sensitive content: DLP policies use predefined patterns or keywords to identify sensitive content in SharePoint documents, emails, or chats. These patterns can include credit card numbers, social security numbers, or specific company information.
- Taking action: Once DLP finds sensitive content, the policy dictates the following steps:
- Block: The entire message or document can be blocked from being sent or shared outside the organization.
- Encrypt: The sensitive information can be encrypted to render it unreadable to unauthorized users.
- Alert: A notification can be sent to your IT security team for further investigation.
- Policy enforcement: DLP policies are assigned to specific SharePoint sites, OneDrive locations, or user groups. This ensures sensitive information is protected only where the policy applies.
Protecting your data with DLP in SharePoint
Microsoft 365 offers robust DLP features that work seamlessly with SharePoint. By creating DLP policies, you can build a shield against accidental data leaks when employees leave. Here's a step-by-step guide to setting them up:
- Go to the Microsoft 365 Security & Compliance Center: This is your central hub for managing security settings across all your Microsoft services.
- Navigate to "Threat Management" and then "Data Loss Prevention."
- Click "Create a policy" and choose the "Outbound emails and documents" template. This is a great starting point for managing data loss during departures.
- Configure the policy settings: Here's where you choose the types of sensitive information you want to protect. You can use pre-defined options or create custom rules.
- Pick an action: Decide how the policy should handle identified sensitive content (block, encrypt, or send an alert).
- Assign the policy: Select the SharePoint sites, OneDrive locations, or user groups where you want the DLP policy to be enforced.
- Review and activate the policy: Once you're happy with your settings, review the summary and activate the policy to put it into effect.
Following these steps and customizing the settings to your organization's needs, you can create a DLP policy that safeguards sensitive data during employee departures.
Managing OneDrive users
With DLP policies in place, you've established a strong foundation for data security within the SharePoint environment. Now, let's focus on another crucial aspect of user departures: managing OneDrive accounts. When employees leave, ensuring proper access controls for their OneDrive data is essential for maintaining data security.
Here's a breakdown of key actions to take when managing OneDrive accounts after an employee departs:
Deactivate the user account: The first step is deactivating the user's account within Microsoft Entra ID (formerly Azure AD). This immediately revokes access to all Microsoft 365 services, including OneDrive.
Review and manage OneDrive data: Once the user account is deactivated, you can manage their OneDrive data. Here are two common approaches:
- Retain for legal or compliance reasons: In some cases, regulations or legal proceedings might require retaining an employee's OneDrive data for a specific period. Microsoft allows exporting user data, including OneDrive, for legal or compliance purposes.
- Delete Data After Retention Period: If data retention isn't required, you can permanently delete the user's OneDrive content after a predetermined time frame. Microsoft offers self-service deletion capabilities for OneDrive data through the SharePoint admin center.
Data Lifecycle Management (DLM) Policies: While DLP policies prevent accidental data leaks, Data Lifecycle Management (DLM) policies can automate retaining or deleting OneDrive data based on predefined rules. DLM policies can be configured to automatically delete user data after a specific retention period, ensuring compliance with data regulations and minimizing the risk of sensitive information remaining accessible after an employee departs.
Transferring content ownership
If the departing user owned important documents, files, or sites, their departure may leave gaps in content ownership. It's important to reassign ownership (full control over the content) or permissions (access rights, e.g., view or edit) to ensure continuity of access and management.
When it comes to Microsoft Teams, owners have unique permissions that make them vital to the proper functioning of each team. For example, only team owners can:
- Edit the team’s name and description
- Delete the team
- Add members to the team (if it’s private)
- Promote a member to owner status
- See the name/owner of all private channels
- Delete any private channel
Essentially, team owners are accountable for managing a team and its content throughout its lifecycle. Common best practice says you should have at least two owners to share the management of each team. That way, if one owner leaves, there’s still someone accountable.
But sometimes, you’ll find yourself in a situation where a team was created, and the only owner left your organization completely leaving that team ownerless.
What about SharePoint Team Sites?
Let's say you created a SharePoint team site and plan to leave the company. Here's how you can transfer ownership:
- Head to the SharePoint admin center: This is the control panel for managing your SharePoint sites.
- Navigate to "Sites" and then "Active sites." Here, you'll see a list of all your active SharePoint sites.
- Select the specific team site you want to transfer ownership to.
- Click on the "Membership" tab. This tab shows who has access to the site and their permission levels.
- Under "Members," you can add another user as an admin. By assigning admin privileges to another user, you're essentially transferring ownership of the site.
Important Note: There might be a slight delay after removing yourself as a site admin before the new admin gains full access. This is a technical quirk, and it shouldn't cause any major issues.
Importance of shared ownership
As mentioned before, having at least two owners for a Microsoft Team is good practice. This ensures the team doesn't become "orphaned" without a designated leader if one owner leaves. The same principle applies to SharePoint team sites – consider having co-owners maintain smooth operations in case of departures.
By following these steps and best practices, you can ensure a smooth ownership transition when an employee leaves the company.
Best practices and ongoing security
Managing user departures effectively is just one aspect of a comprehensive data security strategy. Here are some additional best practices to consider:
- Regular security reviews: Schedule periodic reviews of your SharePoint security protocol, user access permissions, and DLP policies. This can include vulnerability scans to identify and address potential weaknesses.
- Data loss prevention (DLP): Implement DLP policies that automatically identify and prevent sharing sensitive information, such as credit card numbers or social security numbers.
- User education and training: Regularly educate your employees about data security best practices. This can include topics like password hygiene, phishing awareness, and the importance of proper document classification within SharePoint.
- Multi-factor authentication (MFA): Enforce MFA for all user accounts within your organization. MFA adds an extra layer of security by requiring a second verification step (e.g., a code sent to a mobile device) during login attempts.
Of course, the aim of this hasn’t been to scare you into thinking all your employees are out to steal as much data as possible on their way out the door. If you employ the right people, then the above should remain as precautions and nothing more. Nonetheless, there are many ways SharePoint can protect you when employees leave, so there are no hard feelings left on either side.
We've all wondered what happens to SharePoint data when someone moves on to their next position. Rest assured, we've got the answers to all your questions about managing user departures and keeping your data safe and secure.
FAQs
Why is it important to manage SharePoint user profiles when an employee leaves?
Managing SharePoint user profiles when an employee leaves is important because it prevents unauthorized access to sensitive data and ensures that the organizational content remains secure and properly managed.
What steps should be taken immediately after a SharePoint user leaves the organization?
Immediately after a SharePoint user leaves, you should deactivate their account, reassign their documents and data to the appropriate person, and implement DLP policies to safeguard sensitive information.
What happens to SharePoint users' documents and data after they leave?
SharePoint user’s documents and data should be transferred to another user or archived according to the company’s data retention policies to maintain access and security.
Are there tools or features in SharePoint that help manage user departures effectively?
Yes, SharePoint offers several tools and features to help manage user departures effectively. These include the SharePoint admin center for managing user profiles and site permissions, Data loss prevention (DLP) policies for safeguarding sensitive information, and options to reassign document ownership.
Additionally, features like the Microsoft 365 compliance center can help monitor and enforce security measures, ensuring a smooth transition and protecting your organization’s data.


.svg)
%20(1).avif)




.avif)



.jpg)
.jpg)