How to prepare for a file server migration to SharePoint

Table of contents
Thinking about moving from a file server to SharePoint? Smart move! Learn how to prepare your file share content for migration and set yourself up for success with best practices to hit the ground running.
We’ve talked before about why migrating from a file server to SharePoint is a great idea. The move would enhance your employees’ collaborative abilities, and enable greater productivity, which will, in turn, increase your business profitability while ensuring a smooth transition to a new server environment.
Quick recap of the benefits of switching:
- Much greater search functionality and integration with Microsoft 365 apps
- Complete access, always
- Version history and backup
- Check files in and out to avoid confusion and conflict
- Access control, security, and file permissions
Today we’re focusing on how to prepare your company’s file share content for a migration to SharePoint. We’ll share some best practice tips so you can be in the best position to start taking advantage of your new document management system as soon as possible.
Migration anxiety? Let’s break it down
You want to move those big, clunky files from your Windows Server environment—P drive, O drive, U drive, containing masses of folders, subfolders, and content—from your current file server to your SharePoint environment.
But when people say the word migration, it often comes with a certain amount of fear: it’s a long, arduous process that, if done incorrectly or without care, can result in the loss of important or sensitive data.
A file server migration to SharePoint doesn’t have to be all that challenging, and the benefits you can achieve from a successful migration should far outweigh this perceived risk.
A file server migration lets you move all your files and folders to SharePoint, Microsoft 365, or even Azure for cloud storage. Then bring them to your groups for Microsoft 365, SharePoint team site document libraries, OneDrive for Business, and everything else. You can tag your files and file shares with metadata, too. This way, you can find them easily post-migration, with Microsoft Entra ID (formerly Active Directory) integration ensuring proper user access.
Migrating file shares can be pesky, and so can migrating from SharePoint 2013 to SharePoint Online. Thankfully, ShareGate makes it seamless.
How to prepare for a file server migration to SharePoint
It’s worth noting that, while the migration process can be straightforward, careful planning is careful planning is key to avoiding downtime. You can’t just copy and paste thousands of files and folders into SharePoint—a structured cutover is essential.
A key part of any migration is planning how to configure your new SharePoint environment to minimize downtime and keep business running smoothly. When migrating file shares to SharePoint, that means having a solid strategy in place. Your exact plan should align with your specific needs to ensure a seamless and efficient migration process.
Before migrating, take a close look at what you’re moving—especially how DFS might affect your migration’s structure. Think of it like moving houses: you’d want to know how heavy the boxes are before lifting them. Understanding the size and number of files on your source server helps you pick the right approach—do you need a moving truck, or can you carry it by hand?
It’s the same deal with your file share data. Look at the total size of the content, assess mapped drives, analyze server data for redundant or outdated files, and ensure that data migration processes are optimized for efficiency.
Ask yourself:
- How many files are there in total?
- Which files are the largest?
- How complex is the folder structure?
- What types of files are you dealing with?
- How much “deadwood” (redundant or outdated files) can you clean up?
Plus, don’t forget to consider how replication strategies might impact the speed and efficiency of your file share migration. The SharePoint Migration tool has limitations—but with ShareGate, you get a seamless migration experience from planning to execution.
1. Check your storage and capacity limits
Make sure you know how much data you’re migrating and that your destination server has the capacity and performance to handle it. If you’re working with a large amount of data, you may need to invest in additional storage or upgrade your physical server.
Keep in mind that file size limits vary depending on your SharePoint version or if you’re managing the process through Windows Admin Center. For example, SharePoint 2013 has a 2GB file limit, while SharePoint 2016 allows up to 10GB. That’s why it’s crucial to understand the size and types of files you’re moving—especially when migrating from an on-premises file system.
2. File volume matters—here’s why
Similar to the capacity question, knowing the actual number of files, shared folders, and workloads you’re migrating is important for the performance of your new system. For the performance of your new system (the stuff going on ‘under the hood’ can be affected by excessive volume), like synchronizing team sites and personal sites. In SharePoint 2013 there’s a fixed limit of 5000 items per view, folder, or query.
This has been extended in SharePoint 2016 so it’ll be less relevant if that’s the version you’re using, but still important to know. Tools like the Storage Migration Service can help streamline the process. There are ways around this in 2013; for example, splitting your folders into separate collections is a fix in a pinch.
3. Be mindful of file types
What do your content and data from your file system mainly consist of? SharePoint is an excellent place for storing Office documents but if you have a lot of developers’ code, SharePoint may not be the ideal place for that content. You should also be aware that there file extensions that aren’t permitted in SharePoint; you can find the offending extensions here.
4. Declutter
Instead of buying extra storage, consider optimizing data transfer methods for efficiency. If you have too much data, incompatible file types, unsupported extensions, or need to update an IP address for networked storage, it’s worth addressing these issues upfront. And even if everything is perfectly compatible, prepping your file shares for migration to SharePoint is a great chance to clean up your content and purge unnecessary files.
Even a quick look will turn up a number of documents that you no longer need. SharePoint has automatic version control so your system doesn’t get bogged down with multiple versions of the same file.
Make your file share to SharePoint migration easy
Migrating from a file share to SharePoint might seem like a daunting task, but with the right preparation, it can be smooth. By cleaning up unnecessary files, understanding your storage needs, and planning your SharePoint structure in advance, you’ll set yourself up for long-term success.
And remember—you don’t have to do it alone! ShareGate makes it easy to migrate your file shares seamlessly, with built-in best practices to ensure a stress-free move.
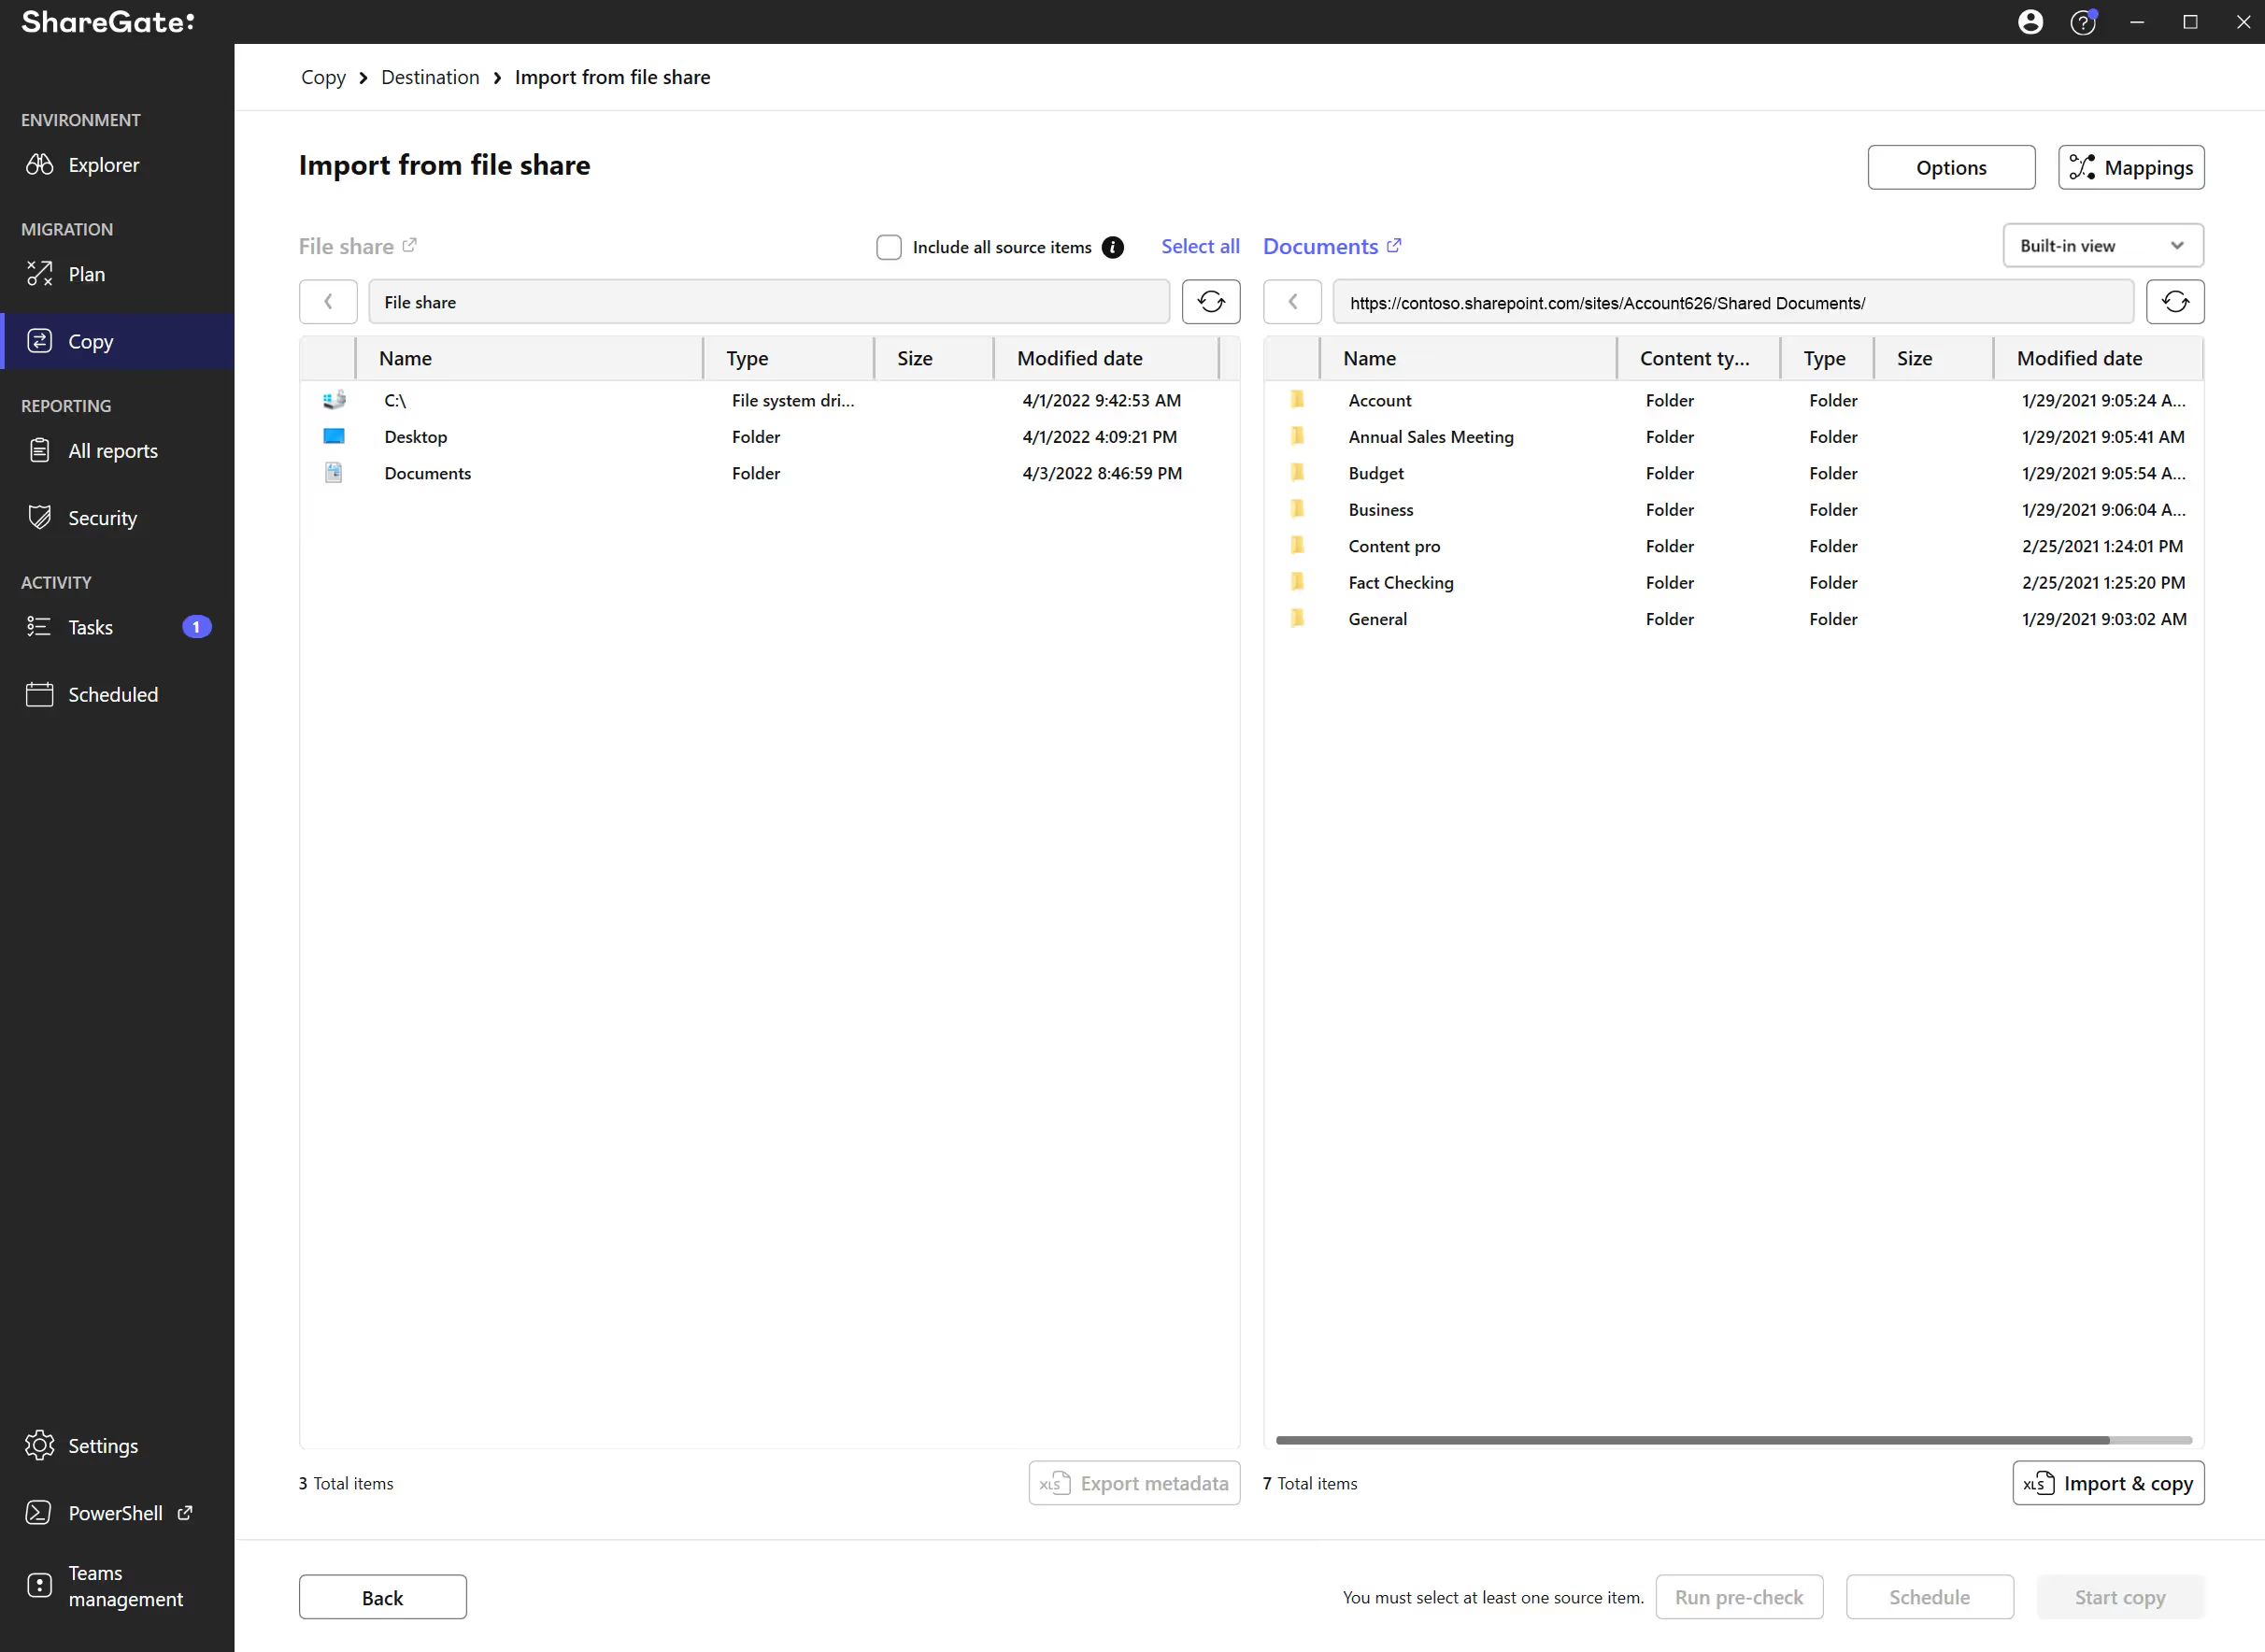
So why not make your life easier? Talk to one of our experts for a personalized walkthrough of ShareGate Migrate!


.svg)
.avif)
%20(1).avif)









.jpg)
.jpg)
