Microsoft Teams permissions: Your complete handbook to managing access in Teams
.svg)

.avif)
Put your Microsoft Teams management on auto-pilot
We identify potential issues so you can course-correct them before they escalate!
Free trial%20(1).avif)
Master Hacks: Migrate like a pro
Check out our video series to help you turn migration projects into masterpieces!
Table of contents
Microsoft Teams: What is it?
Am I starting off too small? I don’t think so. For the benefit of the room, Microsoft Teams is “a workspace for real-time collaboration and communication, meetings, file and app sharing, and even the occasional emoji!”—says Microsoft.
True, but it’s so much more than that. It’s a staple of the new norm, a hybrid and remote work facilitator, and arguably the go-to tool for today’s team communications.
But you already know all that. You’re here because you recognize the importance of Teams permissions and need help understanding them—and you were right to do it! Teams permissions are no lightweight settings that should be overlooked.
Understanding the importance of permissions and utilizing them correctly is like standing outside a club wearing a bomber jacket and occasionally grunting into an earpiece.
What does that mean? Well, to introduce permissions in Microsoft Teams, let’s imagine a scenario without them:
For example, an employee throws an office party and posts about it on social media. Loads of randoms arrive, rifle through cabinets and loot keyboards, and then a monkey shows up, flips switches, and rearranges everything.
Scary, huh? But, with permissions in place, you can control access to your Microsoft Teams environment: who’s allowed in and who’s not, and set up policies to protect your “club” from potential chaos.
By understanding what is Microsoft Teams and the ins and outs of Teams permissions, you’ll be able to effectively manage access and ensure secure collaboration within your organization.
Table of contents
- Microsoft Teams permissions 101
- What are the different user permissions roles, and what can they do?
- What are the best practices for managing Microsoft Teams permissions?
- How do I change or assign user roles?
- What are team-level permissions?
- What are channel-level permissions?
- What about permissions for meetings and live events?
- So, permissions in Microsoft Teams
Microsoft Teams permissions 101
This article goes into the nitty-gritty of Teams permissions, including the effect permissions have, types of permissions, a breakdown of roles, how to manage team settings, and more: screenshots included!
And although I’m sure the above analogy gave you half the answers you were looking for, let’s start by talking about what permissions actually are and how utilizing them in your organization can help company-wide.
What are Teams permissions?
Simply put—Microsoft Teams permissions are access rights and controls that allow admins and team owners to manage what other users can do within a space, such as who gets to create teams, join channels, schedule meetings, and access and share files.
Why are Teams permissions necessary?
Permissions are essential for managing team creation, channel access, user levels, team member additions, file permissions, and more. They ensure your Teams environment is structured and that communication and file sharing are controlled in line with organizational policies.
They also do a great job of helping to establish and implement the hierarchy and responsibilities within the platform. For example, team owners have different permissions to edit something than team members or guests, reflecting their leadership role.
SKIP: If you’re ahead of the game and want to jump straight into how to use the Microsoft Teams admin center, then check this out!
How do Microsoft Teams permissions affect collaboration and security?
Collaboration is made easy with Microsoft Teams, as it offers a centralized platform for end users to work together in real-time through chat, file sharing, and meetings—the good stuff.
However, collaboration can also bring about security concerns like compromised data. It’s true; think of how an open door to your home invites undesirables like… punk rockers and so forth—the bad stuff.
When properly configured, permissions in Microsoft Teams are crucial in enhancing your collaboration on the platform while providing security. Here’s how:
- Permissions ensure all team members can access the resources to work effectively.
- Permissions enable information management, giving the right people the necessary permissions to organize team content.
- You can protect confidential information by managing access controls. These permissions allow us to specify which individuals can access sensitive data, preventing unauthorized users from viewing or altering it.
SKIP: If you feel Microsoft Teams security as a whole is a more pressing matter for your organization, I recommend this fantastic step-by-step guide on security best practices. Don’t worry. I’ll be here when you get back. *sips tea*
What are the levels of permissions in Teams?
Permissions can be tailored to suit the needs of different people in your organization—give access to the people you like and limit those you don’t.
I kid, of course, but permissions do give you levels of control to play around with and assign, depending on what people need to do and their role in your organization.
Here are some more options for the types of permissions:
- Team-level permissions apply to an entire team and are usually controlled by team owners. They include adding or removing members, changing team settings, member permissions, and more.
- Channel-level permissions apply to individual channels within a team. They control who can add or delete channels, post messages, etc.
- Meeting permissions determine who can schedule, record, or present during meetings.
- App permissions control who can add, remove, or modify apps within Teams.
- Other permissions include managing live events, private chats, and file sharing.
What are the different user permissions roles, and what can they do?
Let’s keep things simple—each role has responsibilities and abilities, defining what individual users can do. Let’s see what they look like:
Owners have the most control over team settings:
- Add or remove members
- Change team settings
- Handle administrative tasks
- Govern privacy settings
Members are users who are part of the team:
- Participate in chats, calls, and meetings
- Add channels
- Collaborate on documents within limitations
- Can’t manage team-wide settings
Guests are external users who’ve been invited to collaborate on a team:
- Participate in chats, calls, and meetings
- Collaborate on files in channels
- Can’t add or delete channels
- Can have their access restricted further in the Teams settings tab
If you depend on a manual approach, managing guest access in Teams is a delicate and time-consuming task because it requires carefully balancing external collaboration with data protection—now that is challenging!
But what if there was a solution to automating this process, saving time and effort?
TOP TIP: ShareGate has advanced tools to manage guest access in Microsoft Teams, making provisioning external collaborators easier with automation. This means they can quickly and securely join Teams without delays or administrative bottlenecks—told you it was a top tip!
What are the best practices for managing Microsoft Teams permissions?
We’ve established the importance of permissions, their effect on collaboration and security, the available permission levels used, and the roles’ types. But before I go full-on ‘IKEA-instructions’ on how to assign user roles and explore their different permissions and benefits, let’s look at the best practices for managing permissions in Teams:
- Review and update permissions with periodic checks to ensure they accurately reflect your team’s current needs and roles.
- Be mindful of permissions to reduce the risk of unauthorized access or misuse; limiting user access to only what is necessary to complete their tasks is best.
- Keep team ownership to a minimum to avoid confusion and mismanagement. We recommend having two owners, so if one leaves the team or organization, the other can take over their responsibilities.
- Use private channels for sensitive discussions for tighter control over who can access and participate in these discussions.
Is it possible to manage permissions effectively when self-serve is enabled?
Yes. Ja. Sí. Oui.
If that wasn’t clear enough: Yes, a thousand times over!
At ShareGate, we think enabling self-service is an important step toward fostering a productive environment in Microsoft Teams. It gives end users more control and flexibility over their collaboration environment and takes the strain off IT.
But we also get the concerns. Self-serve is on by default. And suppose IT doesn’t set up predefined limits or “guardrails,” end users will potentially have a free-for-all—leading to a problematic, chaotic, and unsecured Teams environment.
Therefore, we believe the best approach is to keep self-serve switched on and establish guardrails that facilitate autonomy and security. This accomplishes a happy medium between end users and IT.
Think of guardrails like end users bowling with the barriers up—you promote their autonomy within the guidance of IT security best practices.
Guardrails could include creating sensitivity labels so that any team labeled ‘confidential ‘ will automatically be prevented from sharing links externally; the corresponding team owner can only change that by submitting a ticket for your approval.
“Automatically?” You ask. Yes. With sensitivity labels and provisioning tools, you can create ready-to-go templates that IT has configured for different working environment scenarios.
Microsoft has out-of-the-box provisioning tools, but they’re not fully customizable. You can also build your own provisioning solution, but that can be time-consuming, and who knows how it may need to change depending on how your organization evolves in the future.
For full access to customizable provisioning that you don’t need to build or maintain yourself, you’ll need Microsoft’s third-party sidekick: ShareGate.
ShareGate’s next-gen provisioning feature allows you to customize templates to meet the specific needs of various teams and needs.
For instance, you can create a template for a marketing team project that involves external users, one for the finance department with strict confidentiality requirements and another for the annual holiday party, each with different permission settings enabled or disabled.
TLDR: When paired with guardrails like provisioning templates, enabling self-service empowers users while balancing autonomy and organizational governance.
How do I change or assign user roles?
Sometimes, people’s roles or responsibilities change within a team—that’s where changing a user’s role comes in. It’s like adjusting someone’s job description to match their new tasks. For instance, if someone is promoted to team leader, their role can be switched to “Owner” to enable them to oversee the relevant Teams team and make crucial decisions.
Alternatively, if someone’s role becomes more focused on contributing and collaborating, their role can be changed to a “Member.”
By changing user roles, you can ensure everyone has the proper access and abilities to do their work effectively. Remember that only team owners and admins can assign or change roles.
Understanding role-based access control and applying Microsoft 365 security best practices will protect your organization’s sensitive data and empower end users to collaborate more efficiently.
Let’s explore this process with a helpful step-by-step:
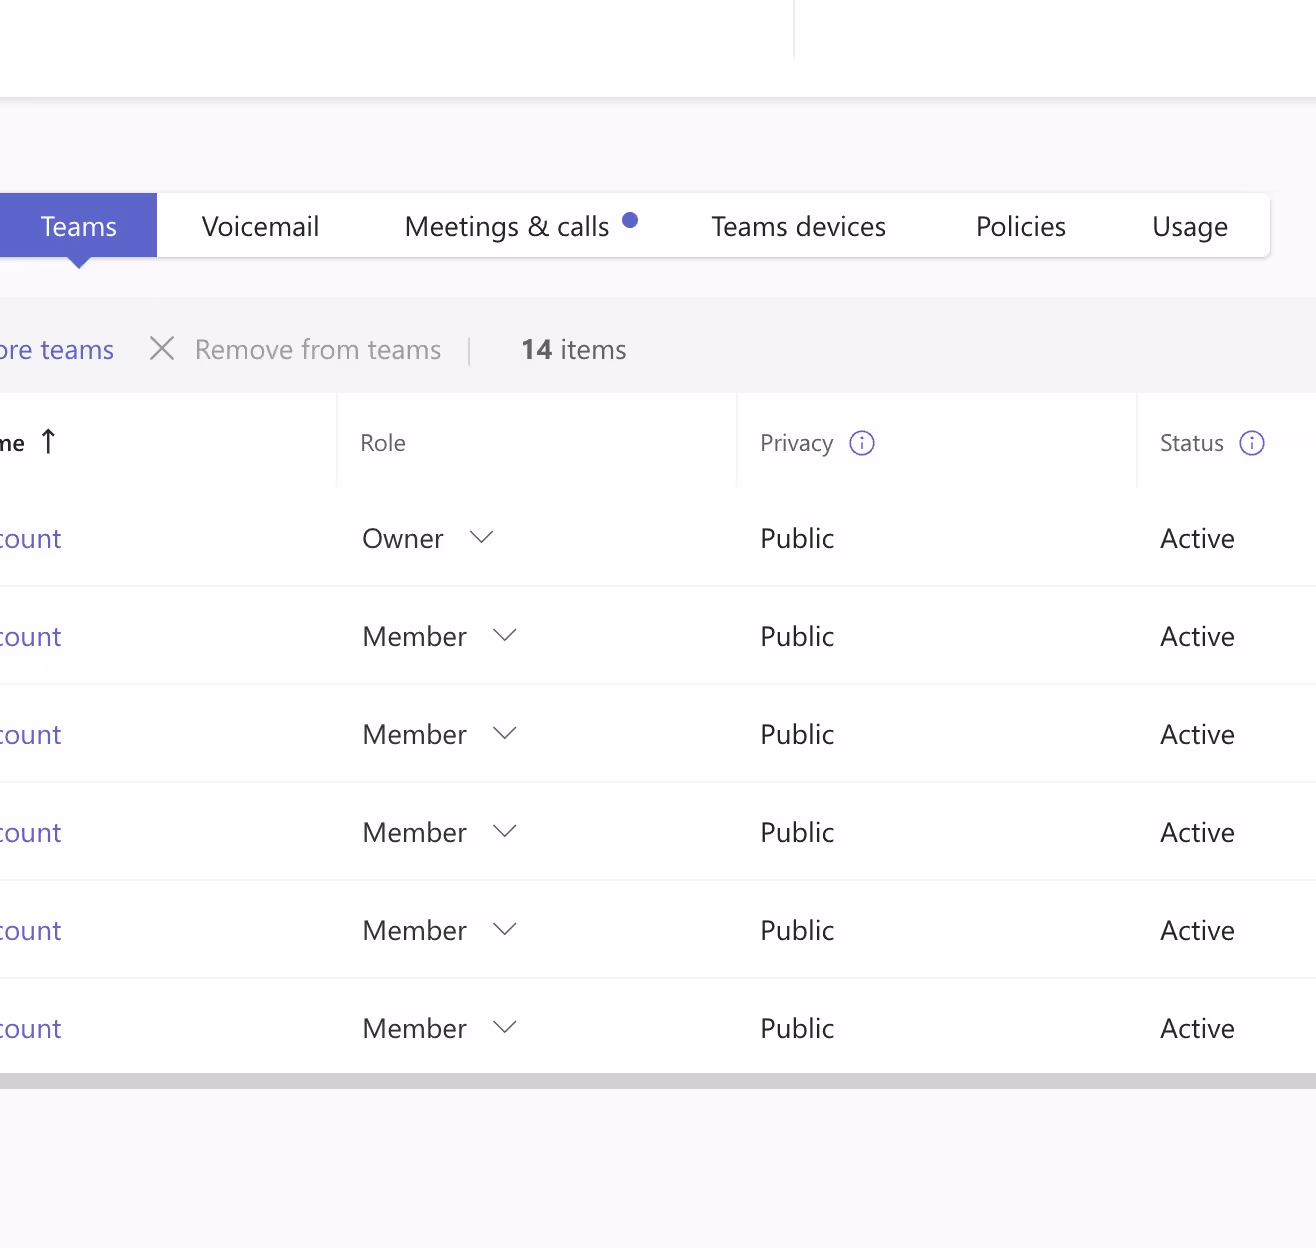
- Open the Microsoft Teams admin center, go to the Teams tab, and select Manage Teams.

- As shown below, select the desired team from the list. If you’re assigning guest access to your team, click on “Add” and enter their email address.
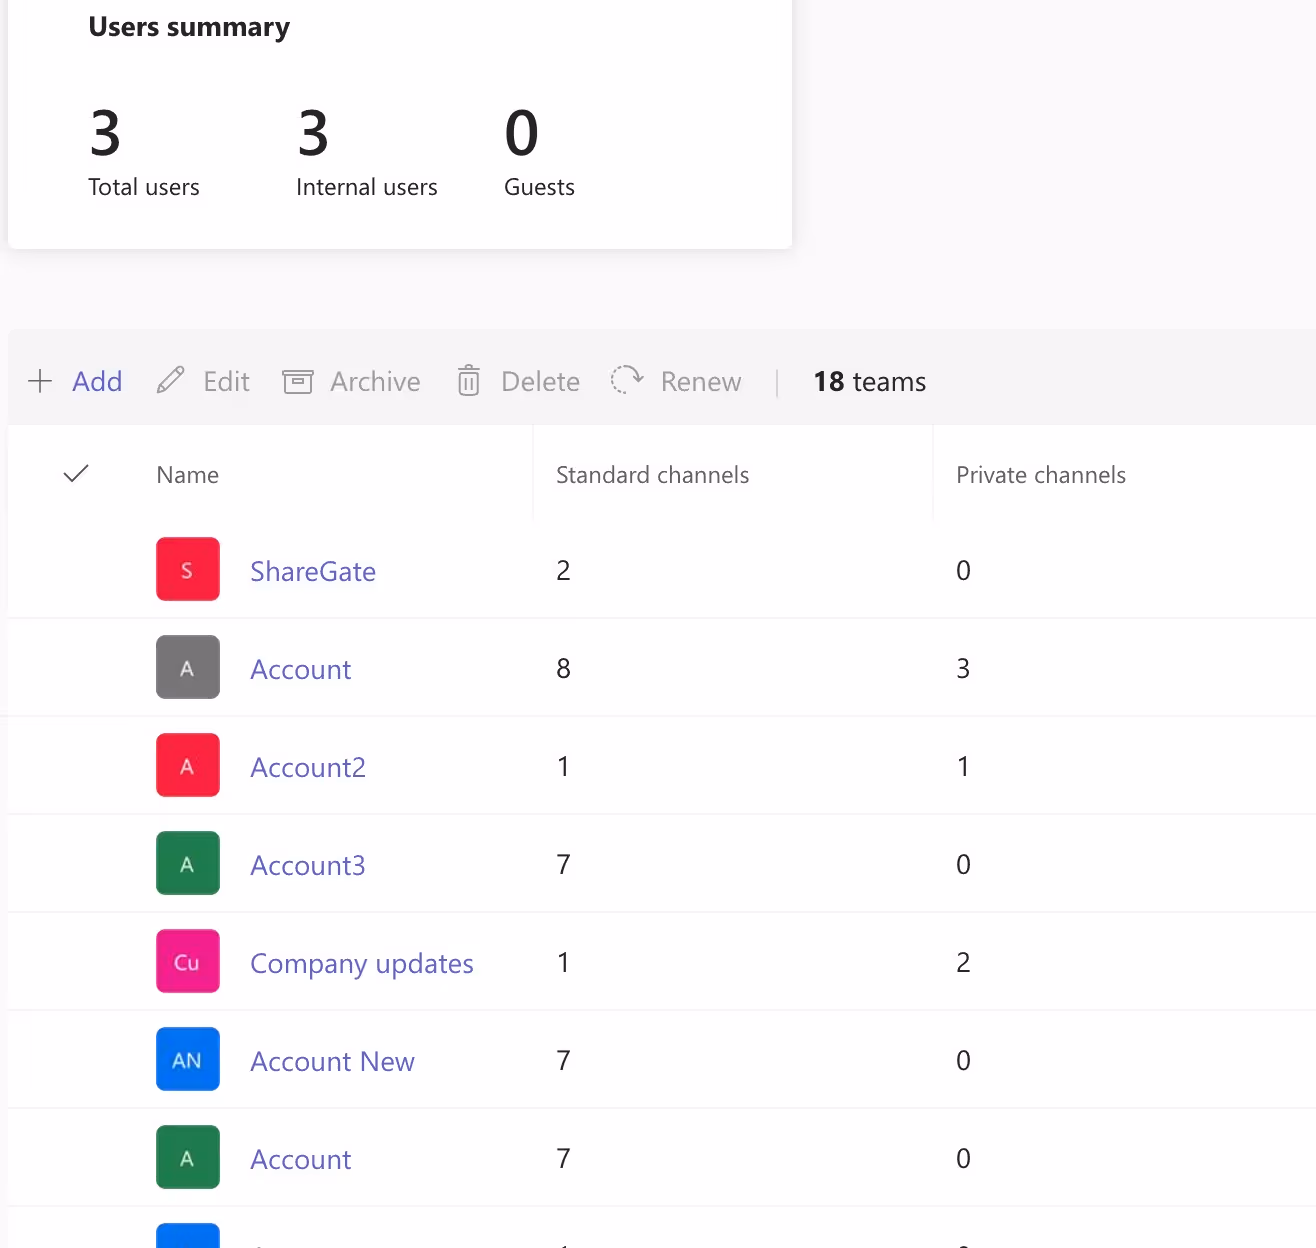
- You’ll now see all members of that team. Click on the team member whose role you want to change.

- Click the Teams tab in the horizontal bar, then assign their role!
What are team-level permissions?
I’ve discussed different roles and their limitations. Now let’s get into the finer details of what specific permissions do and the consequences of their mismanagement. Now, they may be self-explanatory, but this is a “complete handbook,” so don’t say you aren’t getting value for your time!
- Creating and deleting teams
- Adding and removing members
- Changing team settings includes the team picture, privacy settings, and member permissions.
- Managing channels determines who can create, modify, or delete channels within the team.
How do I manage team-level permissions?
The team owners control all the permissions. To manage them, you can use the Microsoft Teams admin center, where team owners can manage team settings and make changes.
The cool thing about permissions is that they can be customized to fit the specific needs of each team. So, different teams within the same organization can have their unique combination of controls. Managing team-level permissions is about giving teams the flexibility they need to collaborate effectively and safely.
What are the consequences of botching team-level permissions?
Maybe “botching” is a bit harsh—sorry, friend—but it’s essential to convey the severity of mismanaging permissions. After all, properly configured permissions are also crucial for compliance with data protection and privacy regulations, as they prevent unauthorized access to sensitive data. Here’re some more frightening consequences:
- If users are given more access than necessary, mismanaged permissions can result in the unnecessary exposure of sensitive information.
- Constantly needing clarification on access and control levels can create confusion and disorder within a team—queue the pitchforks and torches!
- Improper permissions handling can result in security threats, as unauthorized individuals can access confidential information or even system configurations—like that monkey.
TIP: While having permissions in place is good stuff—having overly strict ones can hinder productivity and teamwork, especially when team members need access to vital resources or tasks.
What are channel-level permissions?
We’ve covered team-level permissions; now, let’s explore the same topic but on assigning permissions for channels.
And if you’re shaking your head in confusion over the differences between teams and channels, that’s okay.
Before continuing, I recommended taking ten minutes to read this fantastic article that explains the differences between Teams and channels. This will give you a clearer understanding moving forward.
Here are the channel-level permissions available:
- Creating and deleting channels
- Posting and replying to messages determine who can post new messages and reply to existing ones in a channel.
- Managing tabs and connectors allow users to add, remove, or configure tabs and connectors within a channel.
- Channel moderation determines who can moderate the channel, controlling who posts and replies.
How do I manage channel-level permissions?
Team owners typically handle channel-level permissions, just like team-level permissions. They can adjust these permissions by accessing the team settings, selecting the relevant channel, and changing the channel settings.
Depending on their purpose and the team’s requirements, different channels within the same team may have varying permissions—cool, huh?
How can channel-level permissions affect communication?
Setting up channel-level permissions correctly can significantly improve collaboration among team members by ensuring that everyone can participate as required. Permissions also keep things organized in a channel by regulating who can post and respond, stopping spam or irrelevant conversations.
Yet, if permissions are not configured properly, it can hinder communication and collaboration within the team. This can lead to team members being unable to participate in discussions or access the required resources.
Why should I create private channels to manage permissions?
Creating private channels in Microsoft Teams is like pulling Harry Potter’s cloak of invisibility over your head and ushering people to come in. It’s a private space within your team where you can share and collaborate on sensitive or confidential information—like super secret new handshakes or gossiping about someone you don’t like.
You can manage access to discussions, files, and activities by controlling who can view them. This ensures only the intended individuals are involved, allowing for better organization, security, and focus.
Additionally, private channels allow for more granular control of permissions within a team, as they can be used when a subset of a team needs to work on a specific project or topic irrelevant to the entire team or when discussing sensitive information that should not be accessible to all team members.
TIP: With great power comes great responsibility: use private channels judiciously to avoid excessive fragmentation within a team.
How do I manage private channel permissions?
To create a private channel, you must be a team owner or a member with the necessary permissions. From the team’s channel list, select “Add channel,” provide a team name and description, and choose the “Private” access type.
By creating a private channel, you will become its proud new owner and be able to manage permissions, like who can post messages in the channel and add or remove members or guests—provided they are already part of the parent team.
What about permissions for meetings and live events?
Meetings are collaborative sessions where participants typically have equal permissions to contribute and interact with each other.
Live events, however, have different requirements than meetings. They are designed for one-to-many scenarios, such as webinars or large presentations, where organizers have more control over participant interaction.
Organizers can control who can present, manage attendee permissions, and determine if attendees can unmute or interact via chat. Let’s have a quick look at roles and their permissions:
- Producers have complete control over the live event, including scheduling, managing presenters, controlling attendee access, and managing Q&A interactions.
- Presenters can deliver content, share their screens, present slides, and interact with attendees as the producer directs.
- Attendees have limited participation options. They can participate in the live event, access the content, use moderated Q&A and chat features, and engage with the event within the permissions assigned to them.
How do I manage access to live events?
The team owners or the organization’s Teams admin can manage meeting and live event permissions.
To modify permissions, individuals can navigate to the Teams admin center, choose the desired meeting or live event settings, and make the necessary adjustments.
How can permissions affect live events?
Live events run like well-oiled locomotives when the right people have the right levels of access. But it’s not just about smoothness; it’s also about security.
As mentioned, with well-thought-out permissions, we can regulate who can record or present during these events, keeping confidential information safe and preventing any mischief-makers from causing trouble—punk rockers again!
But if permissions are mismanaged, live events could be at the mercy of pirates. Hear me out:
Imagine a town hall where your product roadmap is on full display, detailing your organization’s goals and how they plan to accomplish them—that’s some seriously confidential stuff.
If unauthorized external users (i.e., pirates) managed to gain full access to that town hall, company-sensitive information could be leaked or exploited for competitors’ gain.
So, permissions in Microsoft Teams
Yeah, it really is like being a club bouncer. Permissions are paramount for maintaining order, security, and collaboration.
By understanding and utilizing permissions effectively, you can create a structured environment and empower users while keeping things light and secure. So, put on your virtual bouncer jacket and let the right people in!
And, if handing control over to end users sounds scary, it doesn’t have to be. Think of it like this: remember when your younger sibling wanted to play on your console, and you’d give them the ‘player 2’ controller that was plugged in halfway—that’s you giving control over to end users.
Okay. So, it’s not just like that. My point is: you’re still player 1.
CHALLENGE: Now that you’ve got the lowdown on permissions in Microsoft Teams, I challenge you to keep up this fantastic momentum and read about the best practices for Teams governance.
Hey! If you liked how I put words into sentences, comment below—even if it’s a simple hello!