5 tips for securing your sensitive data on SharePoint

Table of contents
Sharing files and collaborating from anywhere has become more convenient thanks to Microsoft 365 services like Teams and SharePoint. However, this flexibility comes with the responsibility of protecting sensitive data from accidental or malicious loss.
Cyberattacks are a real concern, putting our sensitive information at risk and highlighting the importance of robust data security. With remote and hybrid work now the norm — and AI integrated into everyday workflows — keeping your data secure in the cloud has never been more critical or complex.
But don’t worry! In this article, we’ll explore five simple tips for keeping your SharePoint environment safe, leading to a productive collaborative environment.
Unlock secure collaboration: 5 top tips for SharePoint
SharePoint’s primary benefit is the ability to create and share information across your organization and externally. This fosters a dynamic work environment where employees can share ideas, brainstorm solutions, and work together on projects, regardless of location.
With that in mind, ensuring your SharePoint security is crucial. A secure SharePoint environment protects your collaborative efforts from unauthorized access and data breaches. Implement these tips to keep your environment secure and compliant, allowing you to focus on what matters most: fueling business success.
Tip 1: Control user access with permissions
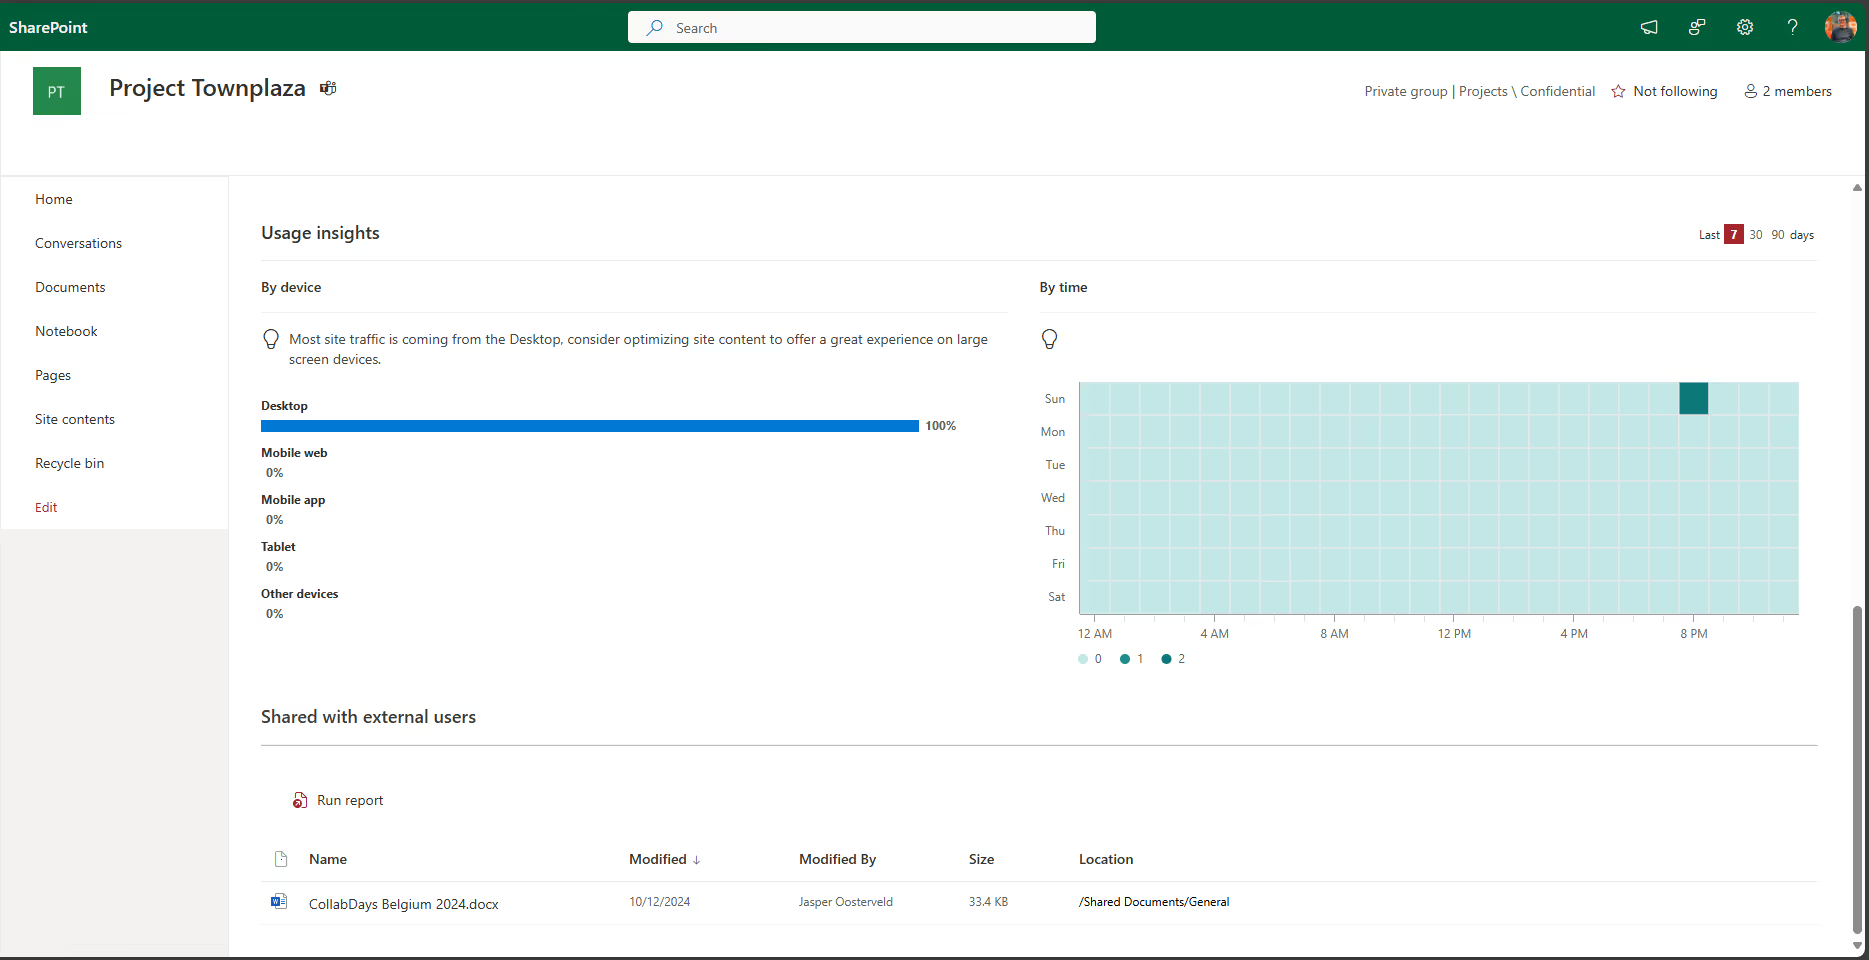
SharePoint has built-in security features that allow you to control who has access to the site and specific content. These features include monitoring documents and seeing when they were accessed. Every site is part of a Microsoft 365 Group, which acts as a central security and management container.
As the site owner, you manage access controls that apply to all site content. This simplifies permission management, especially for large or complex SharePoint environments.
You can assign specific permissions to individual users or entire groups within the Microsoft 365 Group. This granular control allows you to grant users only the level of access they need to perform their jobs, following the principle of least privilege. For example, grant “Read” access to team members who need to reference documents while reserving “Edit” access for those who need to make changes.
Additional Tips for Managing Permissions:
• Review permissions regularly: As employees move between roles or leave the company, review and update permissions to ensure only authorized users have access to sensitive data.
• Clear communication: Maintain open communication with those who create and manage SharePoint sites to ensure everyone understands the permissions structure.
• Leverage Microsoft 365 Groups for dynamic management: Microsoft 365 Groups automatically update permissions when a user’s membership changes within the group, simplifying permission management and reducing the risk of unauthorized access due to outdated permissions.
Tip 2: Take advantage of audit reports
Audit logs act as a digital record of all user activity within your site collection. This includes document creation, deletion, modification, access, and sharing. Regularly reviewing these audit reports provides valuable insights into how your data is used and helps identify any suspicious activity.
According to Microsoft documentation on audit solutions, audit reports are essential for:
• Security investigations: In the event of a security breach or suspected unauthorized access, audit logs provide a detailed record of user activity, helping investigators pinpoint the issue and take corrective action.
• Compliance auditing: Many organizations are subject to industry regulations that require tracking and auditing user activity related to sensitive data.
• Identifying user behavior patterns: Analyzing audit report data over time can provide insights into user behavior patterns and identify unusual patterns indicative of potential risks.
Tip 3: Use Microsoft’s data loss prevention (DLP)
Data Loss Prevention (DLP), part of Microsoft Purview, helps protect sensitive data across the Microsoft 365 environment, including SharePoint. It basically acts as a multi-layered defense, protecting data at rest, in transit, and when used. DLP can also help ensure compliance with data protection and privacy regulations like GDPR and HIPAA.
Here's how DLP functions in SharePoint:
- Policy configuration: DLP policies can be configured to recognize specific kinds of sensitive information, such as Social Security numbers, credit card details, or proprietary company data. You can also establish rules defining actions when sensitive information is detected. These actions might include blocking the transfer of the document, encrypting it, or simply notifying the user.
- Policy enforcement: When a DLP policy is triggered because sensitive information is detected in a document being shared or transferred, the document will be marked with a red icon and a policy tip. This serves as a clear warning to the user that the document they are handling contains sensitive information.
- User override: Depending on how the policy is configured, users may be granted the ability to override or report the triggered policy. It empowers users to justify sharing sensitive information in specific situations while maintaining a layer of control and oversight.
Tip 4: Use sensitivity labels with Microsoft Purview Information Protection
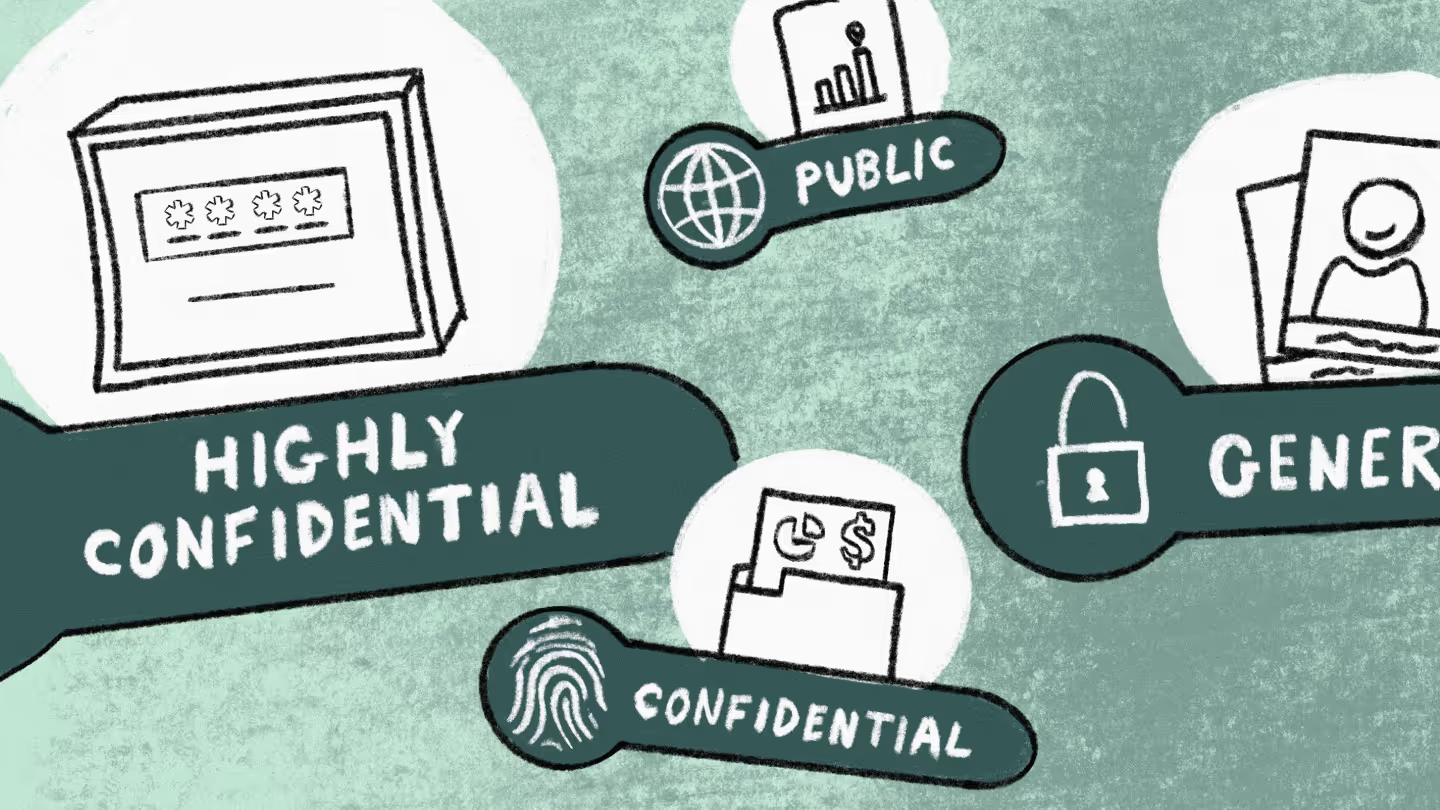
Microsoft Purview Information Protection empowers you to classify SharePoint data based on its sensitivity level through sensitivity labels. These labels act as visual tags that can be applied to documents and emails, clearly indicating their confidentiality.
By implementing sensitivity labels, you can:
- Enhance user awareness: Sensitivity labels make the confidentiality level of information instantly recognizable to users. It can improve their decision-making when handling sensitive data.
- Streamline data protection: Labels can be linked to pre-defined protection policies, allowing you to automatically apply the appropriate data security measures based on the assigned label.
How sensitivity labels work in SharePoint
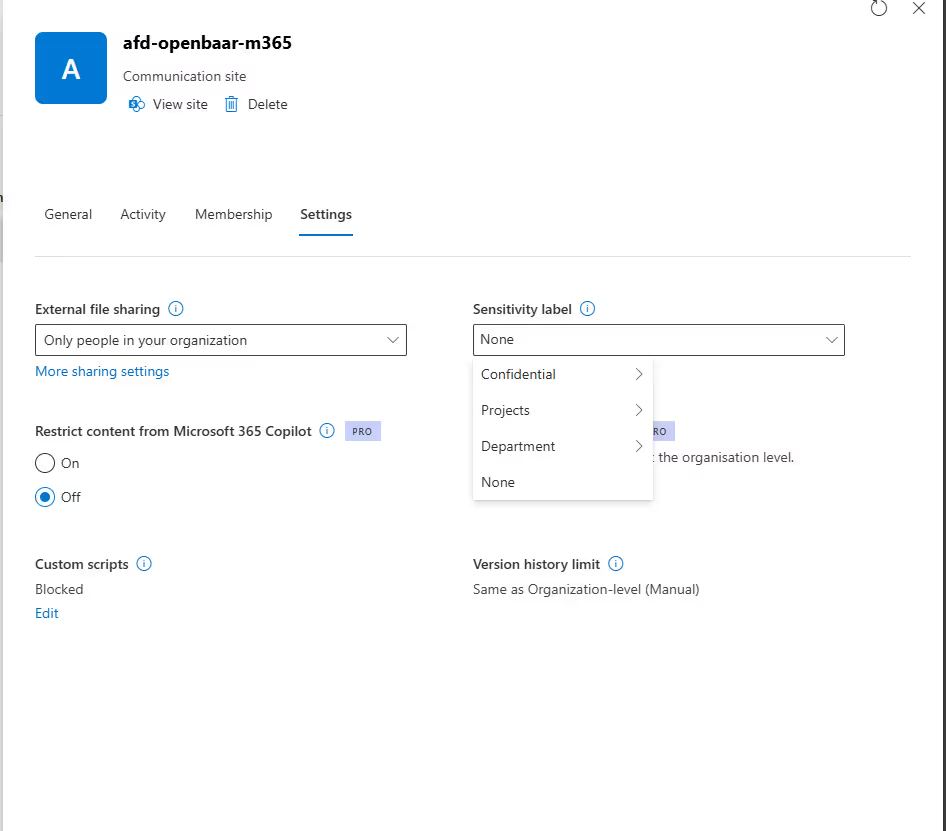
While users cannot directly assign sensitivity labels within SharePoint documents, administrators can leverage the SharePoint admin center for management. Here's how sensitivity labels work:
- SharePoint admins can view and manage all sensitivity labels available for the organization, encompassing labels designated for SharePoint sites, Teams, and Groups.
- Admins have the authority to edit the site policies and assign specific sensitivity labels to entire SharePoint sites. It ensures consistent data classification across the site.
Tip 5: Implement conditional access and multi-factor authentication (MFA)
Multi-factor authentication (MFA) adds an extra layer of security to your SharePoint environment by requiring users to verify their identity with a second factor beyond just their password. Hence, MFA reduces the risk of unauthorized access, even if a threat actor manages to steal a user's password.
Why enforce MFA organization-wide?
Enforcing MFA organization-wide is important because it significantly strengthens your overall security posture. Here's why:
- Reduced phishing attacks: Hackers commonly use phishing emails to steal passwords. With MFA enabled, even if a user falls victim to a phishing attack and their password is compromised, the hacker will still be unable to access SharePoint without the additional verification factor.
- Enhanced compliance: Many industry regulations require organizations to implement MFA for data protection. Enforcing MFA organization-wide helps ensure compliance with these regulations.
- Improved security posture: MFA adds a barrier to unauthorized access attempts, making it much harder for malicious entities to access your sensitive data.
Conditional access
Conditional Access, a feature of Microsoft Entra ID, enhances security when used with MFA. . It allows you to define conditions for SharePoint's user access. These conditions could include:
- User location: Grant access only to users connecting from trusted locations.
- Device type: Restrict access to specific types of devices, such as managed devices.
- Application risk level: Apply additional security measures for access attempts from high-risk applications.
Implementing both MFA and conditional access can improve the security of your SharePoint environment and protect your sensitive data from unauthorized access.
Protecting your sensitive data on SharePoint doesn’t have to be complicated. Following these simple tips can protect your information and strengthen your cloud data security. Regularly managing user permissions, using audit reports, setting up data loss prevention, applying sensitivity labels, and enabling multi-factor authentication are all easy steps that can make a big difference.
For more detailed guidance, check out our recommended permissions guide here or our quick start management guide here.
FAQs
Sharing files and working together in SharePoint is great, but keeping your information protected is important, too. This FAQ section can help you turn your SharePoint into a secure place for your data.
How do I set user permissions to control document access in SharePoint?
SharePoint allows you to control document access by setting different user permission levels. This way, some individuals can only view documents while others can edit them.
How can I monitor who has accessed a specific document in SharePoint?
You can monitor who has accessed a specific document in SharePoint by enabling the SharePoint viewers feature. Once activated, hovering over the document will reveal a section showing "Views" and a list of users who have accessed it.
Can I use SharePoint to identify sensitive information and prevent users from accidentally sharing it externally?
Yes! SharePoint helps guard sensitive data with DLP and admin-controlled sharing. DLP scans documents to identify sensitive information, while admins can restrict external sharing or require approvals for sensitive content.
After enabling MFA for Microsoft 365, how can I manage my preferred verification methods for SharePoint login?
After enabling MFA for Microsoft 365, you can usually manage your preferred verification methods (e.g., phone call, authenticator app) within your Microsoft 365 security settings. This might involve choosing a default option or setting up specific methods for different login scenarios. The exact steps may vary slightly depending on your organization's configuration.


.svg)
%20(1).avif)



.avif)




.jpg)
.jpg)
