How to migrate Microsoft 365 mailboxes: Everything you need to know for tenant-to-tenant moves
.svg)

.avif)
The simplest way to migrate to Microsoft 365
Move your content efficiently with minimal downtime & maximum data fidelity!
Book demo%20(1).avif)
Master Hacks: Migrate like a pro
Check out our video series to help you turn migration projects into masterpieces!
Table of contents
Moving mailboxes to Microsoft 365? Get a step-by-step breakdown for executing a smooth migration.
Email migration between tenants is a high-stakes balancing act for every busy IT admin. You know it’s not just about copying mailboxes from one place to another, but involves careful work to preserve operational continuity while overhauling a mission-critical system.
No matter how many mail systems you’ve managed before, a complex migration gone wrong can mean downtime, frustrated users, and even security gaps in your messaging infrastructure.
There’s also more than one way to migrate mailboxes to Microsoft 365. Knowing the ins and outs helps you choose what works best for your team. This article lays out the specific essentials you need for keeping your team moving during a Microsoft 365 migration.
Migrate emails to Microsoft 365: Four common scenarios for migrating mailboxes in Microsoft 365
Email migration isn’t one-size-fits-all. Your approach should reflect how your organization actually works. Use these four common scenarios to determine what kind of plan makes sense for your mailboxes:
1. Cross-tenant migration
This more complex migration method is common during mergers, acquisitions or other scenarios when businesses must migrate users from separate environments under a single tenant. Unlike moving mailboxes from on-premises servers or consolidating accounts within the same Microsoft 365 tenant, you're moving email between two separate Microsoft 365 environments. So you'll need to pay extra attention to domains, permissions, and user identities.
2. Google Workspace (Gmail + Calendar) to Microsoft 365
Many teams outgrow Google Workspace and start looking for the deeper integration and security Microsoft 365 and Exchange Online delivers.
The process involves migrating email, calendars, contacts, and shared resources, while keeping key data and collaboration history intact, so users land in Outlook, SharePoint, and Microsoft 365 without losing important information from their Gmail mailboxes. While the Exchange Admin Center does support Gmail migration, for larger moves and higher fidelity (e.g., labels, shared mailboxes, folder structure), third-party tools like ShareGate offer a more seamless experience.
3. Shared mailboxes and user mailboxes
Shared mailboxes used for team communications (like support@yourdomainname.com or info@yourdomainname.com) typically have different permissions, folder structures and access requirements than standard user mailboxes. If these components don't carry over correctly during a migration, teams may not be able to access conversations and messages from your old email client, impacting customer-facing workflows.
4. Work with a partner to migrate email
A partner who specializes in Microsoft 365 email migrations is especially helpful with complex, high-pressure scenarios, like moving large mailboxes while preserving permissions, or juggling coexistence between systems. They can bring the tools and experience to help IT teams avoid mistakes, save time, and reduce risk.
Planning your Microsoft 365 mailbox migration: Step-by-step guide
Before diving into a Microsoft 365 mailbox migration, a bit of upfront planning will save you from any data loss, post-transition login issues, or a flood of helpdesk tickets from confused end users after you migrate.
Step 1: Plan your Microsoft 365 migration
Start by mapping your migration’s details: who’s coming, which mailboxes and email are moving, and how it all fits together. Every choice you make should be deliberate, including:
- Determining what data to migrate: Will you just migrate your organization’s email accounts or will you also shift files, contacts, and calendars associated with their mailboxes? Which Microsoft 365 tools will you use, and what files need to follow?
- Deciding how many users to migrate: You'll need to compile a list of active and inactive accounts in your email client to clarify your migration scope and decide what to move or leave behind. But you may not want to lose that legacy data, so archive old mailboxes into a single destination account to keep email content accessible without cluttering Microsoft 365. And if you have some smaller email accounts with little or no valuable content, consider skipping them altogether when you migrate to streamline work and reduce unnecessary overhead.
- Planning your migration timing: Your project’s timeline will depend on its size. You can often complete small migrations (1–3 accounts) over a weekend, while larger organizations with more mailboxes require more time and careful planning. For more complex transitions, start early to allow buffer time for unexpected delays.
- Selecting your domain: You can either keep your current email domain when switching to Microsoft 365, or purchase a new one that better aligns your digital communications with current business goals or growth strategies. Remember, secure any new domain before starting the migration process!
- Picking your subscription and licenses: A successful migration also depends on choosing the right Microsoft 365 subscription and deciding how many user licenses you’ll need. Otherwise, once you migrate, you may not have access to the necessary tools, storage, and security features for your organization's size and goals.
Step 2: Decide on the migration tool
Once you know these key details, it’s time to decide how to migrate your user data and mailboxes, either with 1) Microsoft’s free native tools or 2) a third-party solution specifically designed to streamline migrations.
- Ease of use: Microsoft’s native tools require more manual setup and technical familiarity. With guided workflows and automation, third-party solutions typically offer a more user-friendly experience for moving email mailboxes.
- Scope of migration: Native tools handle standard Microsoft 365 migration scenarios well, but you may want a third-party solution for more complex mailboxes and configurations or cross-platform migrations.
- Reliability and support: Microsoft offers standard support with Microsoft 365 plans. But when it comes to complex scenarios like tenant-to-tenant migrations, you might want more. That’s where ShareGate can make all the difference with hands-on technical support.
- Cost considerations: Native tools are free but cost you time and internal resources. Third-party tools like ShareGate simplify the process with purpose-built features that save time, reduce complexity, and help teams migrate with confidence—making it a smart investment for long-term success.
Step 3: Prepare for the Microsoft 365 migration
Don’t jump into the migration itself just yet! Lay the groundwork first:
Sign up for Microsoft 365
Configuring security settings like SPF, DKIM, and DMARC help keep out bad actors interested in spoofing and phishing their way into your systems. And if sticking with your current domain, don’t touch your MX records until the new mailboxes are set up correctly or your email delivery may malfunction. Also, a heads up: the full setup process, including domain verification and account configuration, takes a few days.
Create and activate user accounts
Once the Microsoft 365 tenant is in place, the next step is to create and activate user accounts. Keep in mind that accounts aren’t fully active until the user signs into OneDrive at least once.
It’s also important to confirm that each account has sufficient storage. Microsoft provides 50–100 GB for Outlook mailboxes and 1 TB for OneDrive. If any accounts are nearing or over these limits, upgrade before migration to avoid failed or incomplete transfers.
While setting up accounts, you should also review permissions, including:
- Creating security groups
- Checking role assignments
- Verifying directory attributes such as legacyExchangeDN.
- Evaluating compliance or legal requirements like retention, access controls, and audit settings
You’ll also want to take steps so that once your accounts go live, their mailboxes will be secure and ready to operate in the new environment without friction:
- Configure core security settings
- Register necessary Azure AD apps
- Create migration endpoints
- Establish organization relationships
- Map user attributes to align with the new system.
Of course, you'll want to center your users. Tell them in advance about the migration’s timeline, expectations, and why it’s important to minimize email account activity during that window. A quick heads-up to sign into OneDrive early also goes a long way, along with making backups of essential content as a safety net.
Step 4: Move mailboxes and user data into Microsoft 365
Once you've set the stage, it's time to migrate your email accounts into Microsoft 365. Your migration path depends on your current email system’s setup, number of users, and desire for flexibility:
1) Cutover migration: Migrate all mailboxes and their contents from your server to Microsoft 365 in one go. This works best for smaller teams under 150 users. For a smooth experience, give users a heads-up and check mailbox sizes are manageable.
2) Staged or batch migration: Migrating users in waves is ideal for mid-sized organizations with more users (2000+) who want more control and the ability to troubleshoot as you go. For example, you can decide what migrates when based on department, location, or readiness level. Remember, you’ll need to set up Microsoft Entra Connect for directory sync, and only certain Exchange versions are supported. At every step, communication will be key: let them know when it’s their turn.
3) Hybrid migration: Run on-prem and cloud mailboxes side by side if you’re not ready to migrate everything or need to keep data local. It’s ideal for large organizations with complex email setups or compliance needs, but it’s a technical process and requires Exchange 2010 or newer.
After you migrate to Microsoft 365
Even if you’ve moved your mail data, the migration isn’t done yet! To make Microsoft 365 work long-term, empower your users and build habits that last. Here’s how:
1. Verify migration results
Confirm that everything from your mailboxes migrated where it should, such as your emails, calendars, contacts, files, and permissions. You don't have to figure this out on your own: use Microsoft's admin tools or a more comprehensive third-party tools like ShareGate to fix gaps early before they ripple out.
2. Prepare and train users
Don’t leave your team to navigate your new email environment solo after you migrate! Offer hands-on training, quick-start guides, and real-time support to get users comfortable with Outlook, Teams, SharePoint, and OneDrive.
3. Configure DNS for Microsoft 365 mail flow
When you migrate mailboxes to Microsoft 365, you need to update your DNS (Domain Name System) records. Otherwise, new email will still route through your old email system. Yikes!
4. Finalize account and service settings
A secure setup is a clear one. Review roles, licenses, and settings so everyone knows who’s doing what and how decisions are made. Then tighten things up: turn on MFA, set retention policies, and use conditional access to protect high-risk areas.
5. Safely retire the old system
Once everything’s stable, you can officially wind down your legacy email system; archive what you need, revoke access to outdated platforms like Gmail, and communicate clearly with users about what’s changing.
Cross-tenant mailbox migration using ShareGate in five easy steps
Migrating to Microsoft 365 may feel complex, but ShareGate makes it refreshingly manageable. No PowerShell needed! From planning to post-migration cleanup, you'll have a simple tool to migrate email mailboxes, with an intuitive interface, built-in checks, and detailed reporting.
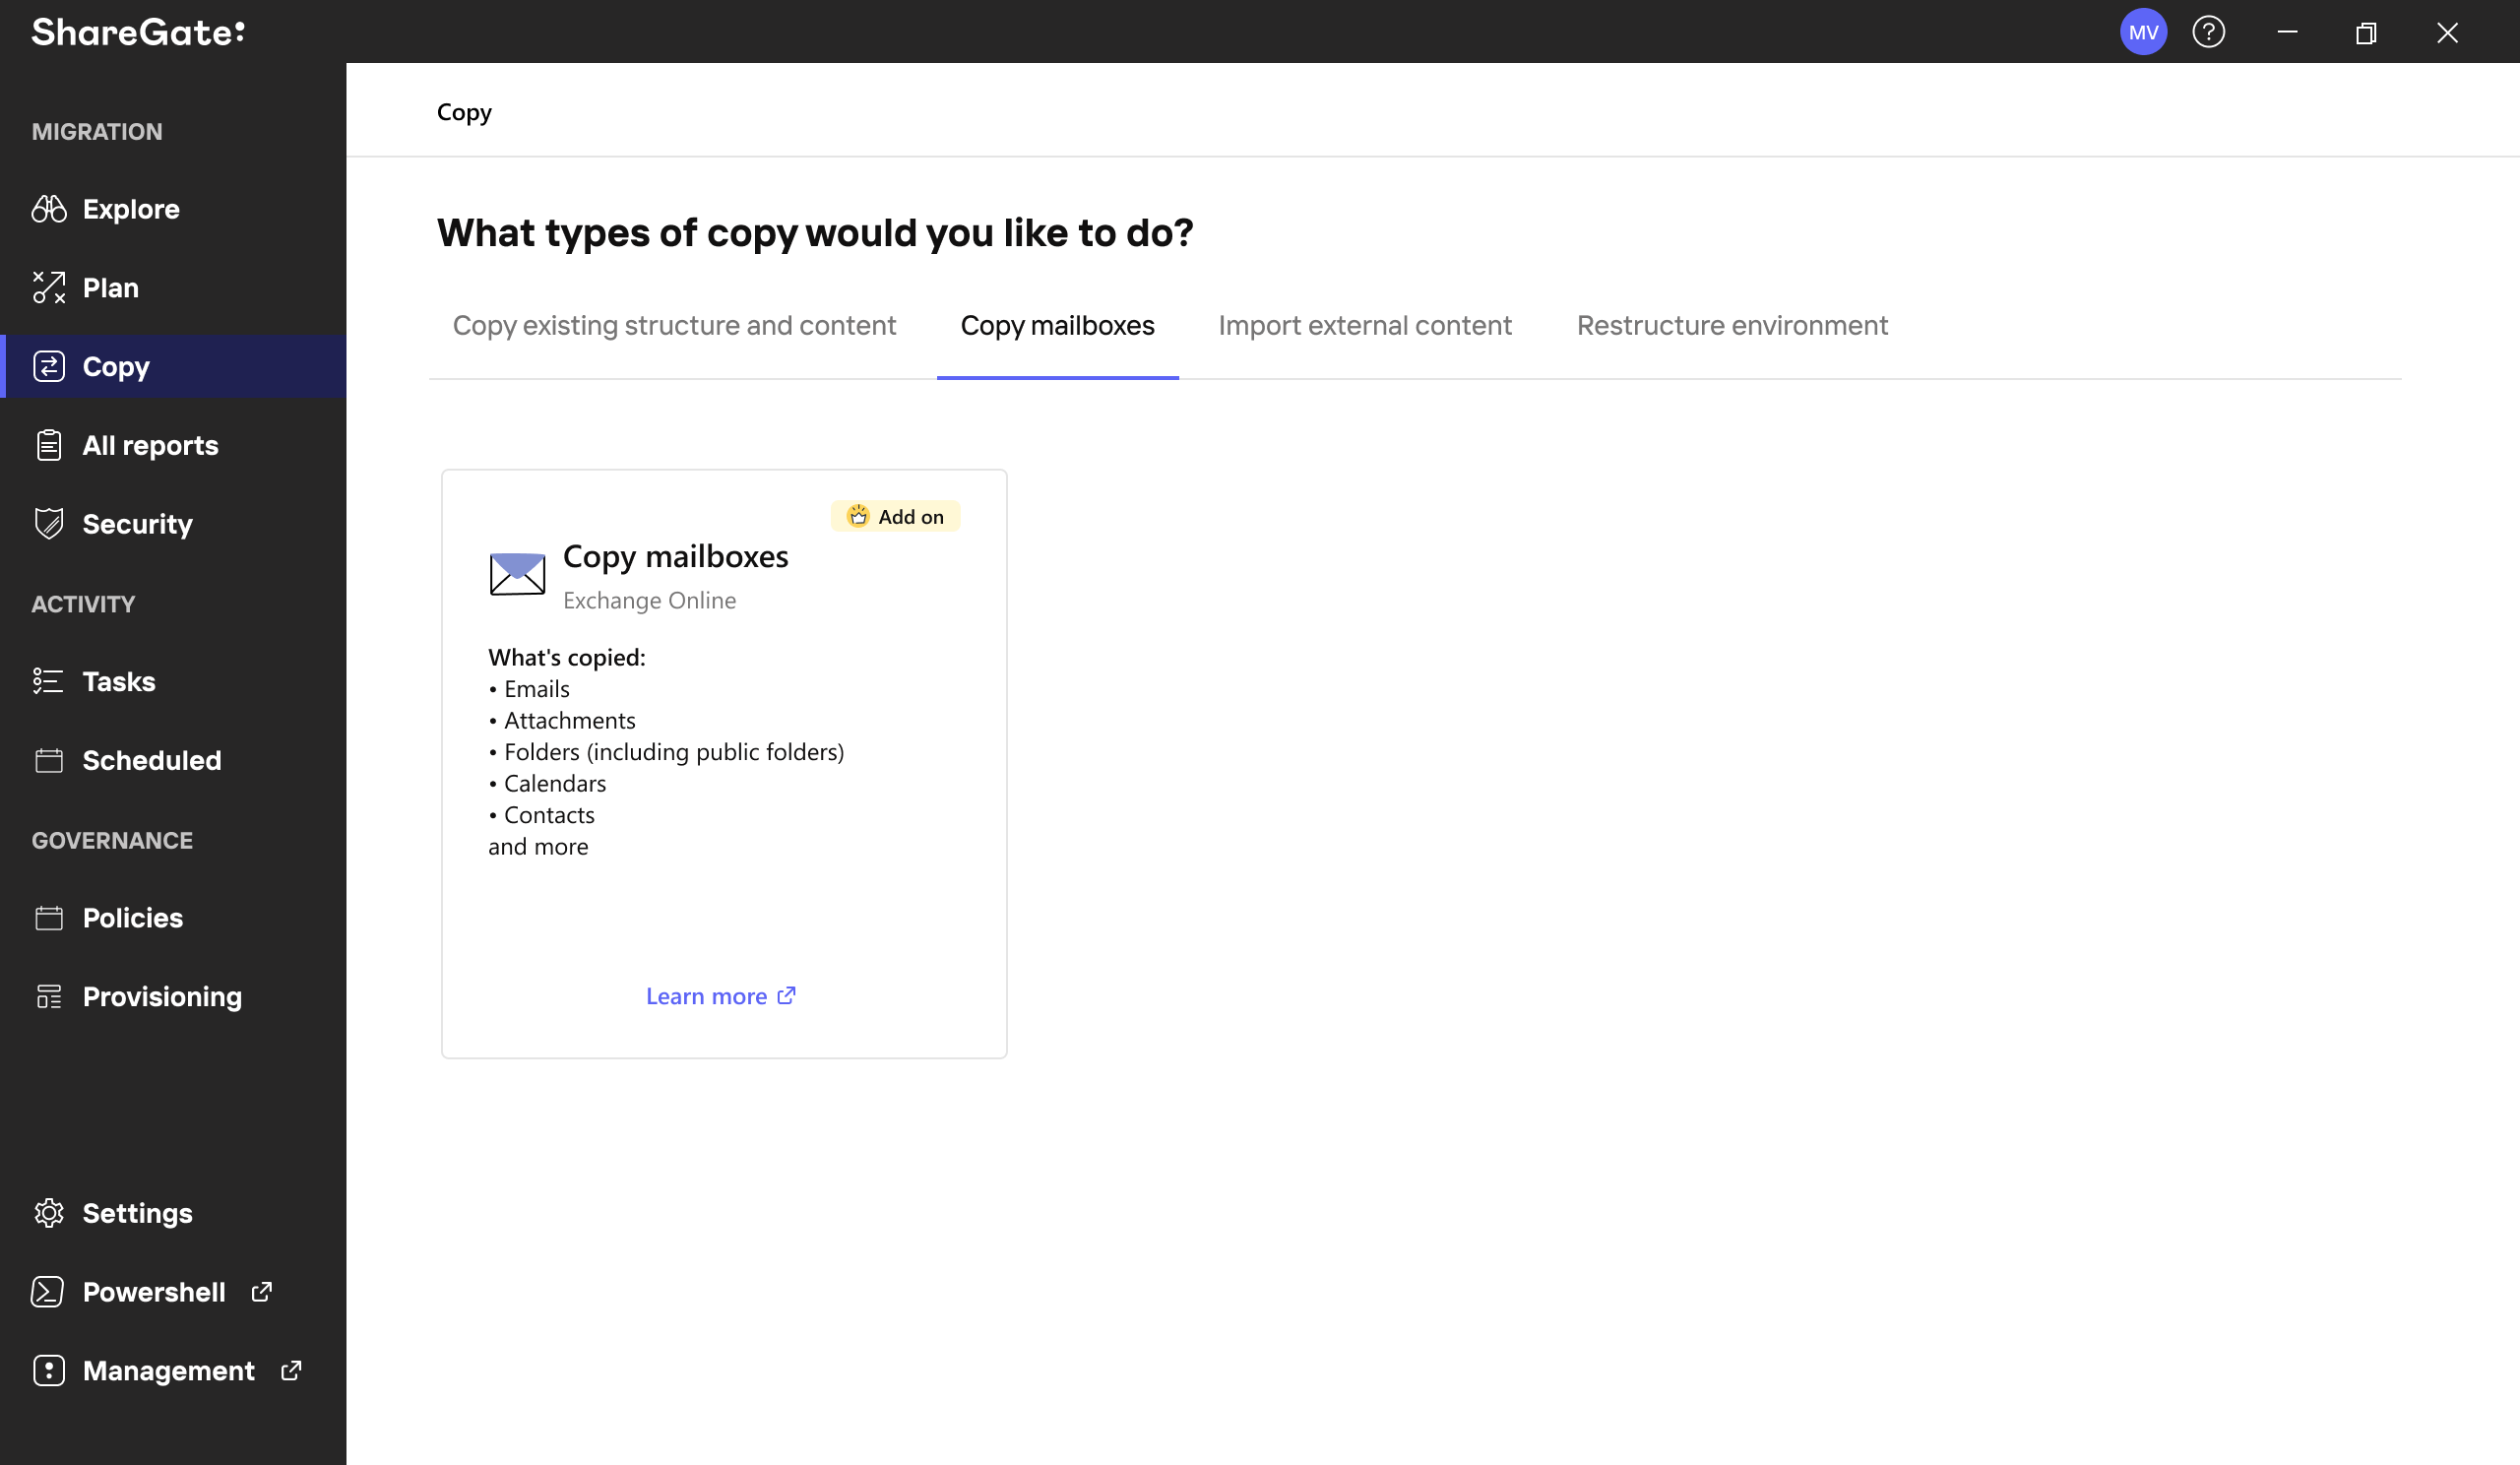
Here's how to use our handy "copy mailboxes" feature to make your migration quick and effective:
- Head to the Copy section and open the Copy Mailboxes tab.
- Pick your source tenant and select the mailboxes you want to migrate.
- Set the destination tenant and customize what gets copied (emails, calendars, contacts, rules.)
- Map each mailbox to its recipient.
- Review the migration summary, and hit launch to get started.
Post-migration actions
Once your Microsoft 365 migration is complete, ShareGate helps IT teams set a strong foundation for long-term success with powerful governance and visibility tools.
ShareGate’s Microsoft 365 governance solution helps with the “how” — giving IT teams and business stakeholders visibility into ownership, data sources, usage, and risks across platforms like SharePoint and Teams.
Here’s what governance looks like in action with a data governance tool built for Microsoft 365:
- Unified data visibility across your tenant
See user access, external sharing, and workspace activity across SharePoint, Teams, and OneDrive — all in one place. - Actionable data governance insights
Surface inactive or ownerless workspaces, external sharing risks, and other issues that data stewards and IT teams can act on to strengthen governance and support tools like Copilot. - Smart workflow support
Enable smart workflows for recurring governance tasks, from assigning data stewards to reviewing inactive workspaces and updating policies, and track progress by monitoring key metrics from a central dashboard — no jumping between admin centers.


.avif)