.svg)

.avif)
Microsoft Teams migration guide
Discover how to simplify the migration process from planning to post-migration management!
Learn More%20(1).avif)
Master Hacks: Migrate like a pro
Check out our video series to help you turn migration projects into masterpieces!
Table of contents
Microsoft MVP Jasper Oosterveld dives into Microsoft Purview's capabilities and features, including tips and tricks for securing sensitive data in Teams using Information Protection.
It's safe to say Microsoft Teams is the superstar of hybrid work, providing powerful collaboration capabilities that enable people to communicate, collaborate, and share data.
But with hybrid work comes heightened security risks and concerns. The big question is, how can you protect your sensitive data while working in Teams?
Microsoft understands these risks and offers capabilities to help your organization classify, label, and protect your sensitive data with Microsoft Purview Information Protection.
Microsoft Purview Information Protection helps your organization manage sensitive data by providing a centralized location for data classification, labeling, and protection policies. This can improve your data governance and compliance, which is always a good thing!
Before we dive into the solution, let’s first look at what exactly Microsoft Purview is and how it helps organizations meet the modern challenges of the hybrid workplace.
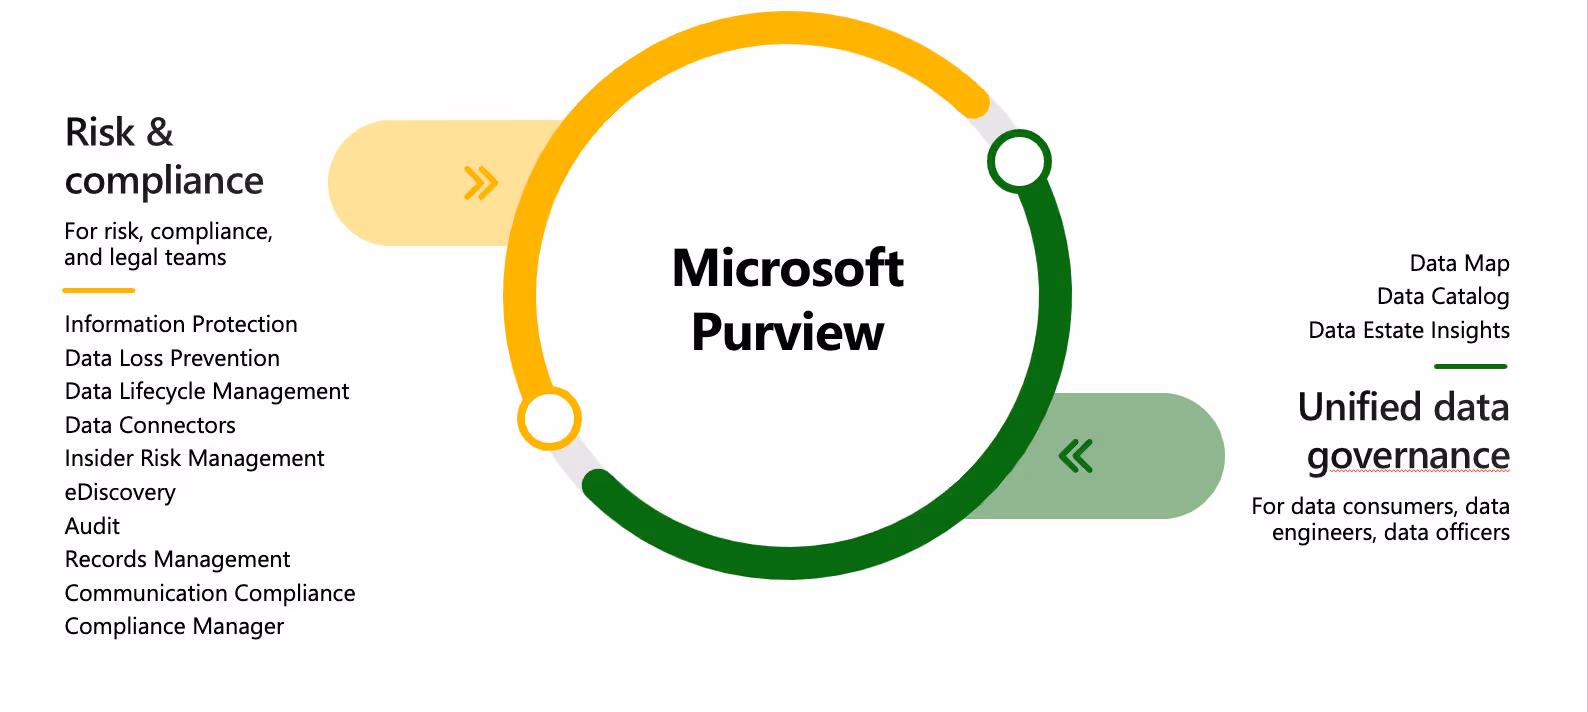
What is Microsoft Purview
Microsoft Purview is a family of solutions that help organizations govern, protect, and manage data with offerings that include:
- Microsoft Purview Information Protection
- Discover and classify data at scale using automation and machine-learning
- Built-in labeling and protection
- Platform extends the protection experience
- Encryption built into Microsoft 365: at rest, in transit, and in use
- Microsoft Purview Data Loss Prevention
- Automatically enforce compliance with regulations and internal policies across cloud and on-premises
- Extend DLP policy to both Microsoft and non-Microsoft endpoints, on-premises file shares, user apps, browsers, and services
- Apply flexible policy administration to balance user productivity
- Microsoft Purview Data Lifecycle Management
- Retain or delete data and manage records where users collaborate to manage risk and prevent productivity loss
- Demonstrate compliance with label analytics insights, defensible disposal, and rich audit trails
- Manage non-Microsoft data import with pre-built data connectors
- Microsoft Purview Compliance Manager
- Manage end-to-end compliance from easy onboarding to control implementation
- Configure out-of-the-box assessments to meet your requirements across all assets
- Simplify compliance with continuous assessments, automated control mapping, and a compliance score
Hybrid work is pretty great. People get to have a better work-life balance and all that good stuff.
But organizations have to deal with the crazy amount of data that's being generated and the fact that they don't really have the visibility they need to handle their sensitive information.
With data created and stored across a variety of platforms, including email (Exchange), chat and channels (Microsoft Teams), shared (SharePoint), and personal (OneDrive) storage, maintaining data security is becoming increasingly difficult. Combine that with ever-changing regulations, organizations face serious compliance risks. These risks can result in fines, reputational damage, and loss of customer trust.
Microsoft is aware of these risks and offers solutions to help you out. They're all bundled in Microsoft Purview, which is divided between risk and compliance and unified data governance. With these solutions in place, you can govern, protect, and manage your data.
If you want risk and compliance implementations using Microsoft Purview solutions to be successful, you need to have an information protection policy in place. This policy should provide clear guidelines for employees on how to create, share, preserve, and delete sensitive information.
To ensure that sensitive information is properly protected and that your organization remains compliant, it's best to define your information protection policy before beginning the implementation process. This way, you can configure each Microsoft Purview solution to align with your policies, ensuring that your organization's data is managed and secured appropriately.
To learn more about Microsoft Purview portfolio of products, check out Microsoft's documentation on the topic.
Protect your sensitive data in Teams with Microsoft Purview Information Protection
Even though data in Teams is protected by default with an authentication and authorization process, once internal and external users gain access, your sensitive content could become exposed. This could lead to unauthorized access and data leaks.
You can prevent this from happening by classifying and protecting your sensitive data. Microsoft Purview Information Protection can help you do that.
With Purview, you can apply labels and tags to data assets, making it easy to identify sensitive content and apply the appropriate level of protection. This way, you can keep your sensitive data secure and protected from any unauthorized access.
Let's dive in:
- Data classification and protection policy
- Team classification
- Data protection policy
- Team protection policy
- Classifying and protecting your Teams meetings
- Sensitive information types
- Sensitivity labels and policies
Data classification and protection policy
As I mentioned earlier, it's best to set up an information protection policy to deliver a successful Microsoft Purview implementation.
The policy should contain the classification scheme of (sensitive) data within your organization. Each classification connects with a corresponding protection policy. The combination of these two determines the precise configuration with Microsoft Purview Information Protection.
In case your organization doesn’t have these policies, I strongly advise connecting with your organization’s CISO, Security Officer, ICT, or Information Manager.
I recommend using the following data classification policy:
Internal is often the standard classification for all employees. There are cases when a team or department requires a dedicated classification. This scenario applies when the majority of their data (at least 90%) is sensitive. For example, the Board of Directors, HR, or Research & Development.
Team classification
You should define a classification policy not only for your data but also for your teams. The classifications are tied to how you collaborate within your organization.
Here are some common classifications that you can use for your collaboration use cases:
Data protection policy
Once you've finalized your classification policy, it's time to connect the type of protection with each classification.
Microsoft Purview Information Protection protects sensitive data by applying encryption. The encryption determines who's authorized to access the data. Plus, the encryption stays with the data, no matter the location. Only the owner(s) or administrators with corresponding permissions can remove the encryption.
Check out the table below to see how much protection you get per classification.
We can’t give a definite answer on what kind of protection you need with the internal classification.
It all boils down to how much data you're planning to share outside of your organization. That’s because the external recipients wouldn’t be able to view the data due to its protection, which means the internal sender would have to lower the classification for every external transaction.
Is this something that happens frequently? If it does, it could cause frustration and might hinder the adoption of your Microsoft Purview Information Protection deployment. That's why I suggest that you chat with your organization's data security experts about it.
Team protection policy
The protection of your teams focuses on the following policies:
- Type of privacy (public or private)
- External access (yes or no)
- Type of sharing link (new & existing guests, existing guests, or none)
- Type of access to SharePoint with an unmanaged device (full, browser only, or none).
I recommend the following:
I encounter use cases whereby a distinction between internal and external projects is made. In that case for internal projects, external access is disabled, and only external sharing is allowed.
Classifying and protecting your Microsoft Teams meetings
Last year, Microsoft announced Microsoft Teams Premium. This new offering provides additional features to secure and protect your sensitive meetings. As I'm writing this, the following Teams Premium features are available:
- Who can bypass the lobby
- Who can present
- Who can record
- Encryption for meeting video and audio
- Automatically record
- Video watermark for screen sharing and camera streams
- Prevent or allow chat
- Prevent or allow copying chat contents to the clipboard
When it comes to your meetings, the classification and protection policy really depends on what you're using them for within your organization. Keep it simple and start by including them in your public and internal classification policy.
Of course, there might be some scenarios that require extra attention. For example, if you're having monthly board meetings, you might want to create a special classification and protection policy just for those.
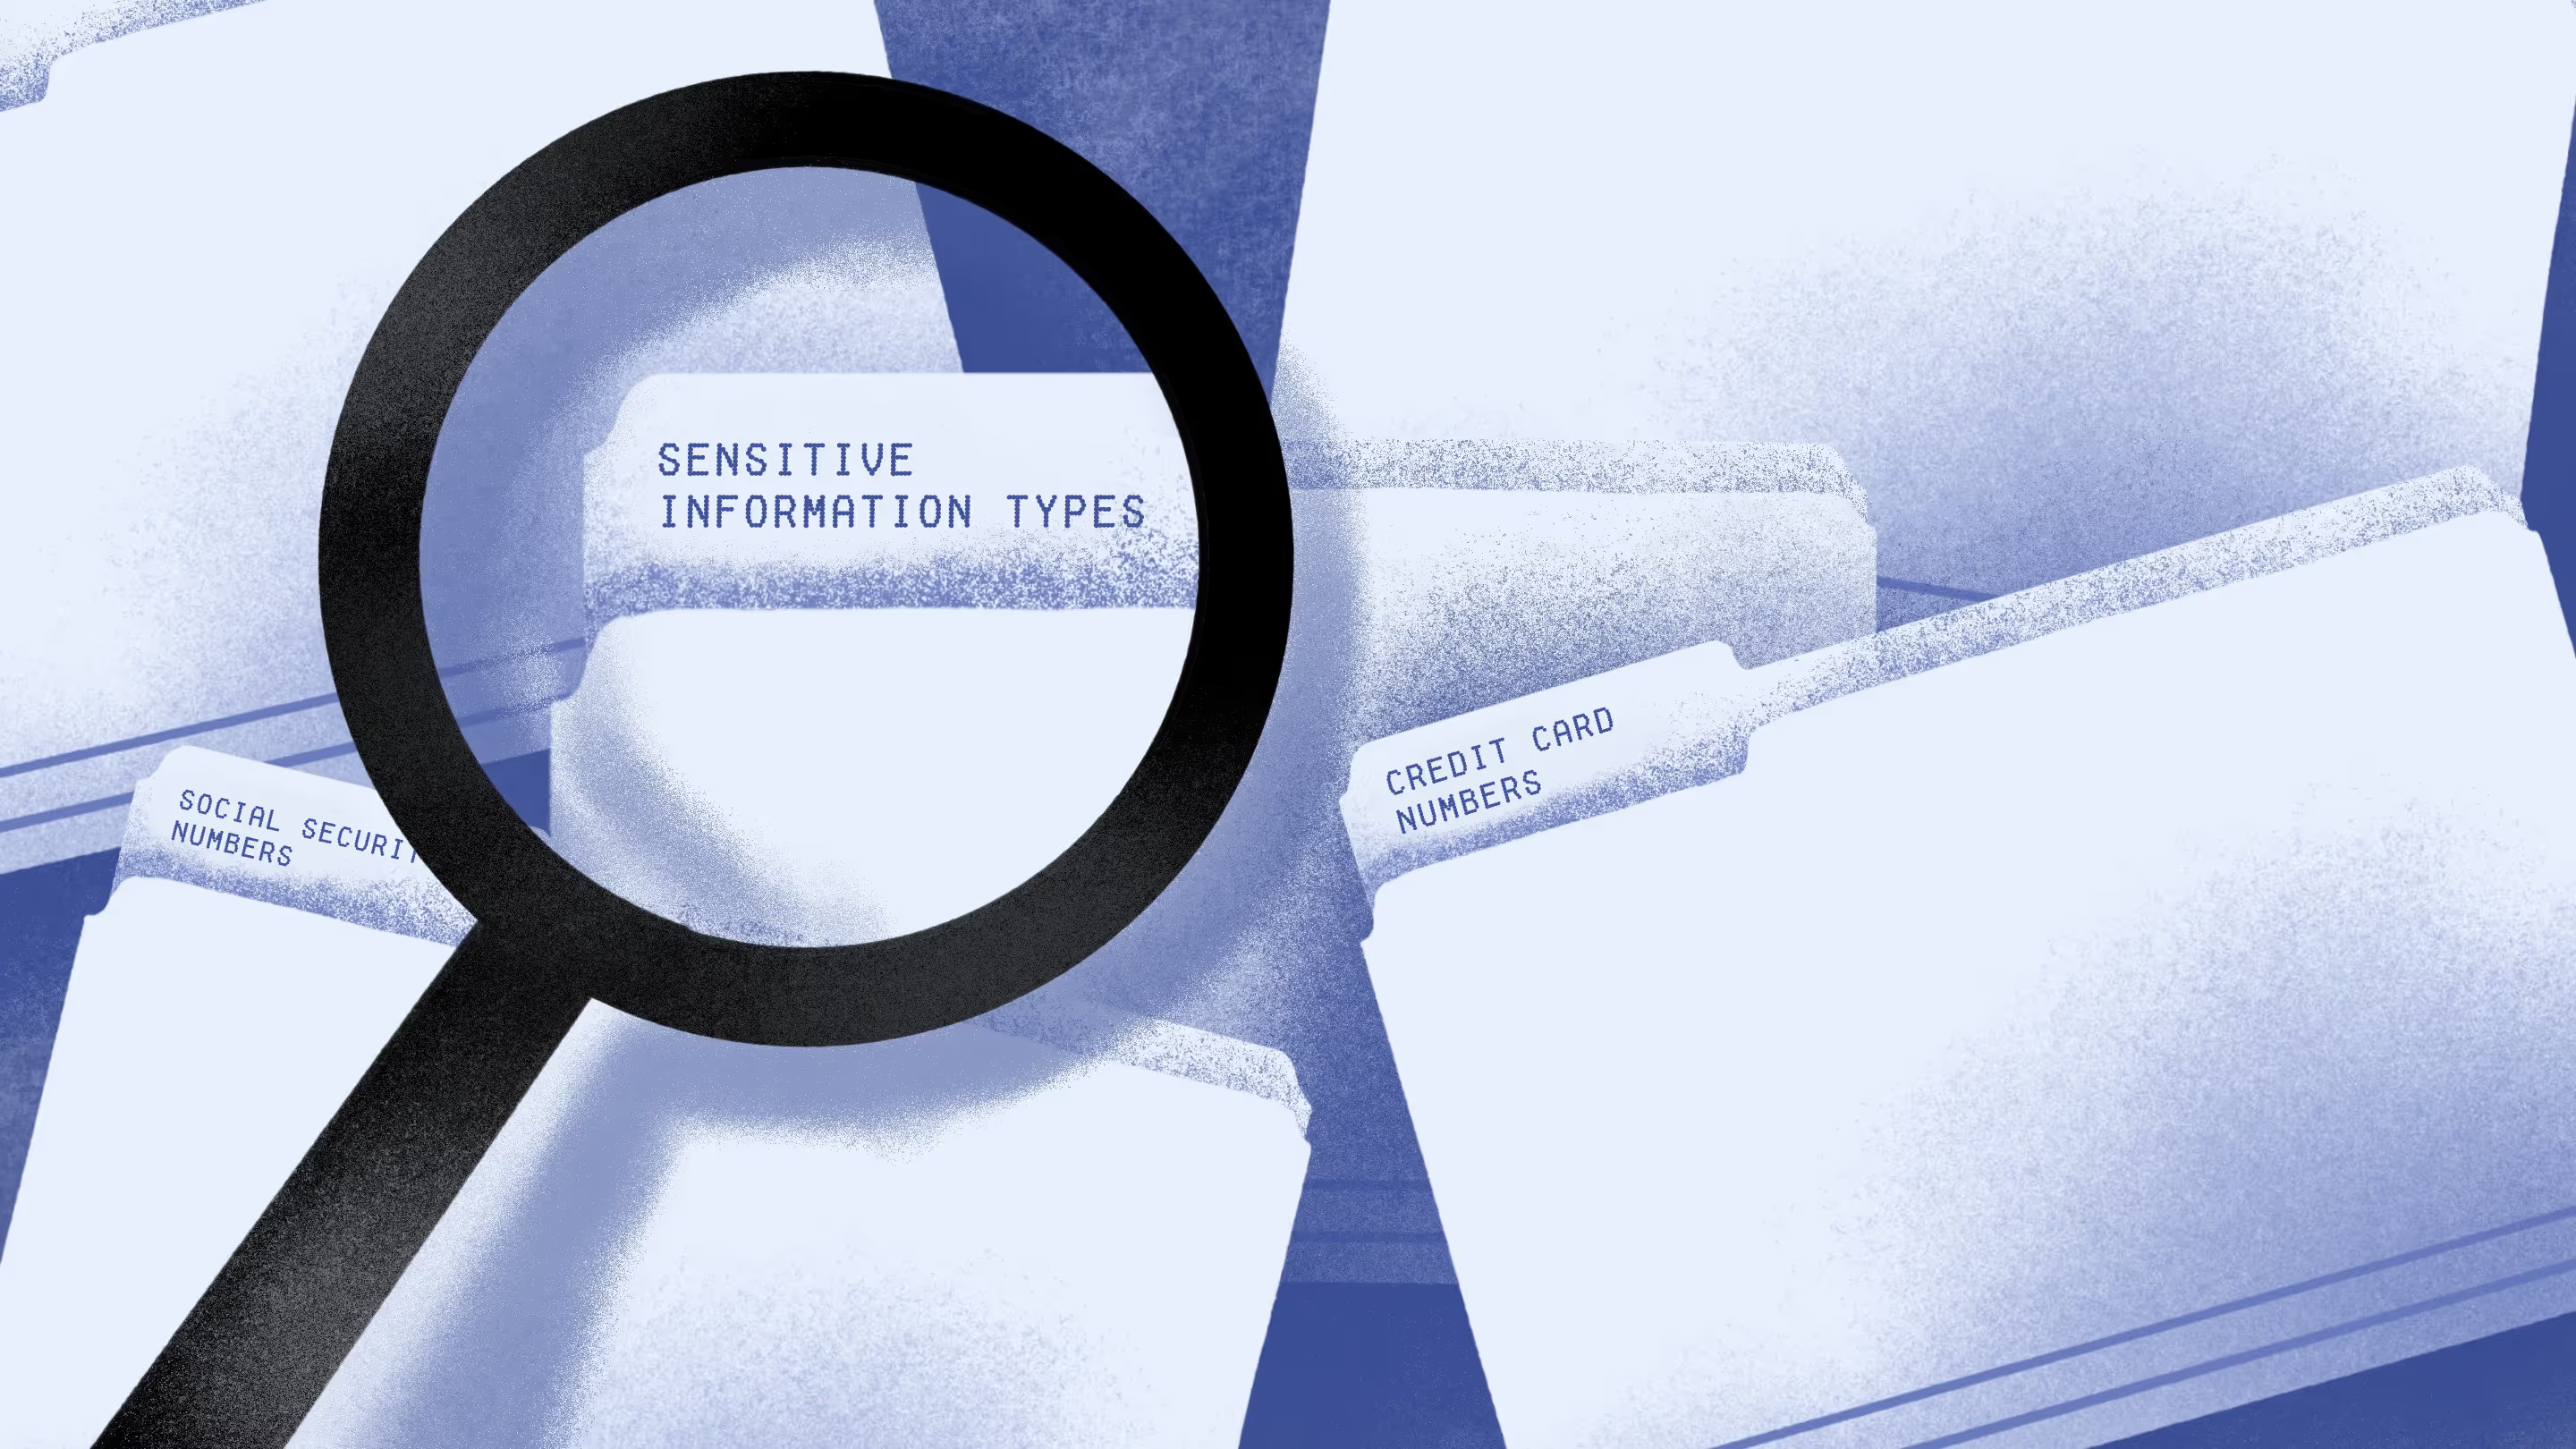
Sensitive information types
Before we dive into the technical side of things, let's talk about the importance of sensitive information types (SIT). These are a type of data used to identify and protect specific types of sensitive information within your organization.
Think personally identifiable information (PII), financial info, healthcare data, intellectual property, and other types of sensitive data that might need to meet certain legal or regulatory compliance requirements.
It's a good idea to chat with your data security team so you can get an overview of your sensitive info. Microsoft provides over 300 out-of-the-box sensitive information type entity definitions you can use to get started. And if those don't cut it, you can always create your own SIT.
Sensitivity labels and policies
The classification and protection policies are technically implemented with the use of sensitivity labels and policies. We won't get into the nitty-gritty of how to configure them step-by-step this time because the main objective is to give you some insights, tips, and tricks that I've learned from the field while using them.
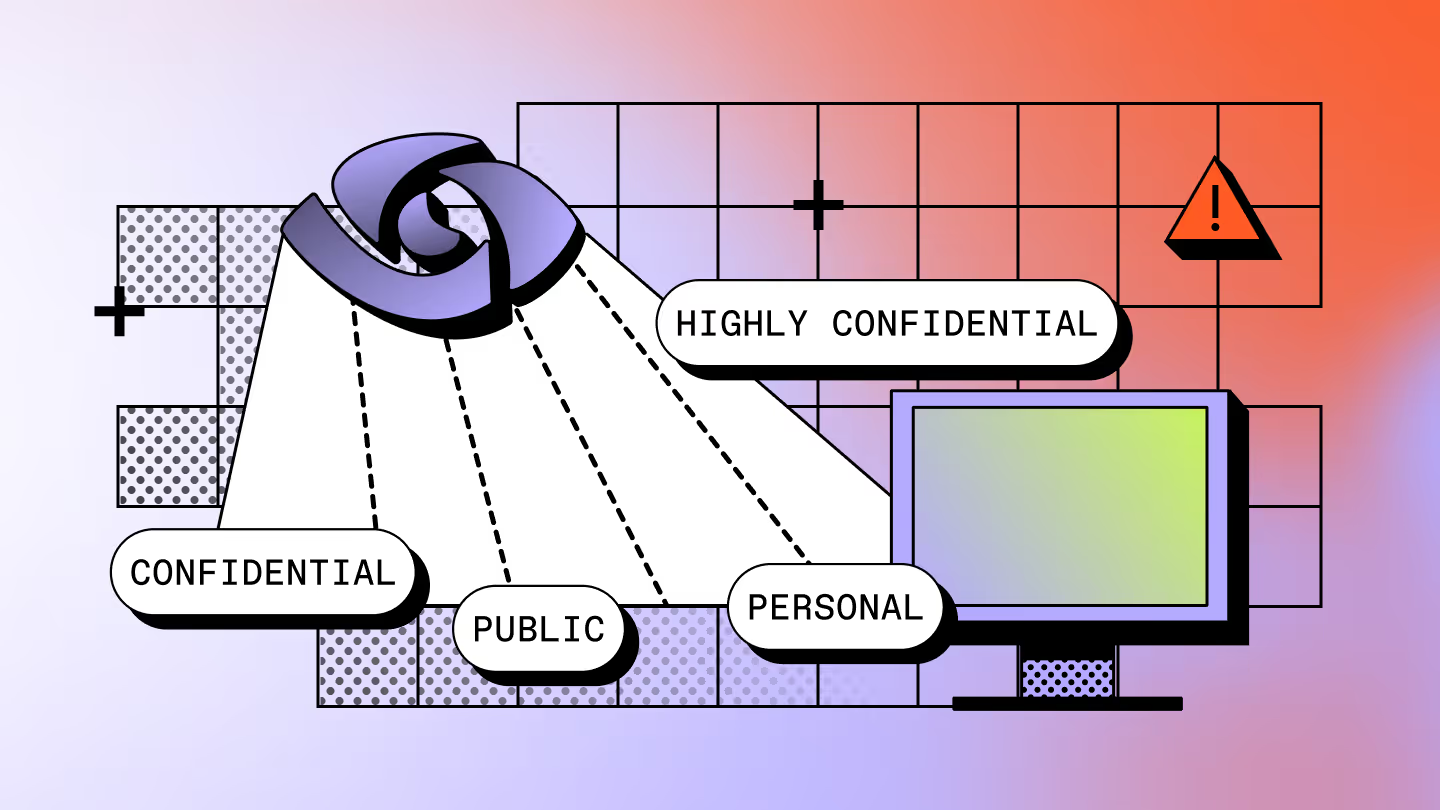
Confidential classification
The configuration for this classification is divided between three labels:
- Confidential (main label)
- Confidential – Internal (sub-label)
- Confidential – External (sub-label)
When the sensitive data is labeled "Confidential-Internal", only internal employees can access it. But, when it comes to data labeled as "Confidential-External", employees get to decide the type of protection.
Type of labels
There are currently two types of labels in Microsoft Purview:
- Built-in labeling
- Azure Information Protection (AIP) add-in labeling client
The AIP add-in client type is in maintenance mode and is not going to get any new updates from Microsoft. That's why the built-in labels are the way forward. But, there's still a difference in functionality between the two types. To figure out which one is best for you, check out the Microsoft documentation to compare the two types of labels based on your specific needs.
Applying labels
When it comes to labeling, there are a couple of ways to go about it. You can either do it manually or let the system handle it automatically for you.
Typically, employees are given a default sensitivity label, but they can change it if they need to.
Examples: Jane recently wrote an article for a news outlet and switched her label from internal to public. However, the problem is that not everyone knows which type of data is sensitive, which can cause issues. That's why it's a good idea to have automatic labeling in place. This is where the sensitivity information types come into play.
So, now let's say John writes an internal memo that mentions some sensitive intellectual property. The system will automatically give the memo a confidential-internal label.
Be sure to read the Microsoft license requirements before implementing auto-labeling!
Recommended policy settings
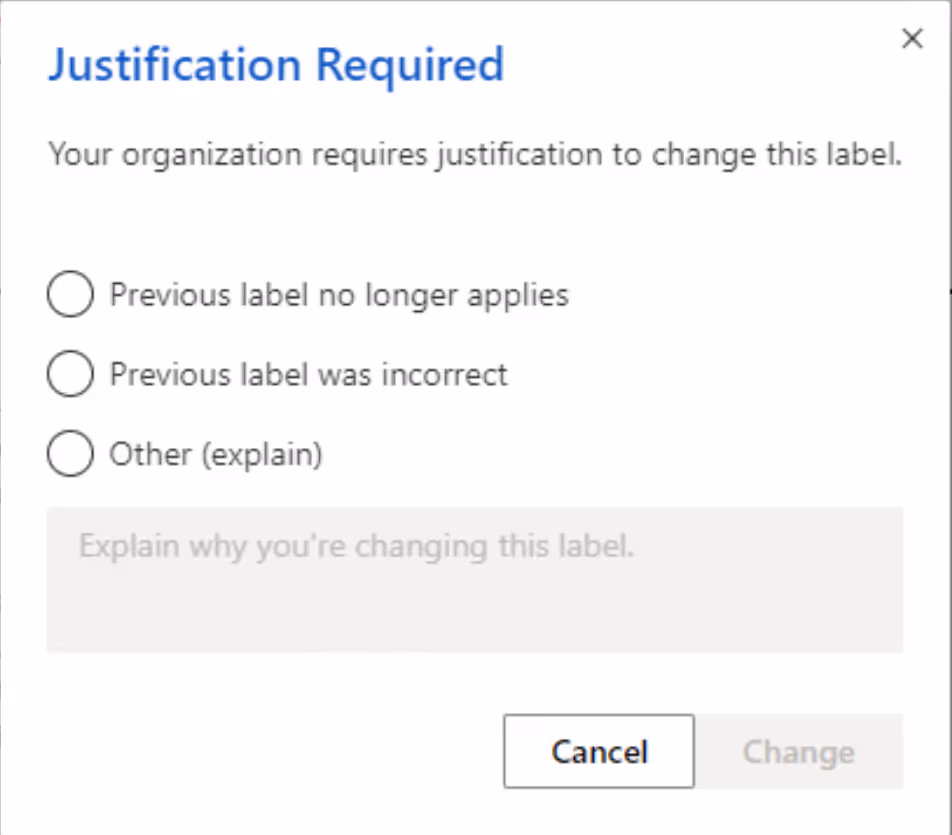
Your employees can use sensitivity labels to classify data and teams by adding them to the label policy. I recommend enabling the option for "Users to provide a justification before removing a label or replacing it with one that has a lower-order number" so you can prevent a potential data leak whereby an employee lowers the classification of sensitive content.
Once you enable this option, your end users will be presented with a menu that asks for a justification before they can make any changes.
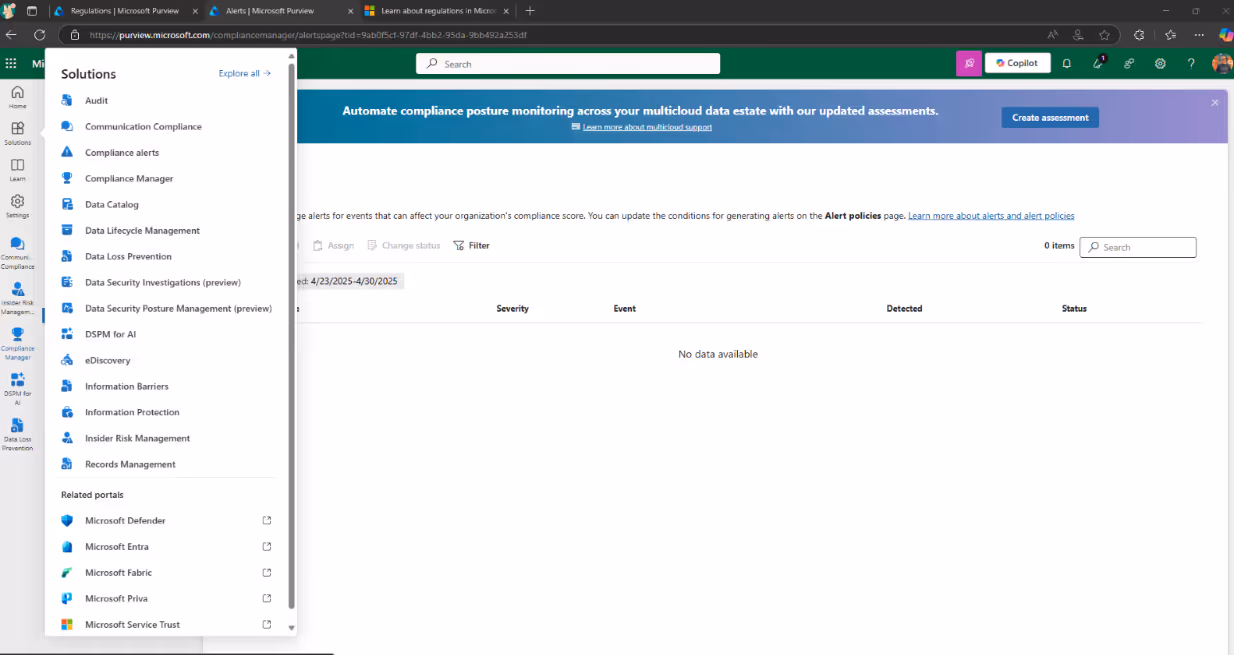
Any labeling choices made by your end users will be logged and easily found through the activity explorer of the Microsoft Purview Administration Center.
When the policy setting "Require users to apply a label to their email and documents" is selected, users assigned the policy have to choose and apply a sensitivity label to their emails and documents.
Automate governance for Microsoft 365
Using Microsoft Purview capabilities to govern your environment may take some time investment and require skilled resources from your IT department.
Automation can be used to enforce and monitor compliance with your company policies and governance-related rules while saving your IT team time. For example, with a third-party solution, automation can be set up to remove the manual effort of managing and monitoring Microsoft 365 governance and policies. That way, you can ensure your end users can collaborate the way they need to while following the guardrails you’ve put in place.
If you're thinking about implementing Microsoft Purview Information Protection Policy in your organization, it's a good idea to start with a pilot program within one department. This gives you a chance to test out the application of sensitivity labels and maintain control in a smaller environment before rolling it out to the entire organization.
If the pilot is successful, you can slowly start rolling out Microsoft Information Protection to other departments until it's implemented throughout the entire organization.