Plan and execute large SharePoint migrations with PowerShell scripting

Table of contents
In a continuing effort to release awesome features, the Geeks have extended Sharegate with PowerShell commands. But it’s much more than that, this is part of our commitment to change how things are done in the SharePoint industry, bringing transparency to what we do. The ability to script a SharePoint migration and scheduling it has been something our customers have asked for a while.
What’s been added today:
- PowerShell Commands to use Sharegate
- Scheduling made possible through PowerShell
- Choice Column values copied, even if a choice is no longer available
- Export to Excel lets you Merge documents, rename them or move them
Migrate SharePoint using Sharegate’s PowerShell commands
We built Sharegate with the intent of making SharePoint Migration a little more accessible to anyone that wished to do it themselves. An interface well thought out, emphasizing on simplicity and ease of use. We believe we have achieved this, very well. However, sometimes SharePoint Migration can be a little more complex requiring you to test it on multiple farms before actually doing it live. Though Sharegate has always been a great asset in a migration project, today it goes even further by allowing you to script it. This will allow you to run the same migration with the same configuration multiple times without the risk of human error. A must for anyone who needs to run test migrations before doing it the same way in production.
To expand your knowledge further, here are 5 PowerShell script examples to boost your Microsoft administration process.

See our detailed documentation with all the commands and how to use them.
Scheduling your SharePoint Migration with Sharegate
Why make something simple complicated? By extending Sharegate with PowerShell, you can now script your migration and save it as a PowerShell script to be scheduled and launched using whatever tool you prefer.
Here is how to do it:
1. Write your Sharegate PowerShell commands as you would if you were running it right now in a text file. You can refer to the documentation mentioned above for more information on the new available commands for SharePoint migration.
2. Save the text file as a PowerShell script by changing the file extension to .ps1 and saving it in a place you will remember.
3. Now that you have the SharePoint Migration PowerShell script ready, you can launch the file at any time and it will do exactly what it was told to do. An easy way to schedule it would be with Windows Task Scheduler, which is native to Windows.
4. Sit back, relax and come back when it's done.

Don’t lose your Choice history
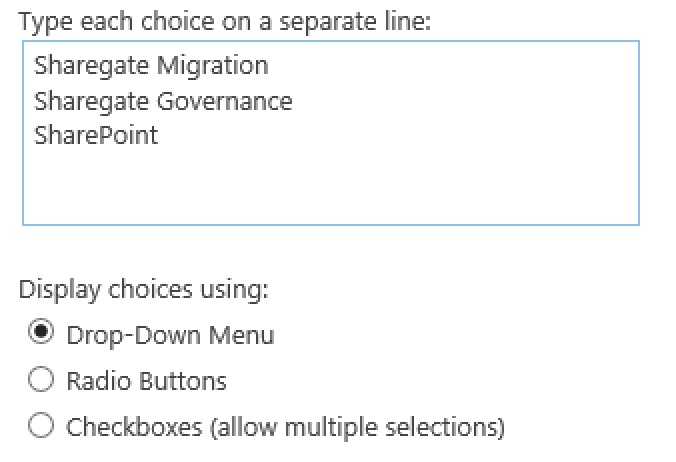
Previously, when migrating SharePoint lists and libraries with content that used Choice Column values that did not exist at the destination, you’d get an error. We’ve made some changes to Sharegate to make sure this never happens again. You’ll see that now, even if the choice value does not exist, Sharegate will still keep the integrity of your document’s metadata. Thanks to our Geek’s awesomeness.

Do more with the popular Export to Excel option
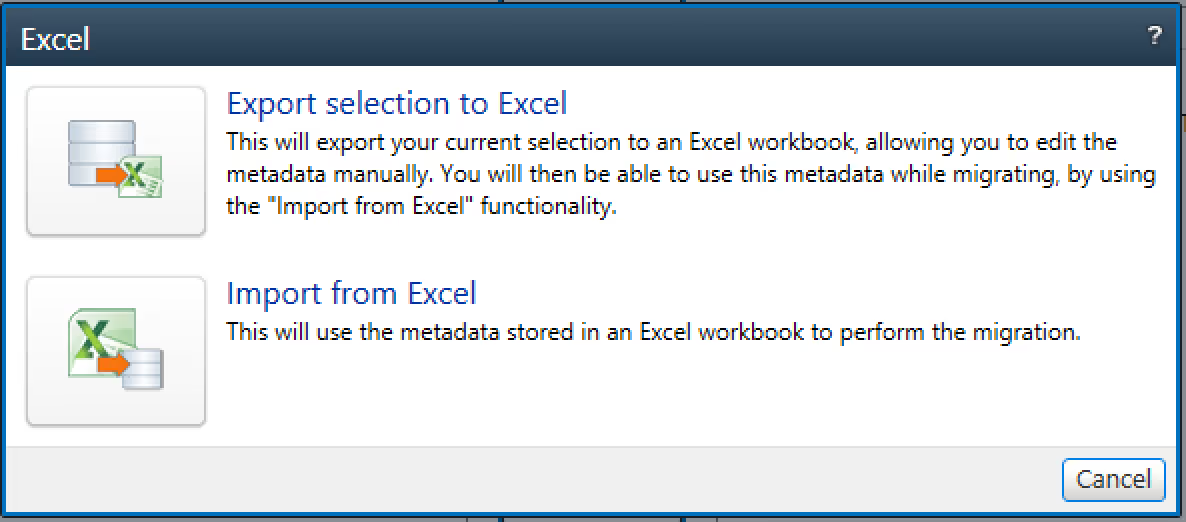
Whether importing from File Shares or migrating content from another list or library, Export to Excel has been a very popular feature of ours. It allows you to easily see and manipulate the content and its metadata using Excel before migrating it to the destination by Importing the Excel document back into Sharegate. Here’s what you can do now with Excel:
- Rename a file while migrating
- Merge them into one as version history
- Relocate to a new folder or location within the document library

Be sure to update or download Sharegate and benefit from all these cool new features.


.svg)
%20(1).avif)


